Restoring All Locked-out Channels
You can restore all
1.Press HOLD/RESUME.
Note: You must be in Hold mode before restoring all
2.Press and hold L/O for about 2 seconds. You will hear two beeps when all the channels have been restored.
Priority Scan
When Priority Scan is turned ON, your scanner checks the priority channel in the banks you selected every two seconds for activity. If a signal is present on the priority channel, your scanner monitors the channel until the transmission ends, then resumes normal scanning.
You can designate one channel in each bank as a Priority Channel. By default, the first channel in each bank is the Priority Channel, but you can change this.
To activate Priority Scan (in either the Hold or Scan mode):
SCAN
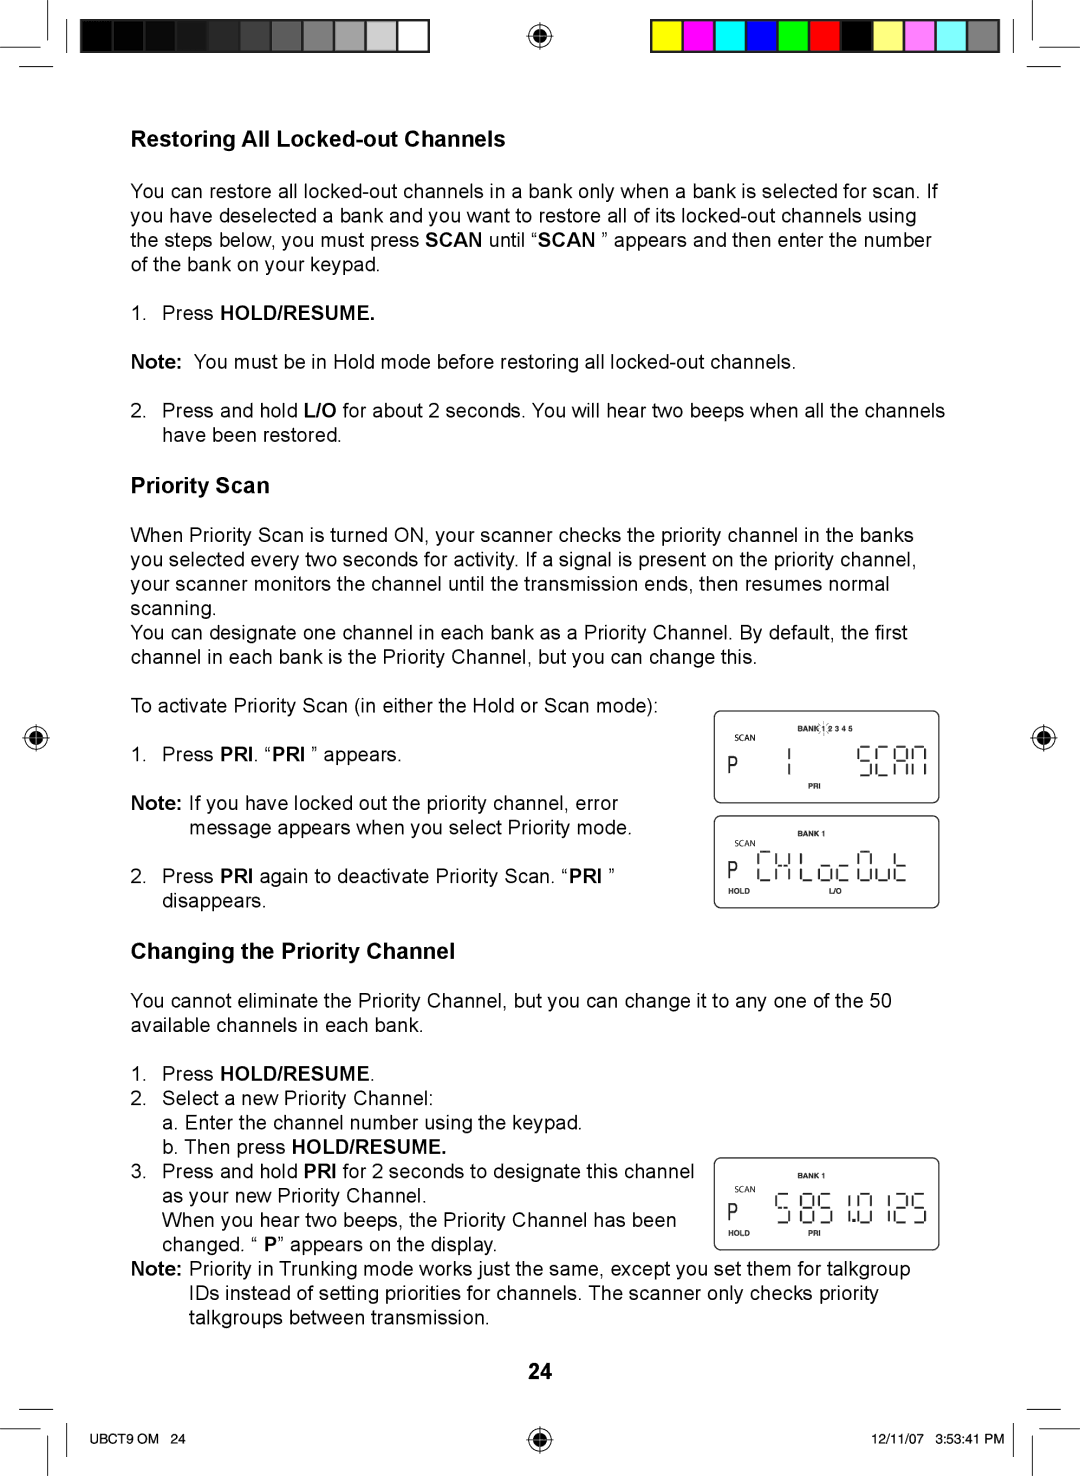
1. Press PRI. “PRI ” appears.
Note: If you have locked out the priority channel, error message appears when you select Priority mode.
SCAN
2. Press PRI again to deactivate Priority Scan. “PRI ” disappears.
Changing the Priority Channel
You cannot eliminate the Priority Channel, but you can change it to any one of the 50 available channels in each bank.
1.Press HOLD/RESUME.
2.Select a new Priority Channel:
a.Enter the channel number using the keypad.
b.Then press HOLD/RESUME.
3. Press and hold PRI for 2 seconds to designate this channel
as your new Priority Channel. | SCAN |
| |
When you hear two beeps, the Priority Channel has been |
|
changed. “ P” appears on the display.
Note: Priority in Trunking mode works just the same, except you set them for talkgroup IDs instead of setting priorities for channels. The scanner only checks priority talkgroups between transmission.
24
UBCT9 OM 24
12/11/07 3:53:41 PM ![]()
