Reading the LED Status
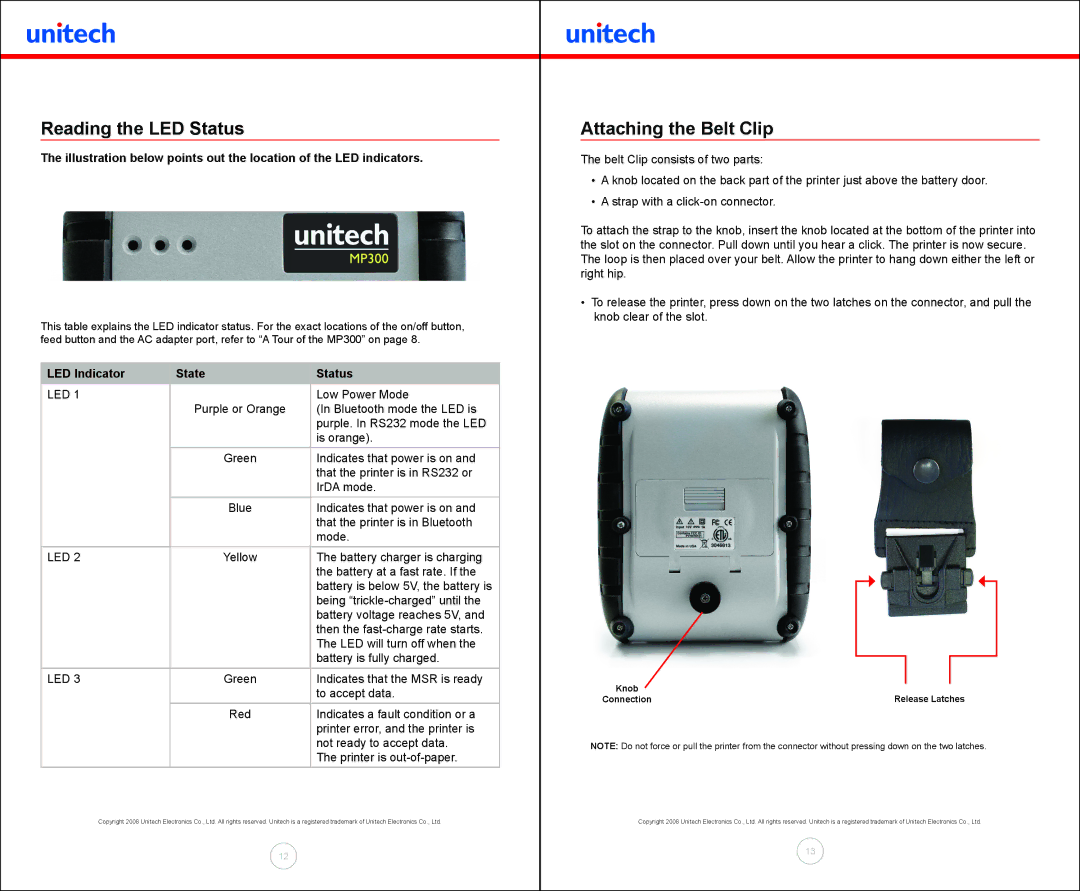
The illustration below points out the location of the LED indicators.
This table explains the LED indicator status. For the exact locations of the on/off button, feed button and the AC adapter port, refer to “A Tour of the MP300” on page 8.
LED Indicator | State | Status |
LED 1 |
| Low Power Mode |
| Purple or Orange | (In Bluetooth mode the LED is |
|
| purple. In RS232 mode the LED |
|
| is orange). |
| Green | Indicates that power is on and |
|
| that the printer is in RS232 or |
|
| IrDA mode. |
| Blue | Indicates that power is on and |
|
| that the printer is in Bluetooth |
|
| mode. |
LED 2 | Yellow | The battery charger is charging |
|
| the battery at a fast rate. If the |
|
| battery is below 5V, the battery is |
|
| being |
|
| battery voltage reaches 5V, and |
|
| then the |
|
| The LED will turn off when the |
|
| battery is fully charged. |
LED 3 | Green | Indicates that the MSR is ready |
|
| to accept data. |
| Red | Indicates a fault condition or a |
|
| printer error, and the printer is |
|
| not ready to accept data. |
|
| The printer is |
Copyright 2008 Unitech Electronics Co., Ltd. All rights reserved. Unitech is a registered trademark of Unitech Electronics Co., Ltd.
12
Attaching the Belt Clip
The belt Clip consists of two parts:
•A knob located on the back part of the printer just above the battery door.
•A strap with a
To attach the strap to the knob, insert the knob located at the bottom of the printer into the slot on the connector. Pull down until you hear a click. The printer is now secure. The loop is then placed over your belt. Allow the printer to hang down either the left or right hip.
•To release the printer, press down on the two latches on the connector, and pull the knob clear of the slot.
Knob | Release Latches |
Connection |
NOTE: Do not force or pull the printer from the connector without pressing down on the two latches.
Copyright 2008 Unitech Electronics Co., Ltd. All rights reserved. Unitech is a registered trademark of Unitech Electronics Co., Ltd.
13