CONTENTS
SAFETY PRECAUTIONS | 1 | USINGHEADPHONES/EARPHONES | ...............9 |
IMPORTANT SAFETY INSTRUCTIONS | 2 | INSTALLATION | 9 |
QUICK INSTALLATION | 3 | TV SETUP | 10 - 12 |
CONTENTS | 4 | Picture Menu | 10 |
ACCESSORIES | 4 | Audio Menu | 10 |
GETTING STARTED | 4 | TV Menu | 11 |
CONTROL REFERENCE GUIDE | 5 - 6 | Setup Menu | 11 - 12 |
CONNECTIONS | 7 - 8 | MAINTENANCE | 12 |
Connecting a TV Antenna | 7 | TROUBLESHOOTING GUIDE | 13 |
Connecting To A VCR / Camcorder / Video |
|
| |
Game System / Cable / Satellite System 7.... |
|
| |
Connecting to HDMI | 8 |
|
|
Connecting the power cord | 8 |
|
|
|
|
|
|
ACCESSORIES |
|
|
|
|
|
| |
Please check and identify the supplied accessories. |
|
| |
Remote Control (with batteries) |
| x 1 | |
Screws |
| x 2 | |
GETTING STARTED
USING THE REMOTE CONTROL
•Point the remote control at the remote sensor located on the unit.
•When there is a strong ambient light source, the performance of the infrared remote sensor may be degraded, causing unreliable operation.
•The recommended effective distance for remote operation is about 16 feet (5 meters).
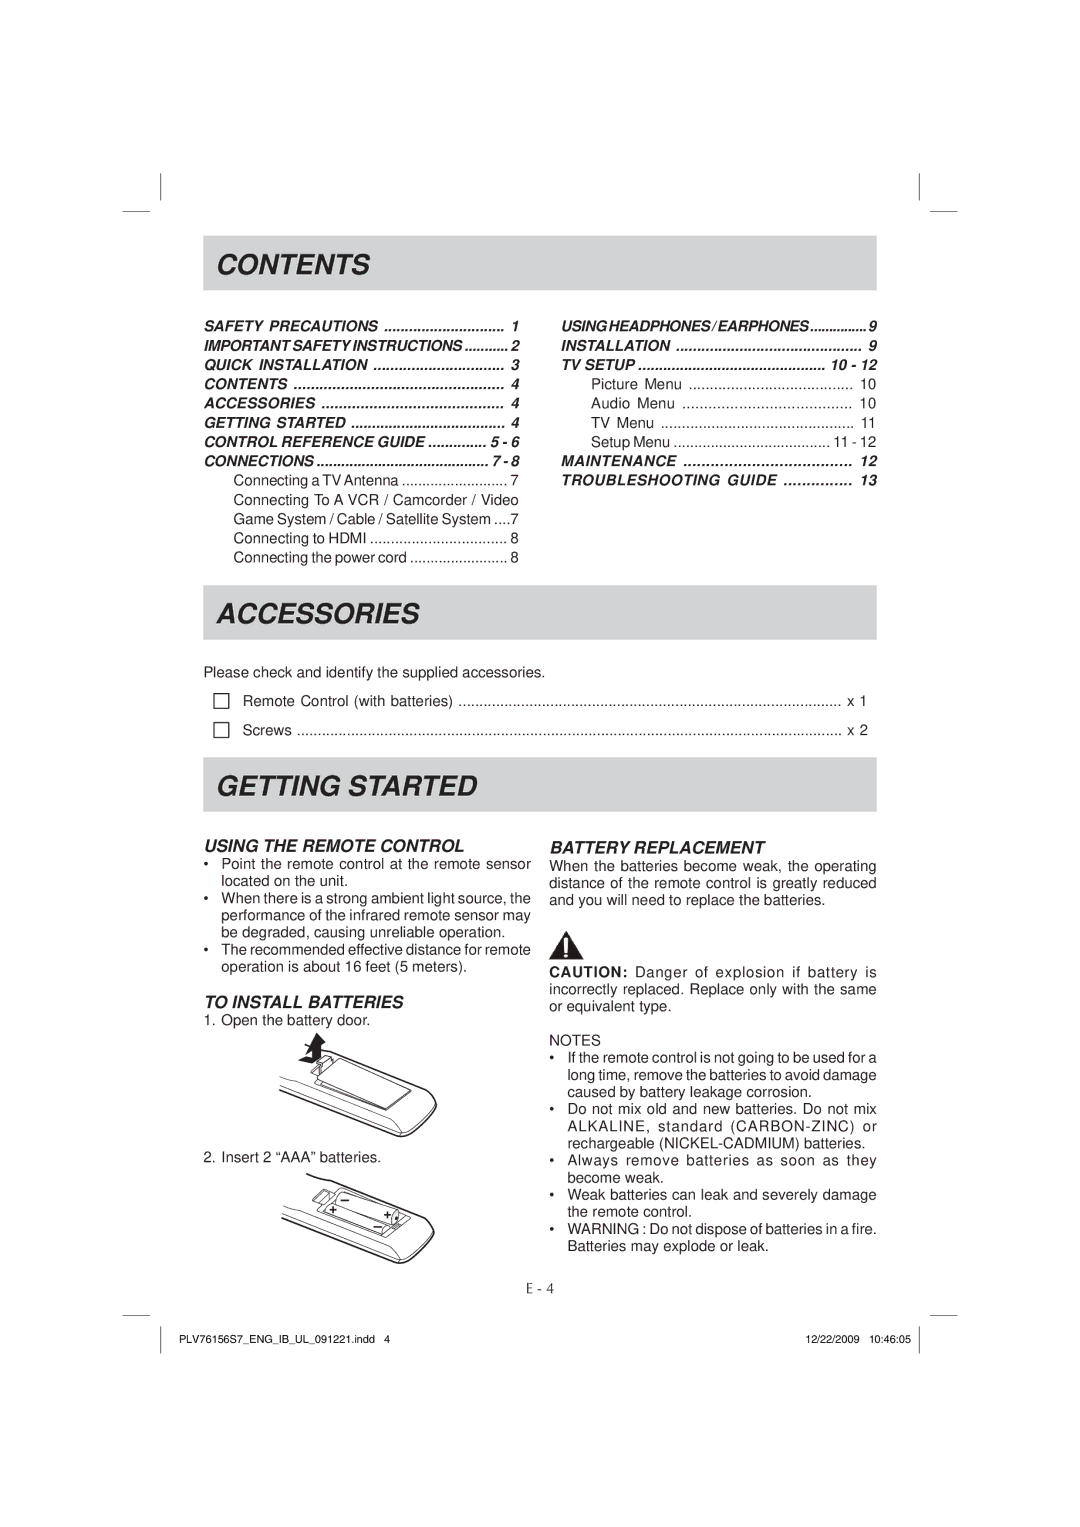
TO INSTALL BATTERIES
1.Open the battery door.
2.Insert 2 “AAA” batteries.
BATTERY REPLACEMENT
When the batteries become weak, the operating distance of the remote control is greatly reduced and you will need to replace the batteries.
CAUTION: Danger of explosion if battery is incorrectly replaced. Replace only with the same or equivalent type.
NOTES
•If the remote control is not going to be used for a long time, remove the batteries to avoid damage caused by battery leakage corrosion.
•Do not mix old and new batteries. Do not mix ALKALINE, standard
•Always remove batteries as soon as they become weak.
•Weak batteries can leak and severely damage the remote control.
•WARNING : Do not dispose of batteries in a fire. Batteries may explode or leak.
E - 4
PLV76156S7_ENG_IB_UL_091221.indd 4 | 12/22/2009 10:46:05 |