Using the Verifone 250 Receipt Printer with MPI 2002
Installing The Ribbon Cartridge
Remove the Ribbon Cover from the Printer Unit by simultaneously
Place the Ribbon Cartridge face up into the ribbon cartridge assembly. The Ribbon Cartridge is
Turn the ribbon advance spindle clockwise until the ribbon is firmly seated in front of the ribbon cartridge assembly. Lastly, replace the Ribbon Cover and proceed to the next section.
Installing Power Pack
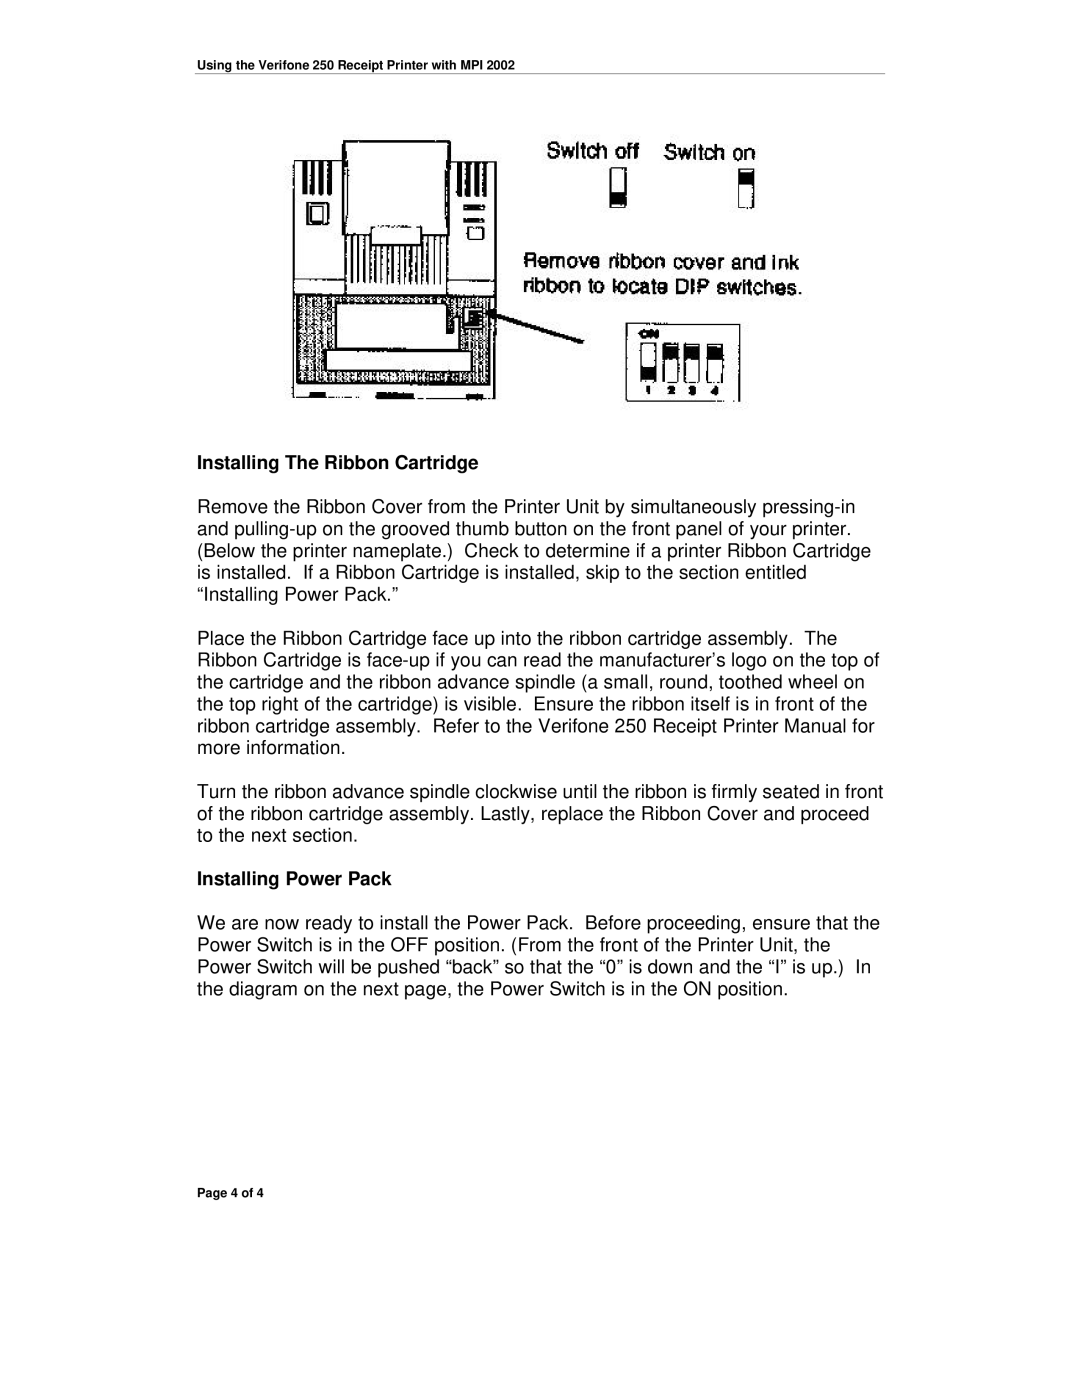
We are now ready to install the Power Pack. Before proceeding, ensure that the Power Switch is in the OFF position. (From the front of the Printer Unit, the Power Switch will be pushed “back” so that the “0” is down and the “I” is up.) In the diagram on the next page, the Power Switch is in the ON position.
Page 4 of 4