Using the Verifone 250 Receipt Printer with MPI 2002
Connecting The Verifone 250 Receipt Printer
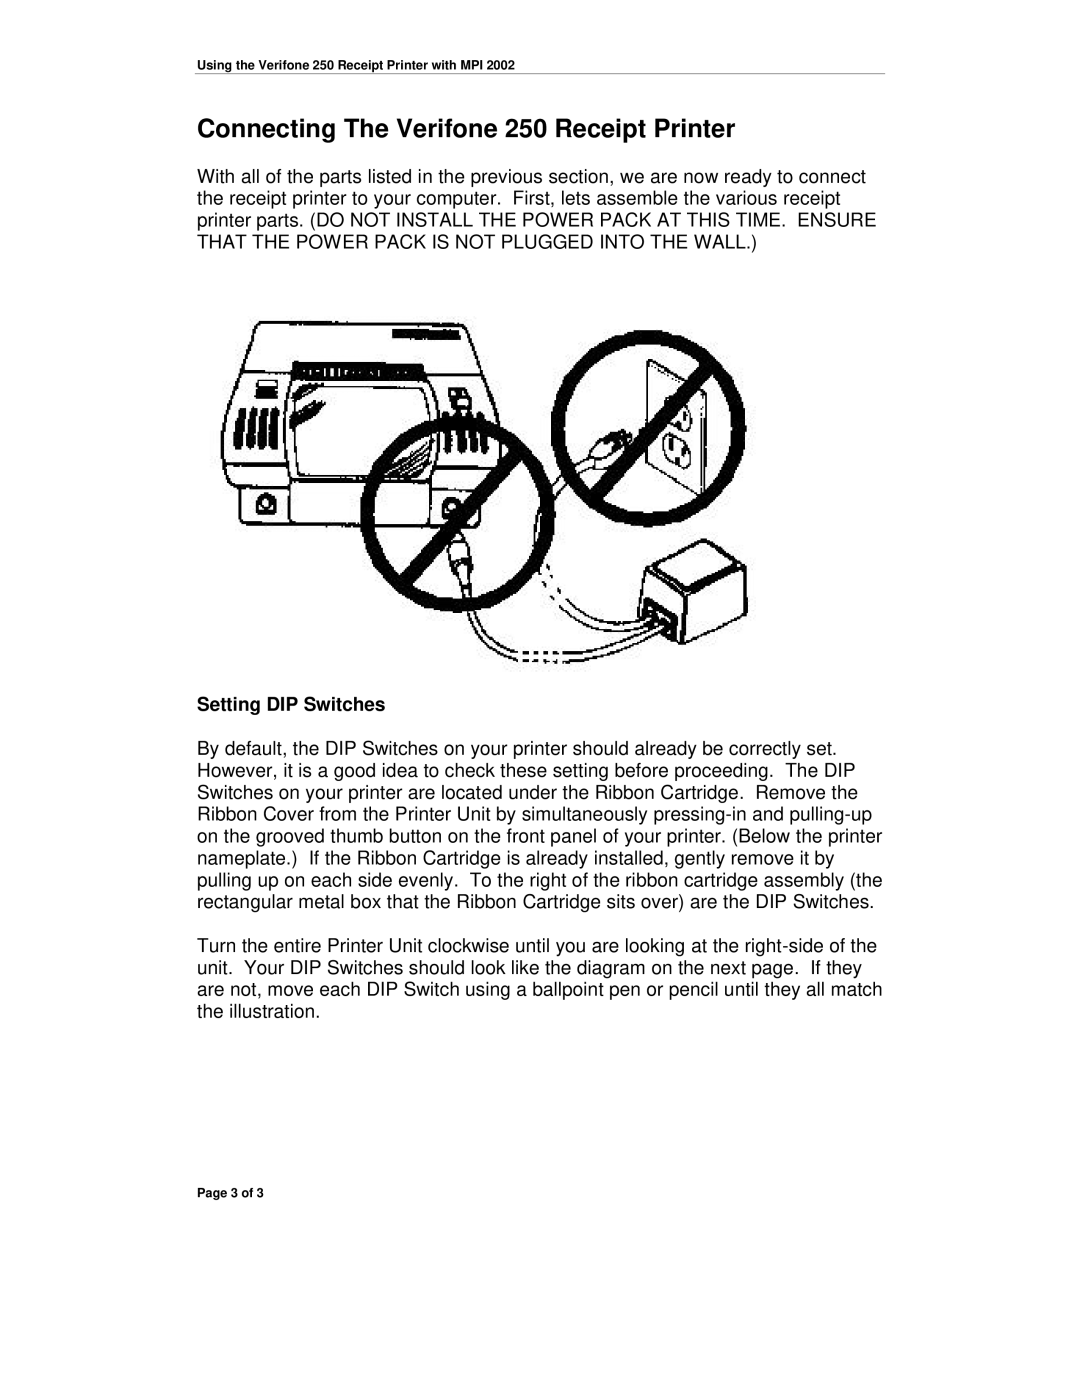
With all of the parts listed in the previous section, we are now ready to connect the receipt printer to your computer. First, lets assemble the various receipt printer parts. (DO NOT INSTALL THE POWER PACK AT THIS TIME. ENSURE THAT THE POWER PACK IS NOT PLUGGED INTO THE WALL.)
Setting DIP Switches
By default, the DIP Switches on your printer should already be correctly set. However, it is a good idea to check these setting before proceeding. The DIP Switches on your printer are located under the Ribbon Cartridge. Remove the Ribbon Cover from the Printer Unit by simultaneously
Turn the entire Printer Unit clockwise until you are looking at the
Page 3 of 3
