Using the Verifone 250 Receipt Printer with MPI 2002
Finally, toggle the Power Switch to determine if the installation was successful. The printer will make some noises and the Power Light will turn green or red.
Installing Paper Roll
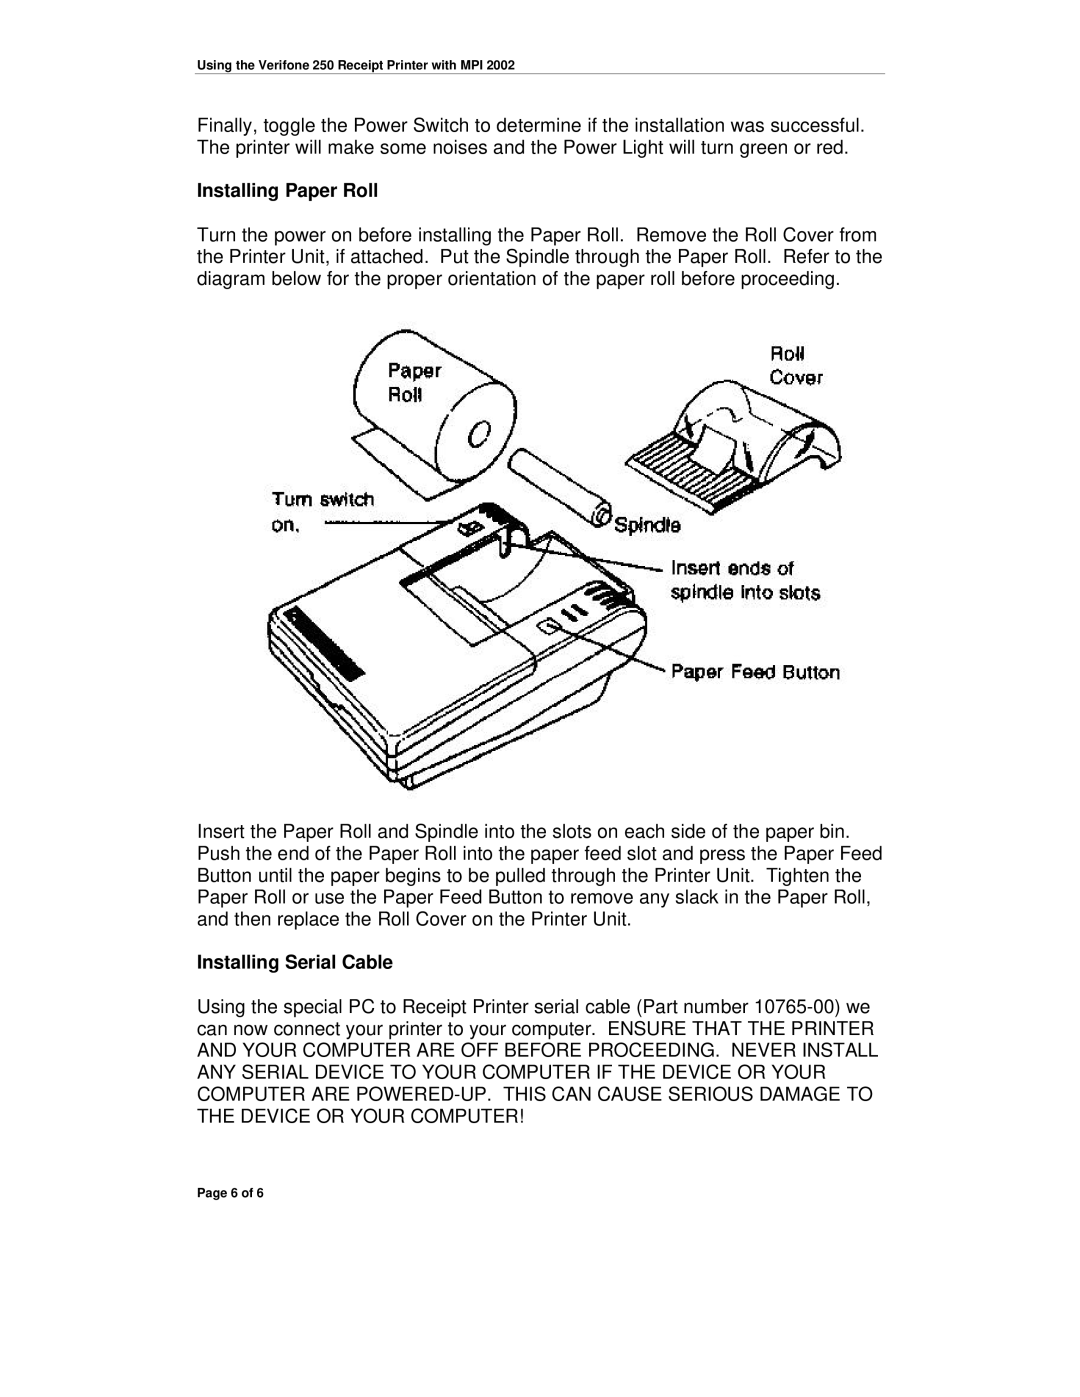
Turn the power on before installing the Paper Roll. Remove the Roll Cover from the Printer Unit, if attached. Put the Spindle through the Paper Roll. Refer to the diagram below for the proper orientation of the paper roll before proceeding.
Insert the Paper Roll and Spindle into the slots on each side of the paper bin. Push the end of the Paper Roll into the paper feed slot and press the Paper Feed Button until the paper begins to be pulled through the Printer Unit. Tighten the Paper Roll or use the Paper Feed Button to remove any slack in the Paper Roll, and then replace the Roll Cover on the Printer Unit.
Installing Serial Cable
Using the special PC to Receipt Printer serial cable (Part number
Page 6 of 6