BULB REPLACEMENT INSTRUCTIONS
Step 3: Removing Bulbs
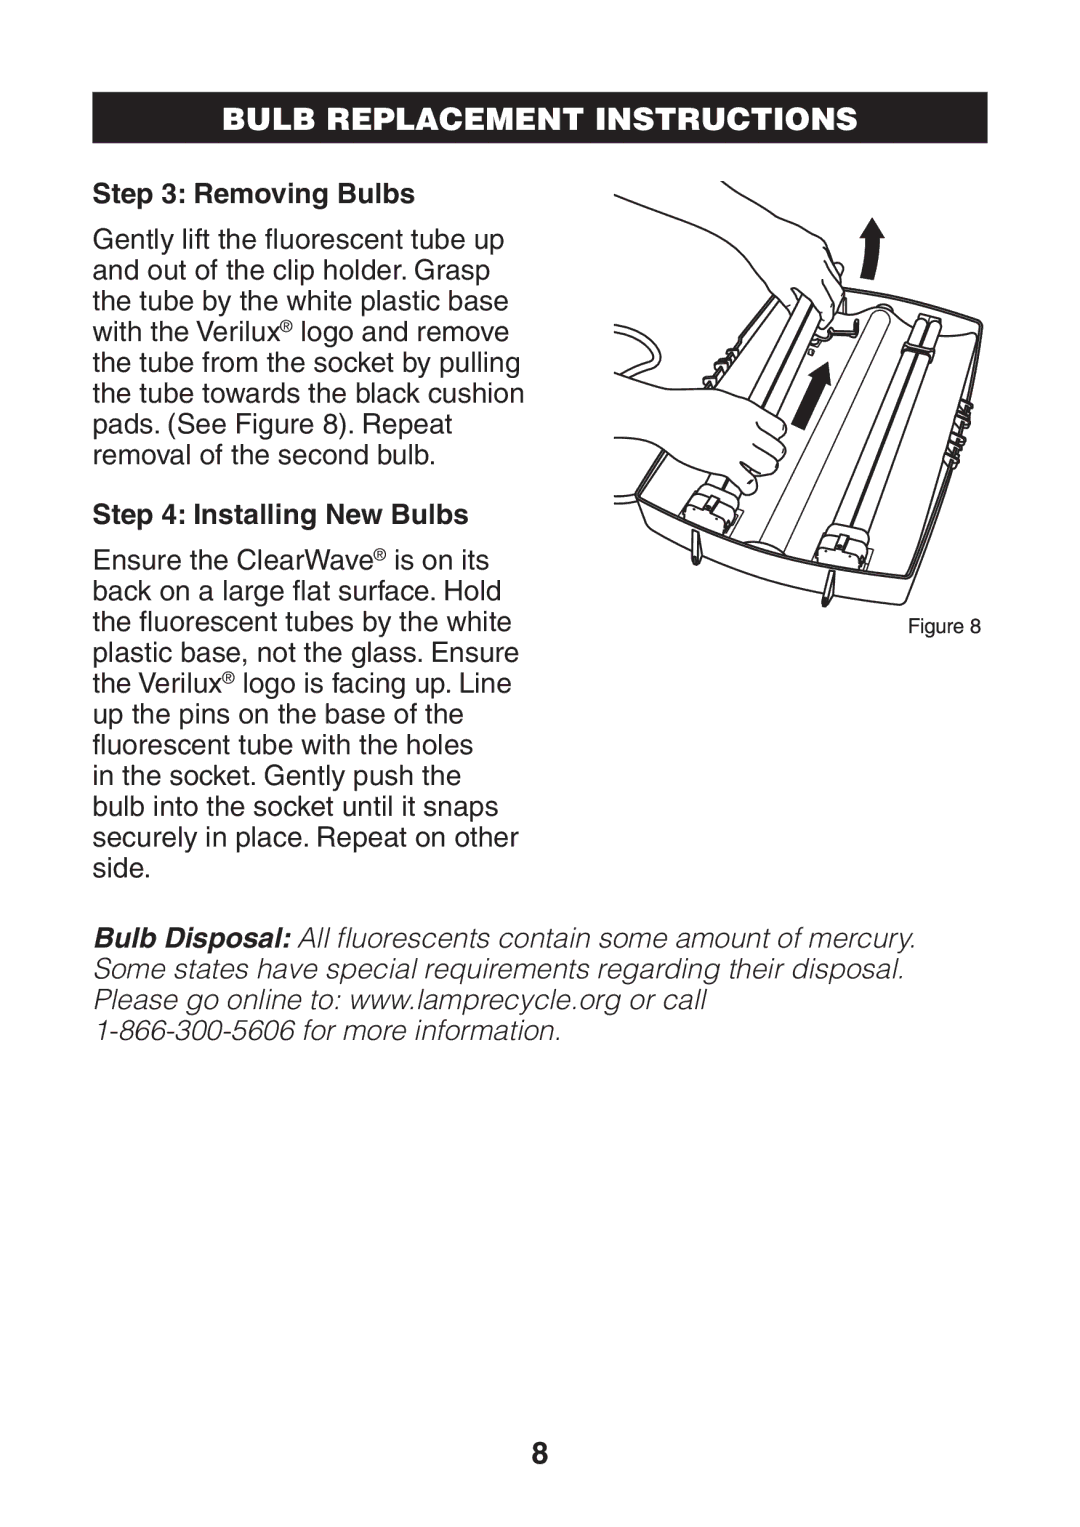
Gently lift the fluorescent tube up and out of the clip holder. Grasp the tube by the white plastic base with the Verilux® logo and remove the tube from the socket by pulling the tube towards the black cushion pads. (See Figure 8). Repeat removal of the second bulb.
Step 4: Installing New Bulbs
Ensure the ClearWave® is on its back on a large flat surface. Hold the fluorescent tubes by the white plastic base, not the glass. Ensure the Verilux® logo is facing up. Line up the pins on the base of the fluorescent tube with the holes
in the socket. Gently push the bulb into the socket until it snaps securely in place. Repeat on other side.
Bulb Disposal: All fl uorescents contain some amount of mercury. Some states have special requirements regarding their disposal. Please go online to: www.lamprecycle.org or call
8