OD24SHKN, P specifications
The Vermont Casting P,OD24SHKN is a remarkable addition to the world of wood-burning stoves, combining classic design with the latest technology for an efficient and enjoyable heating experience. This model is specifically engineered to provide warmth and ambiance, making it an ideal choice for homes looking to maintain a cozy atmosphere during the colder months.One of the main features of the P,OD24SHKN is its robust construction. Crafted from high-quality cast iron, this stove not only ensures durability but also enhances heat retention, providing long-lasting warmth even after the fire has died down. The cast iron material allows for even heat dispersion, ensuring that every corner of the room receives consistent warmth.
The P,OD24SHKN is outfitted with Vermont Castings' advanced air wash system. This technology helps keep the glass door clean, allowing for an unobstructed view of the mesmerizing flames. The air wash system channels a stream of air across the glass, reducing soot buildup and ensuring that the beauty of the fire is always on display.
A standout characteristic of the P,OD24SHKN is its efficient burning process. It features an innovative catalytic combustor that maximizes fuel efficiency, reducing emissions while generating significant heat. This not only minimizes the environmental impact but also helps users save money on their heating bills by utilizing less wood to achieve optimal warmth.
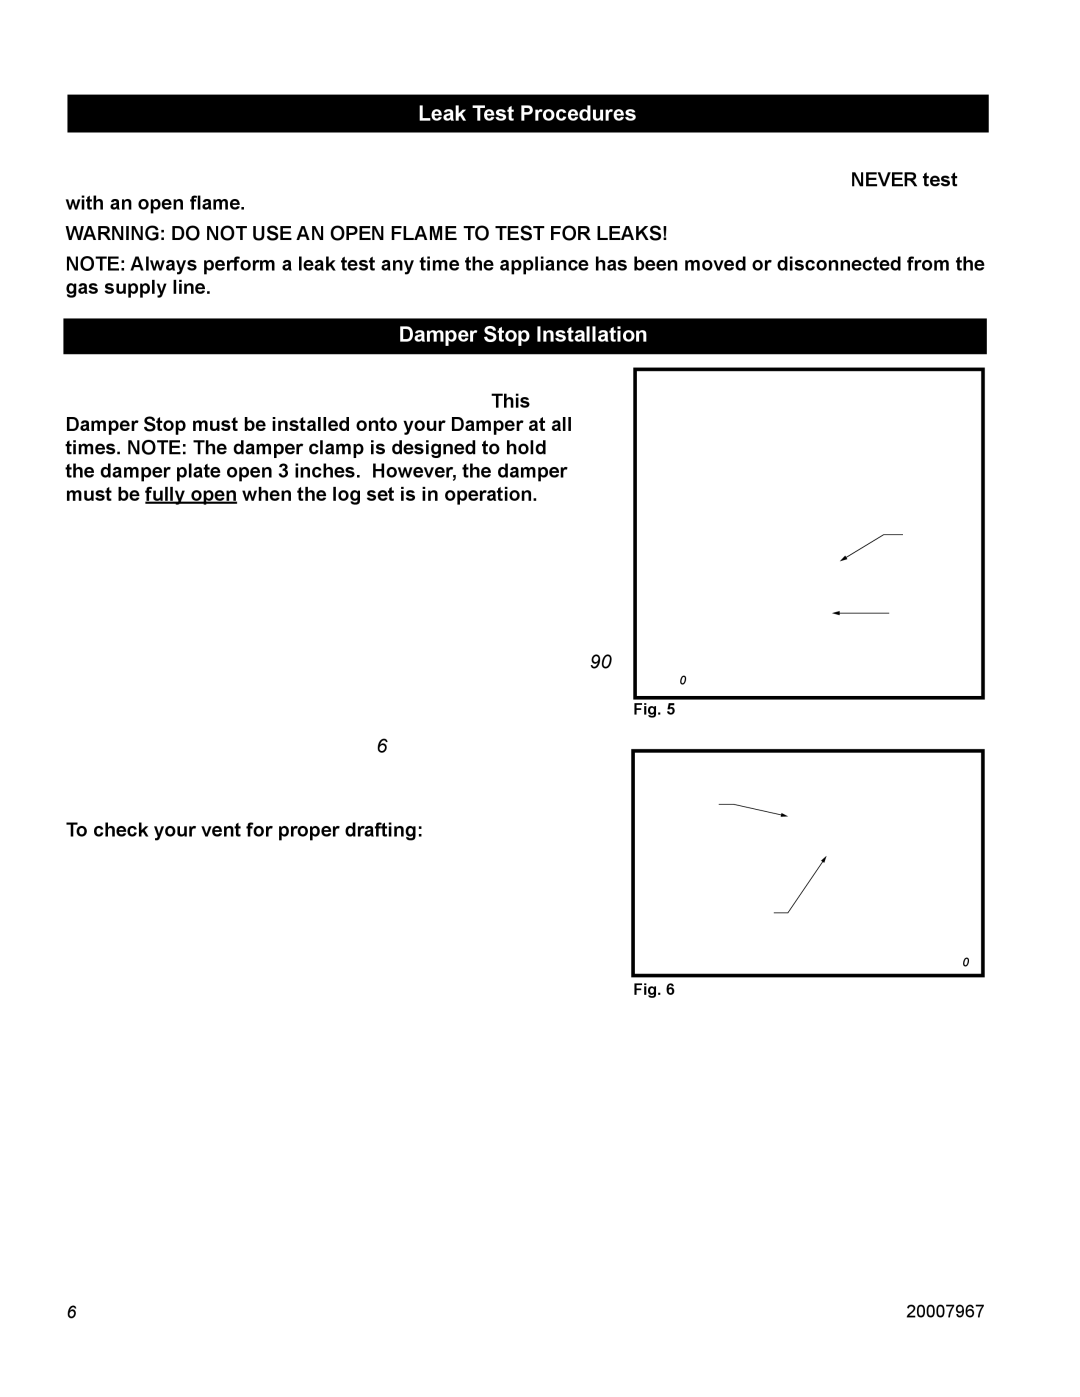
The stove is designed with user convenience in mind, featuring a simple-to-use damper control that allows for easy adjustment of airflow based on the desired heat output. The front-loading design makes it easy to load firewood, and the large firebox can accommodate longer logs, extending burn times between reloads.
Additionally, the Vermont Casting P,OD24SHKN is versatile in terms of aesthetic appeal. It comes in a range of finishes, allowing homeowners to choose a style that complements their interior décor. The classic lines and intricate detailing of the cast iron contribute to a timeless charm, making it not only a source of heat but also an eye-catching centerpiece in any room.
In summary, the Vermont Casting P,OD24SHKN wood stove embodies the perfect blend of tradition and modern technology, featuring durable cast iron construction, advanced combustion systems, and user-friendly operation. It offers homeowners an efficient and stylish heating solution that stands the test of time. Whether for practical warmth or aesthetic enhancement, this model is a worthy investment for any home.