2.Configuring the NMP-550 Media Player
Once the player setup is completed and you have the default presentation running on your monitor, you may then proceed to configuring your
2.1.Attach a USB keyboard to the NMP-550
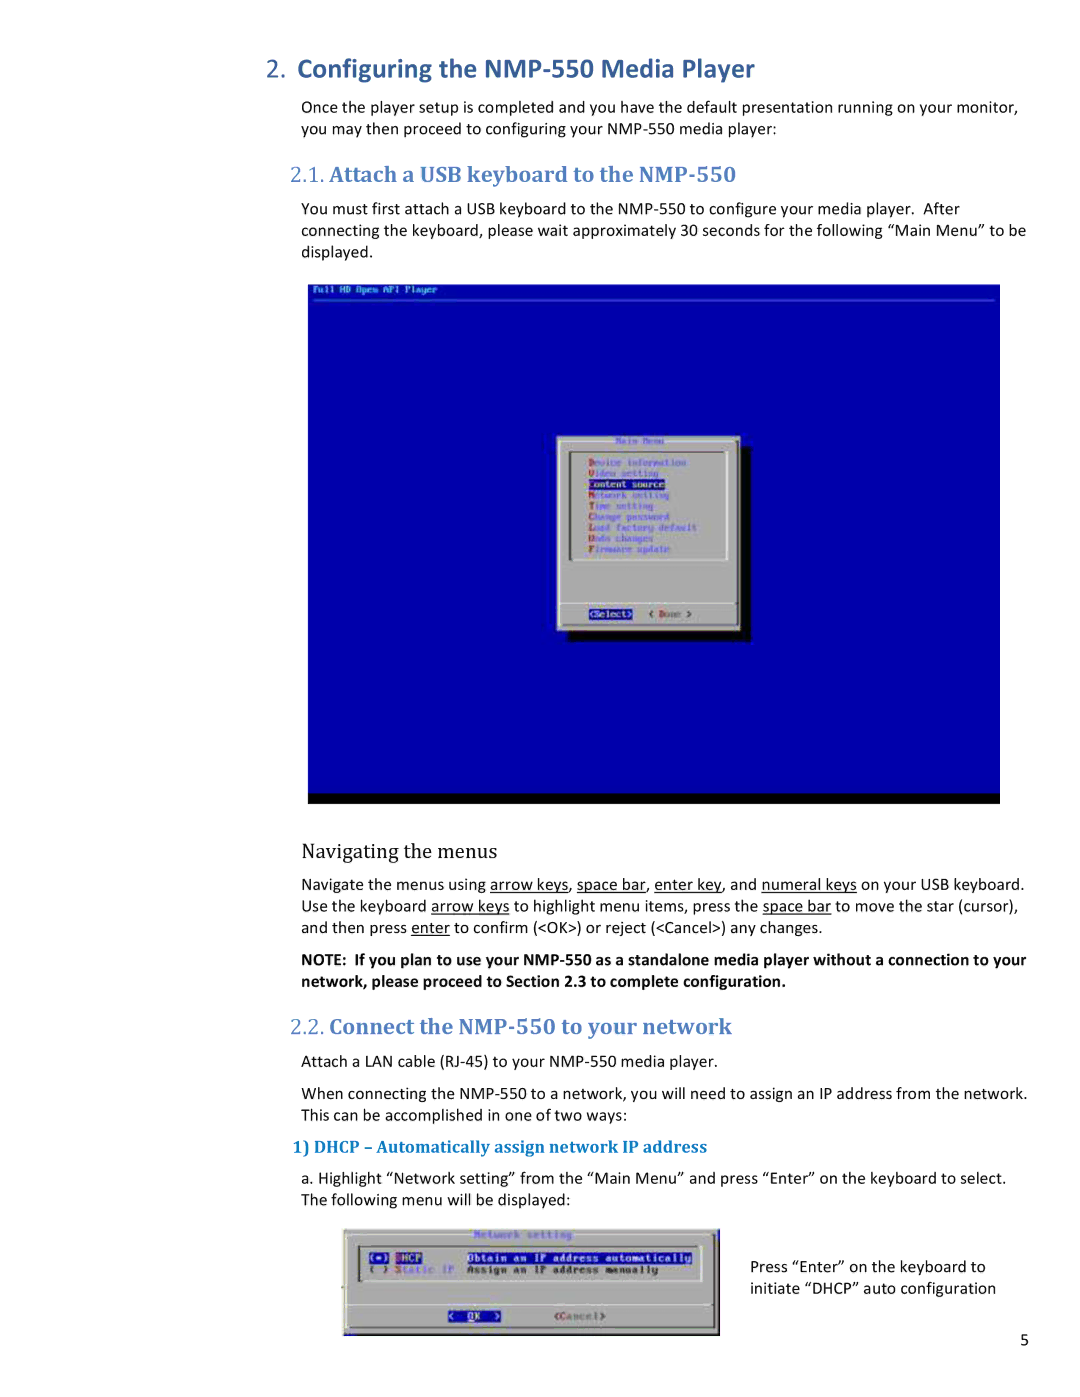
You must first attach a USB keyboard to the
Navigating the menus
Navigate the menus using arrow keys, space bar, enter key, and numeral keys on your USB keyboard. Use the keyboard arrow keys to highlight menu items, press the space bar to move the star (cursor), and then press enter to confirm (<OK>) or reject (<Cancel>) any changes.
NOTE: If you plan to use your
2.2.Connect the NMP-550 to your network
Attach a LAN cable
When connecting the
1)DHCP – Automatically assign network IP address
a. Highlight “Network setting” from the “Main Menu” and press “Enter” on the keyboard to select.
The following menu will be displayed:
Press “Enter” on the keyboard to initiate “DHCP” auto configuration
5
