2.4.Clock and Calendar Settings
Set the correct time zone, time, and date. Daylight Saving (DST) rules can be configured in Set time zone.
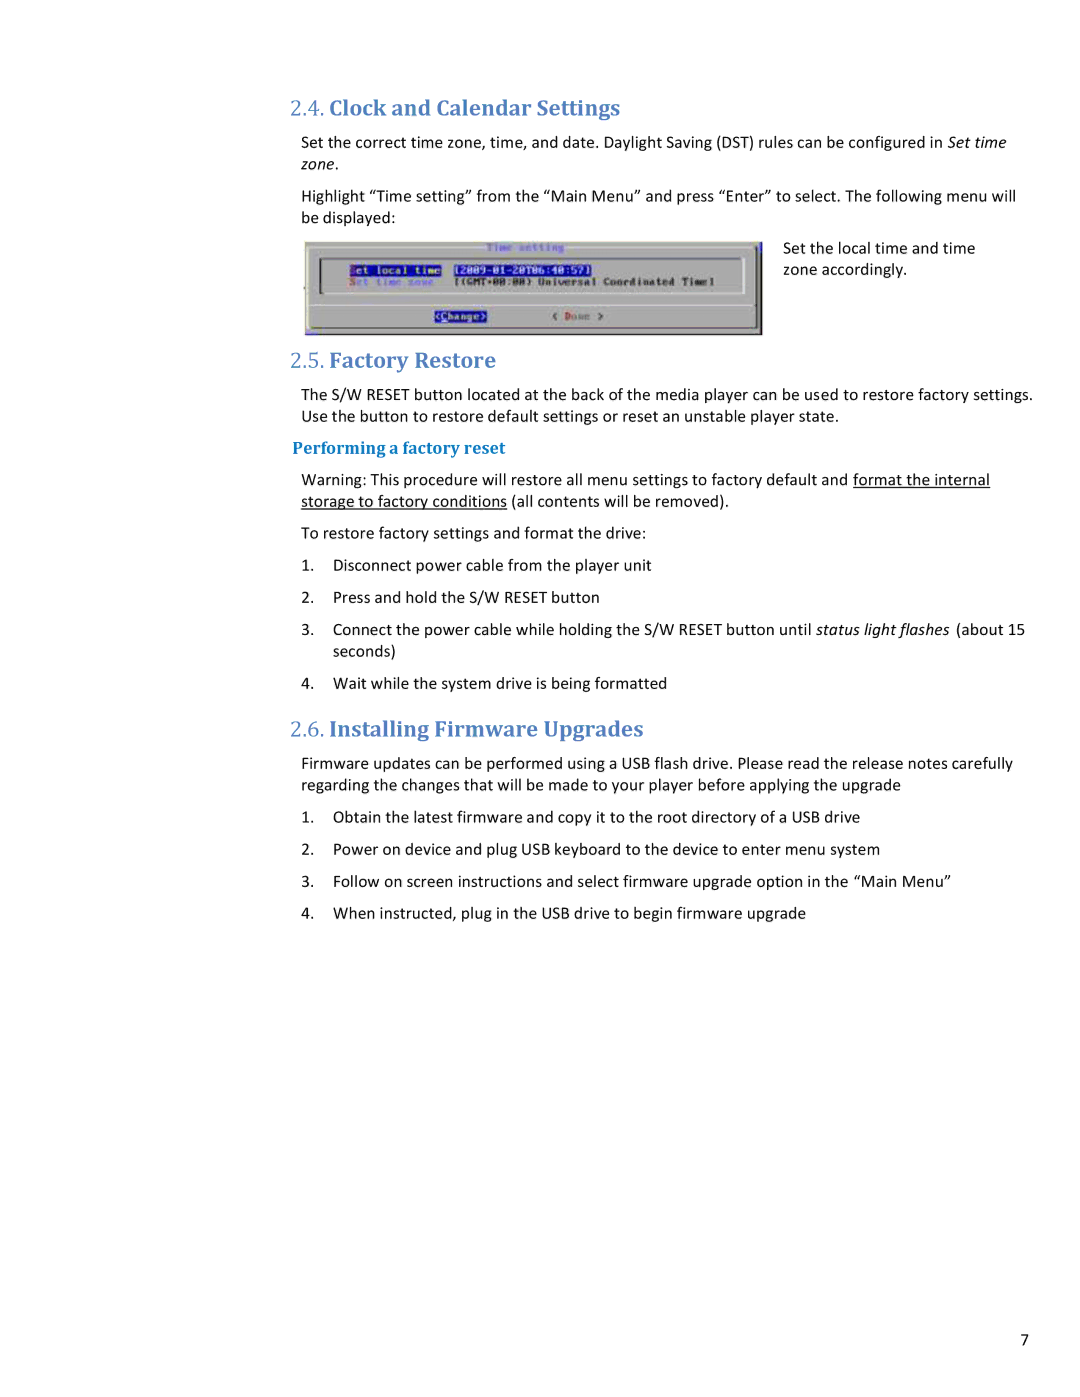
Highlight “Time setting” from the “Main Menu” and press “Enter” to select. The following menu will be displayed:
Set the local time and time zone accordingly.
2.5.Factory Restore
The S/W RESET button located at the back of the media player can be used to restore factory settings. Use the button to restore default settings or reset an unstable player state.
Performing a factory reset
Warning: This procedure will restore all menu settings to factory default and format the internal storage to factory conditions (all contents will be removed).
To restore factory settings and format the drive:
1.Disconnect power cable from the player unit
2.Press and hold the S/W RESET button
3.Connect the power cable while holding the S/W RESET button until status light flashes (about 15 seconds)
4.Wait while the system drive is being formatted
2.6.Installing Firmware Upgrades
Firmware updates can be performed using a USB flash drive. Please read the release notes carefully regarding the changes that will be made to your player before applying the upgrade
1.Obtain the latest firmware and copy it to the root directory of a USB drive
2.Power on device and plug USB keyboard to the device to enter menu system
3.Follow on screen instructions and select firmware upgrade option in the “Main Menu”
4.When instructed, plug in the USB drive to begin firmware upgrade
7