Multifunctional settings
IMAGE
 Menu
Menu
With the IMAGE menu, items shown in the table below can be performed.
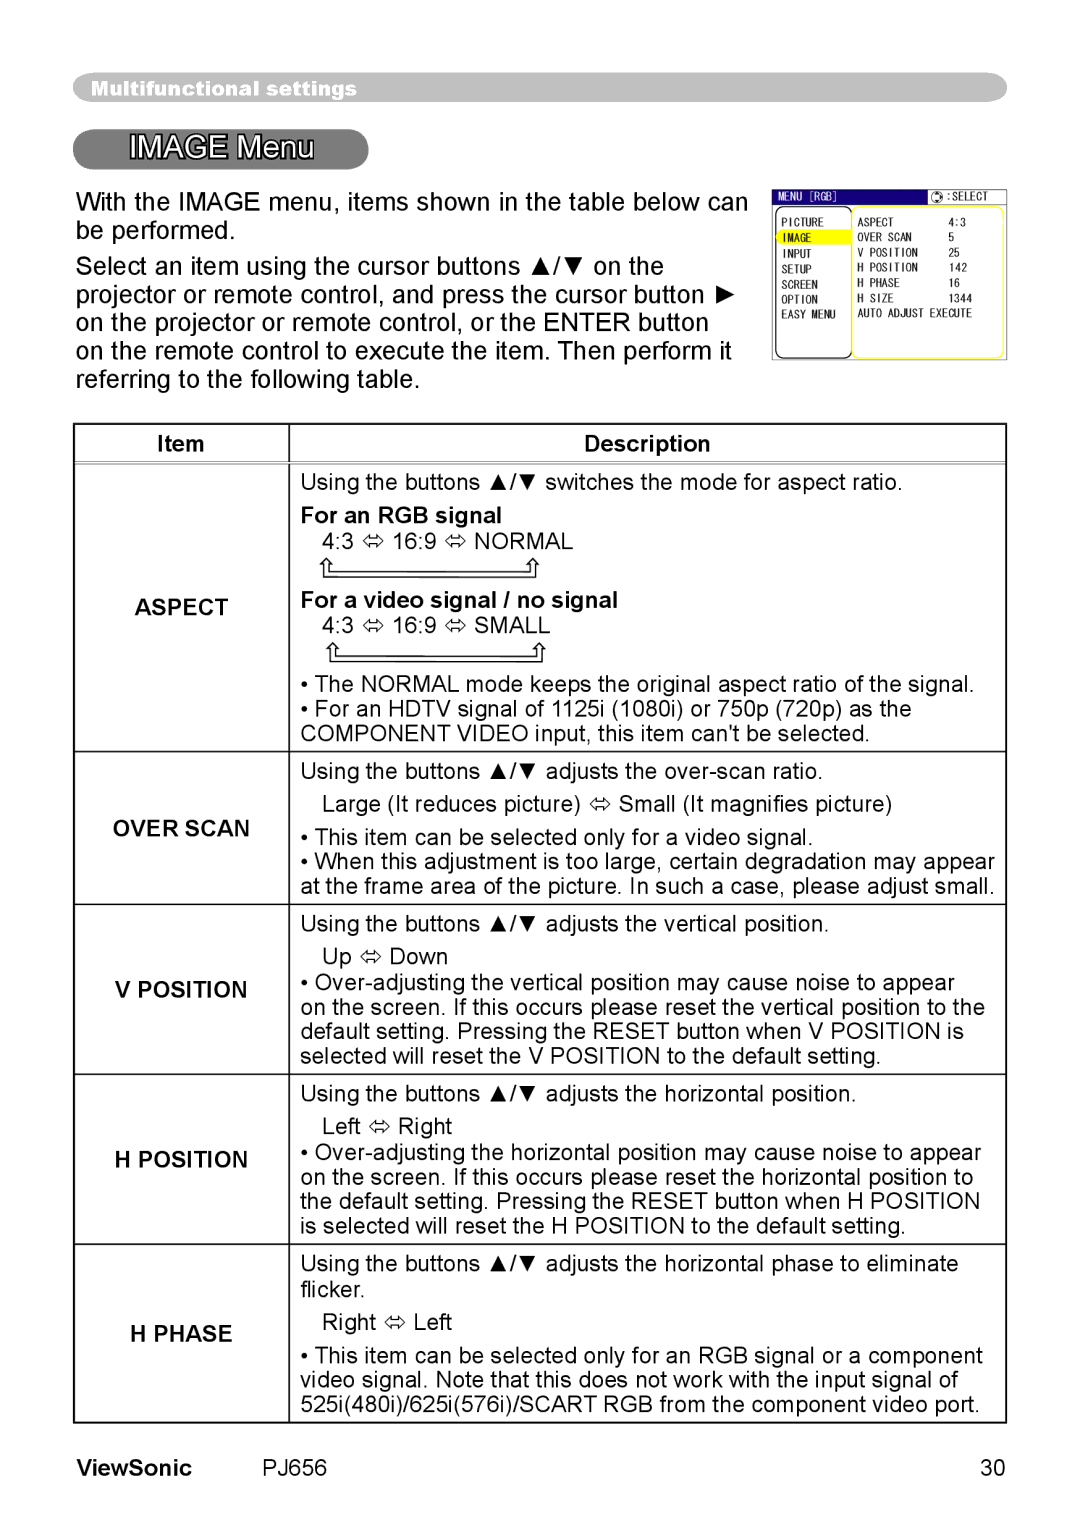
Select an item using the cursor buttons ▲/▼ on the projector or remote control, and press the cursor button ► on the projector or remote control, or the ENTER button on the remote control to execute the item. Then perform it referring to the following table.
MENU [RGB] | :SELECT |
PICTURE | ASPECT 4:3 |
IMAGE | OVER SCAN 5 |
INPUT | V POSITION 25 |
SETUP | H POSITION 142 |
SCREEN | H PHASE 16 |
OPTION | H SIZE 1344 |
EASY MENU | AUTO ADJUST EXECUTE |
Item
Description
|
| Using the buttons ▲/▼ switches the mode for aspect ratio. |
|
|
| For an RGB signal |
|
|
| 4:3 16:9 NORMAL |
|
ASPECT |
| For a video signal / no signal |
|
|
| 4:3 16:9 SMALL |
|
|
| • The NORMAL mode keeps the original aspect ratio of the signal. |
|
|
| • For an HDTV signal of 1125i (1080i) or 750p (720p) as the |
|
|
| COMPONENT VIDEO input, this item can't be selected. |
|
|
| Using the buttons ▲/▼ adjusts the |
|
OVER SCAN |
| Large (It reduces picture) Small (It magnifies picture) |
|
| • This item can be selected only for a video signal. |
| |
|
| • When this adjustment is too large, certain degradation may appear | |
|
| at the frame area of the picture. In such a case, please adjust small. | |
|
| Using the buttons ▲/▼ adjusts the vertical position. |
|
|
| Up Down |
|
V POSITION |
| • |
|
|
| on the screen. If this occurs please reset the vertical position to the | |
|
| default setting. Pressing the RESET button when V POSITION is |
|
|
| selected will reset the V POSITION to the default setting. |
|
|
| Using the buttons ▲/▼ adjusts the horizontal position. |
|
|
| Left Right |
|
H POSITION |
| • | |
|
| on the screen. If this occurs please reset the horizontal position to |
|
|
| the default setting. Pressing the RESET button when H POSITION | |
|
| is selected will reset the H POSITION to the default setting. |
|
|
| Using the buttons ▲/▼ adjusts the horizontal phase to eliminate |
|
|
| flicker. |
|
H PHASE |
| Right Left |
|
| • This item can be selected only for an RGB signal or a component | ||
|
| ||
|
| video signal. Note that this does not work with the input signal of |
|
|
| 525i(480i)/625i(576i)/SCART RGB from the component video port. | |
ViewSonic | PJ656 | 30 | |