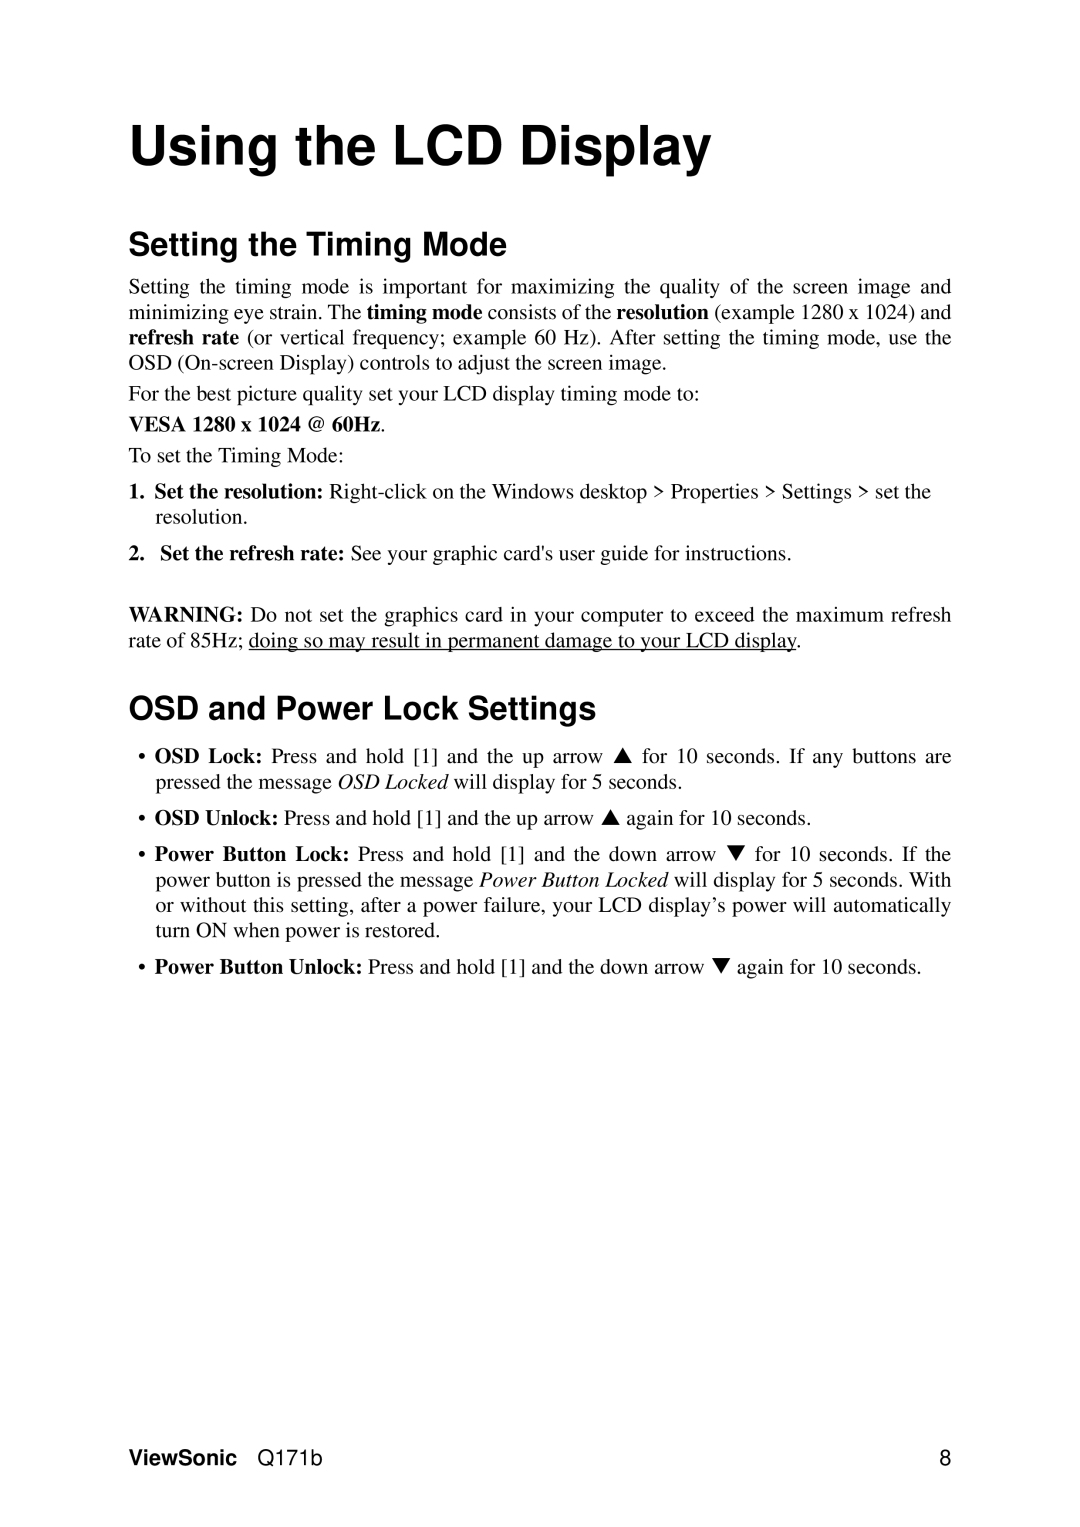
Using the LCD Display
Setting the Timing Mode
Setting the timing mode is important for maximizing the quality of the screen image and minimizing eye strain. The timing mode consists of the resolution (example 1280 x 1024) and refresh rate (or vertical frequency; example 60 Hz). After setting the timing mode, use the OSD
For the best picture quality set your LCD display timing mode to:
VESA 1280 x 1024 @ 60Hz.
To set the Timing Mode:
1.Set the resolution:
2.Set the refresh rate: See your graphic card's user guide for instructions.
WARNING: Do not set the graphics card in your computer to exceed the maximum refresh rate of 85Hz; doing so may result in permanent damage to your LCD display.
OSD and Power Lock Settings
•OSD Lock: Press and hold [1] and the up arrow S for 10 seconds. If any buttons are pressed the message OSD Locked will display for 5 seconds.
•OSD Unlock: Press and hold [1] and the up arrow S again for 10 seconds.
•Power Button Lock: Press and hold [1] and the down arrow T for 10 seconds. If the power button is pressed the message Power Button Locked will display for 5 seconds. With or without this setting, after a power failure, your LCD display’s power will automatically turn ON when power is restored.
•Power Button Unlock: Press and hold [1] and the down arrow T again for 10 seconds.
ViewSonic Q171b | 8 |
