Chapter 2: Set-up and Fitting

Your VISION dealer will have put your recumbent together and set the adjustments for you. We don't recommend riding your VISION at all until the following procedures have been accomplished or checked by a qualified bicycle mechanic. We will review the fitting instructions here, and also point out some areas that need continuing inspection.

The Handlebar

Your VISION handlebar has been installed on your bike at the factory, but removed from the steerer (over-seat steering style) or the fork stem (below-seat style) for shipment.

For over-seat steering models, insert the lower handlebar stem into the fork completely, align the stem plates parallel to the front wheel, and tighten the stem bolt to a torque specification of 65 in-lbs. Next, adjust the height of the bar at the sliding section. When you are comfortable with the height, make sure at least 3 inches of the lower riser are still in the upper riser, align the handlebars perpendicular to the front wheel, and tighten the riser clamp to 65 in-lbs.

The above bar handlebar rotates forward for ease of entry and exit - it is meant to be pulled back tight against the fore/aft rest adjustment bolt under riding conditions. Set the bolt such that your elbows just rest against the seat sides when the handlebars are pulled against the stop.

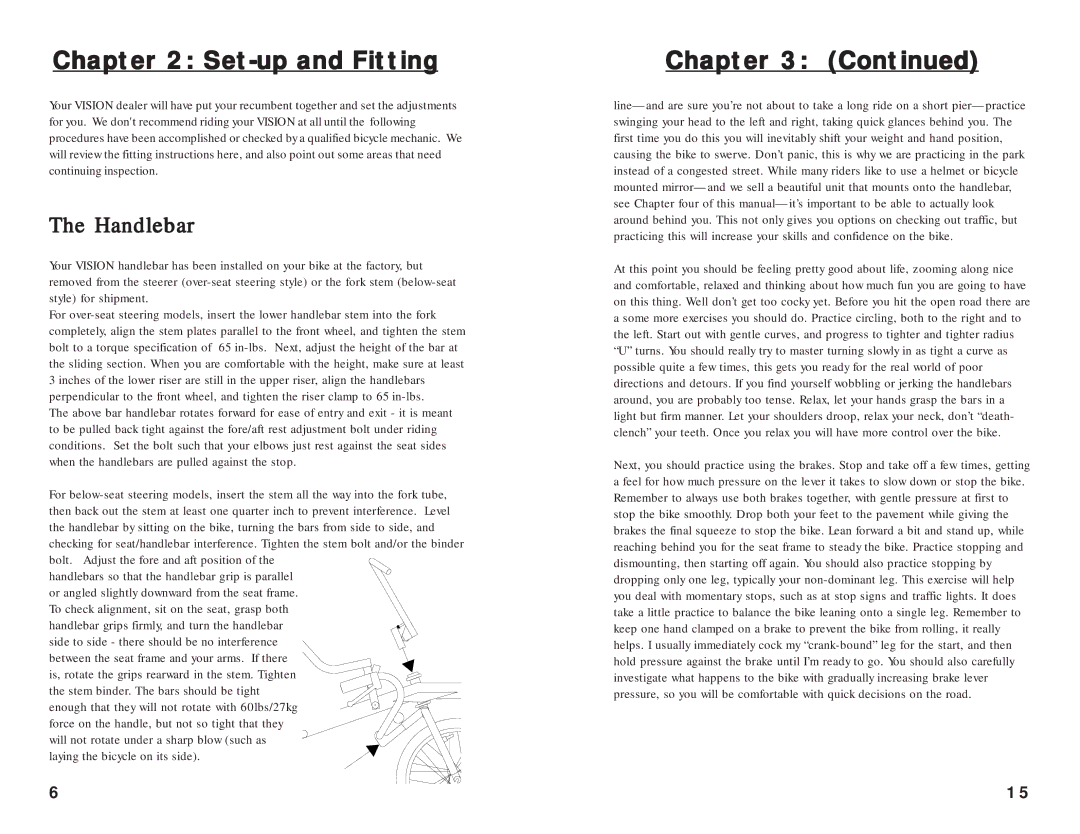
For below-seat steering models, insert the stem all the way into the fork tube, then back out the stem at least one quarter inch to prevent interference. Level the handlebar by sitting on the bike, turning the bars from side to side, and checking for seat/handlebar interference. Tighten the stem bolt and/or the binder bolt. Adjust the fore and aft position of the

handlebars so that the handlebar grip is parallel or angled slightly downward from the seat frame. To check alignment, sit on the seat, grasp both handlebar grips firmly, and turn the handlebar side to side - there should be no interference

between the seat frame and your arms. If there is, rotate the grips rearward in the stem. Tighten the stem binder. The bars should be tight enough that they will not rotate with 60lbs/27kg force on the handle, but not so tight that they will not rotate under a sharp blow (such as laying the bicycle on its side).

Chapter 3: (Continued)

line—and are sure you’re not about to take a long ride on a short pier—practice swinging your head to the left and right, taking quick glances behind you. The first time you do this you will inevitably shift your weight and hand position, causing the bike to swerve. Don’t panic, this is why we are practicing in the park instead of a congested street. While many riders like to use a helmet or bicycle mounted mirror—and we sell a beautiful unit that mounts onto the handlebar, see Chapter four of this manual—it’s important to be able to actually look around behind you. This not only gives you options on checking out traffic, but practicing this will increase your skills and confidence on the bike.

At this point you should be feeling pretty good about life, zooming along nice and comfortable, relaxed and thinking about how much fun you are going to have on this thing. Well don’t get too cocky yet. Before you hit the open road there are a some more exercises you should do. Practice circling, both to the right and to the left. Start out with gentle curves, and progress to tighter and tighter radius “U” turns. You should really try to master turning slowly in as tight a curve as possible quite a few times, this gets you ready for the real world of poor directions and detours. If you find yourself wobbling or jerking the handlebars around, you are probably too tense. Relax, let your hands grasp the bars in a light but firm manner. Let your shoulders droop, relax your neck, don’t “death- clench” your teeth. Once you relax you will have more control over the bike.

Next, you should practice using the brakes. Stop and take off a few times, getting a feel for how much pressure on the lever it takes to slow down or stop the bike. Remember to always use both brakes together, with gentle pressure at first to stop the bike smoothly. Drop both your feet to the pavement while giving the brakes the final squeeze to stop the bike. Lean forward a bit and stand up, while reaching behind you for the seat frame to steady the bike. Practice stopping and dismounting, then starting off again. You should also practice stopping by dropping only one leg, typically your non-dominant leg. This exercise will help you deal with momentary stops, such as at stop signs and traffic lights. It does take a little practice to balance the bike leaning onto a single leg. Remember to keep one hand clamped on a brake to prevent the bike from rolling, it really helps. I usually immediately cock my “crank-bound” leg for the start, and then hold pressure against the brake until I’m ready to go. You should also carefully investigate what happens to the bike with gradually increasing brake lever pressure, so you will be comfortable with quick decisions on the road.

6

15

Page 6
Image 6
Vision Fitness R55, R68, R44, R45, R54, R65, R64, R50, R40 manual Set-up and Fitting, Handlebar

R40, R65, R55, R54, R50 specifications

Vision Fitness has established itself as a prominent brand in the realm of fitness equipment, delivering high-quality and effective machines for avid fitness enthusiasts and casual users alike. The R44, R45, R68, R64, and R50 recumbent bikes are a testament to the brand's commitment to innovation, performance, and user comfort, making them excellent choices for home workouts.

The Vision Fitness R44 and R45 models are designed with user-friendly features that cater to a wide range of fitness levels. Both bikes come equipped with adjustable seating and handlebars, ensuring that users can find their ideal position for maximum comfort during workouts. The R44 features a durable frame that supports up to 300 pounds, while the R45 boasts a broader range of resistance levels, providing a customizable workout experience.

Transitioning to the R64 model, this recumbent bike incorporates advanced technological features such as a built-in Bluetooth connection that syncs with popular fitness apps. Additionally, its oversized LCD display provides real-time feedback on metrics such as heart rate, speed, distance, and calories burned. The R64’s compact design makes it easy to fit into spaces of various sizes, making it a practical choice for home gyms.

Meanwhile, the R68 model takes comfort to the next level with its generous padding and ergonomic design. This bike also focuses on enhancing exercise safety, featuring a step-through frame that enables easy access for individuals with mobility challenges. It includes a variety of pre-set workout programs that cater to different fitness goals, whether it's weight loss, endurance training, or rehabilitation.

The cornerstone of these models, including the R50, is their magnetic resistance system, which allows for smooth and quiet operation. This feature is essential for users who prefer to work out while watching television or listening to music without the distraction of mechanical noise. The R50 also stands out due to its customizable user profiles, allowing multiple users to track their progress individually.

In summary, the Vision Fitness R44, R45, R68, R64, and R50 recumbent bikes encompass a blend of comfort, technology, and design. Each model offers unique features tailored to diverse fitness needs, ensuring that users can find a recumbent bike that perfectly suits their lifestyle. With their robust construction and innovative features, these bikes are an excellent investment for anyone seeking to enhance their fitness journey at home.