MAINTENANCE
CLEANING VALVES
2.If possible, leave the copper washer under the cap in place. At least be sure to replace it with the same side up. (The top will show the imprint of the end cap, while the bottom should be perfectly flat to match seat in the pump casting.) See Paint Pump Assem- bly Parts Diagram,Item 4 for replacement part num- ber.
3.With a wire hook or tweezers, remove the small spring inside the valve. Replace if broken, or worn or clean as necessary. See Paint Pump Assembly Parts Diagram, Item 4 for replacement part number. This spring is manufactured to a very specific ten- sion, so do not put in an unauthorized subsitute. Proper spring length is
4.Using a
5.Clean parts thoroughly. If the ball or seat show any sign of wear or damage, replace it with a new one. This carbide ball must seal tightly against its seat for the valve to function properly.
6.When reassembling, first cover all parts with a thin coat of light oil. Tighten the valve seat securely with the
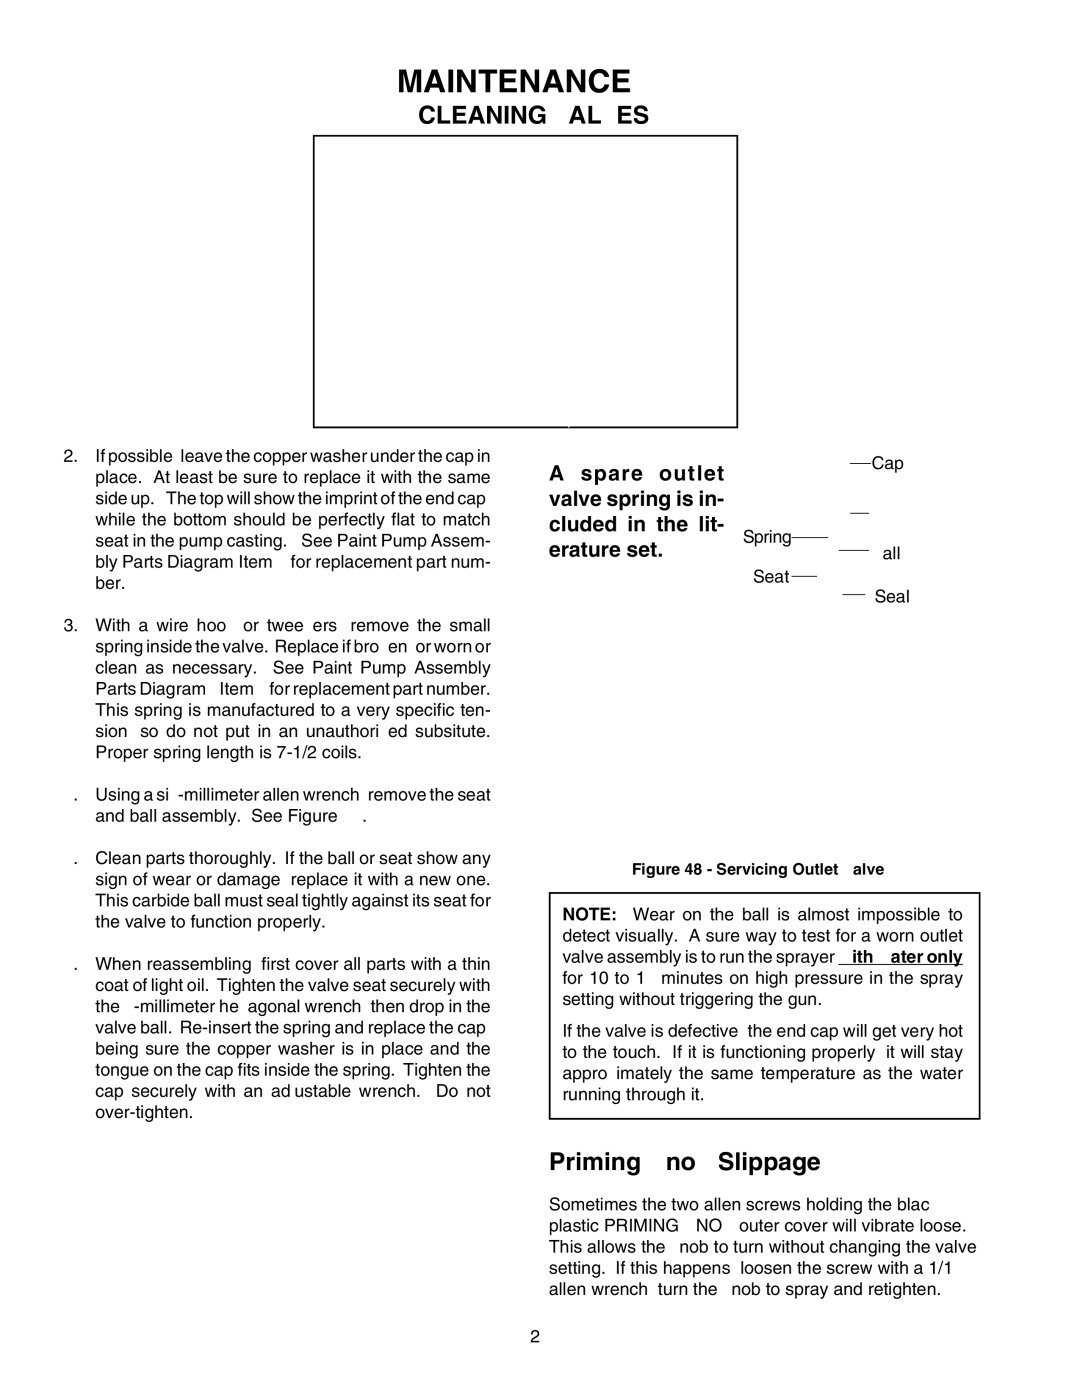
A spare outlet | Cap |
| |
valve spring is in- |
|
cluded in the lit- | Spring |
erature set. | Ball |
| Seat |
| Seal |
Figure 48 - Servicing Outlet Valve
NOTE: Wear on the ball is almost impossible to detect visually. A sure way to test for a worn outlet valve assembly is to run the sprayer with water only for 10 to 15 minutes on high pressure in the spray setting without triggering the gun.
If the valve is defective, the end cap will get very hot to the touch. If it is functioning properly, it will stay approximately the same temperature as the water running through it.
Priming Knob Slippage
Sometimes the two allen screws holding the black plastic PRIMING KNOB outer cover will vibrate loose. This allows the knob to turn without changing the valve setting. If this happens, loosen the screw with a 1/16 allen wrench, turn the knob to spray and retighten.
24