SON/OFF Switch
the OFF position and assure the engine stops; then restart engine and continue.
SFuel Tank
SBlade Guard
CHECK FOR LOOSE
FASTENERS AND PARTS
SBlade nut S Muffler
S Cylinder shield S Clutch
S Throttle trigger S Handle screws S Fasteners
INSPECT AND CLEAN UNIT & LA- BELS
S After each use, inspect complete unit for loose or damaged parts. Clean the unit and labels using a damp cloth with a mild deter- gent.
SWipe off unit with a clean dry cloth.
CLEAN AIR FILTER
A dirty air filter decreases the life and perfor- mance of the engine and increases fuel con- sumption and harmful emissions.
Always clean your air filter after 5 tanks of fuel or 5 hours of operation, whichever comes first. Clean more frequently in dusty condi- tions. It is advisable to replace your air filter with a new one after every 50 hours of opera- tion, or annually, whichever comes first.
To clean filter:
1. Clean the cover and the area around it to keep dirt from falling into the carburetor chamber when the cover is removed.
2. Remove the two screws and the air filter cover from the engine.
3. Remove air filter.
NOTE: Do not clean the air filter with gaso- line or other flammable solvent to avoid creat- ing a fire hazard or producing harmful evapo- rative emissions.
4.Clean the air filter using hot soapy water. Rinse with clean cool water. Air dry com- pletely before reinstalling.
5.Lightly oil air filter before installing to im- prove the efficiency of the air filter. Use
NOTE: Do not soak air filter in oil.
6.Squeeze the air filter to distribute oil and to remove any excess oil.
7.Reinstall air filter in housing. CAUTION: Make sure air filter is fitted in to the corners of the housing to prevent air from
bypassing the filter and to keep dust from en- tering engine and causing damage.
8. Reinstall air filter cover.
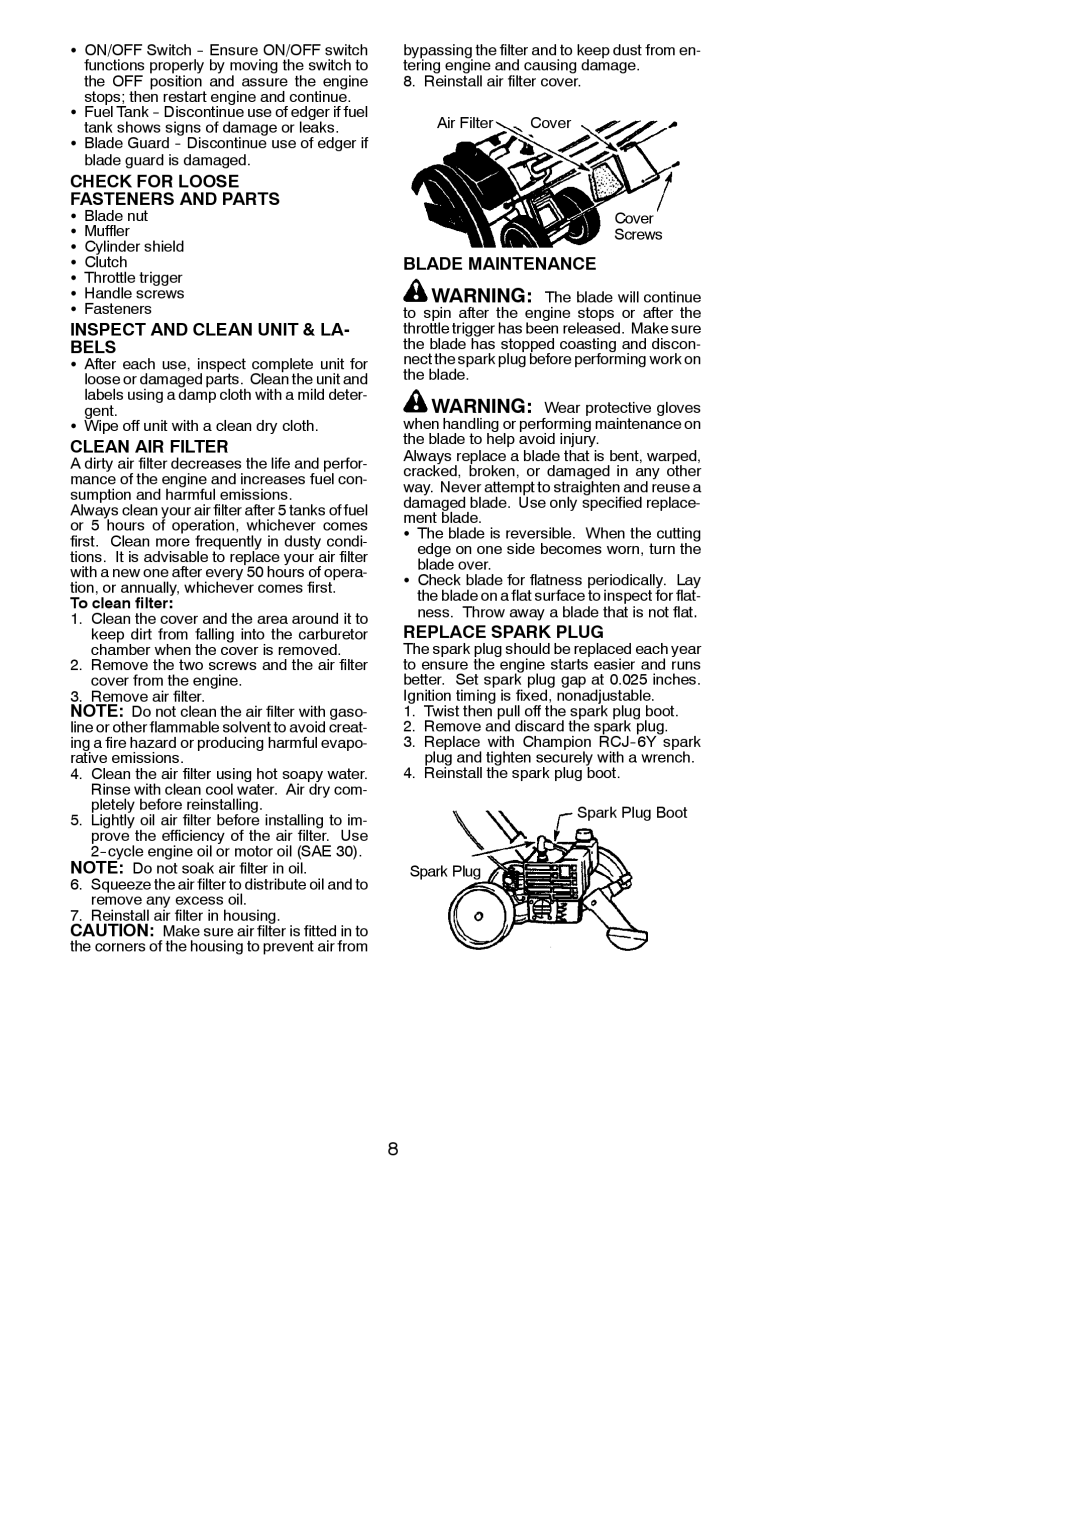
Air Filter | Cover |
Cover
Screws
BLADE MAINTENANCE
![]() WARNING: The blade will continue to spin after the engine stops or after the throttle trigger has been released. Make sure the blade has stopped coasting and discon- nect the spark plug before performing work on the blade.
WARNING: The blade will continue to spin after the engine stops or after the throttle trigger has been released. Make sure the blade has stopped coasting and discon- nect the spark plug before performing work on the blade.
![]() WARNING: Wear protective gloves when handling or performing maintenance on the blade to help avoid injury.
WARNING: Wear protective gloves when handling or performing maintenance on the blade to help avoid injury.
Always replace a blade that is bent, warped, cracked, broken, or damaged in any other way. Never attempt to straighten and reuse a damaged blade. Use only specified replace- ment blade.
SThe blade is reversible. When the cutting edge on one side becomes worn, turn the
blade over.
SCheck blade for flatness periodically. Lay the blade on a flat surface to inspect for flat- ness. Throw away a blade that is not flat.
REPLACE SPARK PLUG
The spark plug should be replaced each year to ensure the engine starts easier and runs better. Set spark plug gap at 0.025 inches. Ignition timing is fixed, nonadjustable.
1.Twist then pull off the spark plug boot.
2.Remove and discard the spark plug.
3.Replace with Champion
4.Reinstall the spark plug boot.
Spark Plug Boot
Spark Plug
8