MINIMUM WIRE GAUGE
RECOMMENDATIONS
VOLTS 25 FT. 50 FT. 100 FT. 150 FT.
120 | 16 | 16 | 14 | 12 |
A.W.G.* A.W.G.* A.W.G.* A.W.G.*
*American Wire Gauge
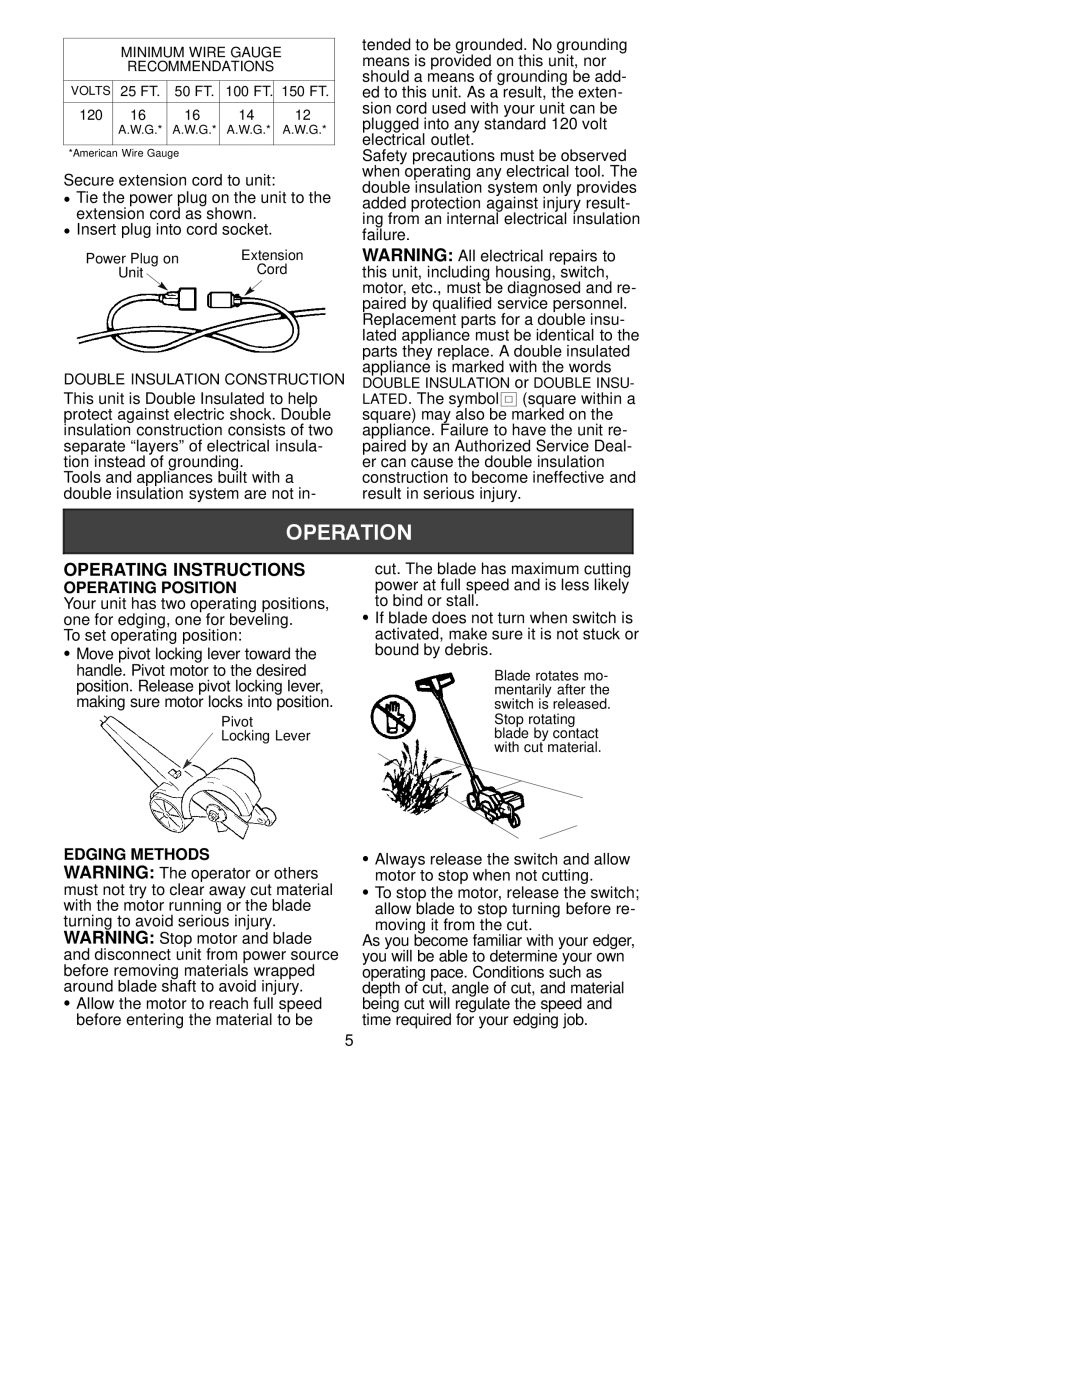
Secure extension cord to unit:
DTie the power plug on the unit to the
extension cord as shown.
DInsert plug into cord socket.
Power Plug on | Extension | ||||||
Unit |
|
|
| Cord | |||
|
|
|
|
|
|
|
|
DOUBLE INSULATION CONSTRUCTION
This unit is Double Insulated to help protect against electric shock. Double insulation construction consists of two separate “layers” of electrical insula- tion instead of grounding.
Tools and appliances built with a double insulation system are not in-
tended to be grounded. No grounding means is provided on this unit, nor should a means of grounding be add- ed to this unit. As a result, the exten- sion cord used with your unit can be plugged into any standard 120 volt electrical outlet.
Safety precautions must be observed when operating any electrical tool. The double insulation system only provides added protection against injury result- ing from an internal electrical insulation failure.
WARNING: All electrical repairs to this unit, including housing, switch, motor, etc., must be diagnosed and re- paired by qualified service personnel. Replacement parts for a double insu- lated appliance must be identical to the parts they replace. A double insulated appliance is marked with the words DOUBLE INSULATION or DOUBLE INSU- LATED. The symbol ![]() (square within a square) may also be marked on the appliance. Failure to have the unit re- paired by an Authorized Service Deal- er can cause the double insulation construction to become ineffective and result in serious injury.
(square within a square) may also be marked on the appliance. Failure to have the unit re- paired by an Authorized Service Deal- er can cause the double insulation construction to become ineffective and result in serious injury.
OPERATING INSTRUCTIONS
OPERATING POSITION
Your unit has two operating positions, one for edging, one for beveling.
To set operating position:
S Move pivot locking lever toward the handle. Pivot motor to the desired position. Release pivot locking lever, making sure motor locks into position.
Pivot
![]() Locking Lever
Locking Lever
EDGING METHODS
WARNING: The operator or others must not try to clear away cut material with the motor running or the blade turning to avoid serious injury. WARNING: Stop motor and blade and disconnect unit from power source before removing materials wrapped around blade shaft to avoid injury.
S Allow the motor to reach full speed before entering the material to be
5
cut. The blade has maximum cutting power at full speed and is less likely to bind or stall.
S If blade does not turn when switch is activated, make sure it is not stuck or bound by debris.
Blade rotates mo- mentarily after the switch is released. Stop rotating blade by contact with cut material.
S Always release the switch and allow motor to stop when not cutting.
S To stop the motor, release the switch; allow blade to stop turning before re- moving it from the cut.
As you become familiar with your edger, you will be able to determine your own operating pace. Conditions such as depth of cut, angle of cut, and material being cut will regulate the speed and time required for your edging job.