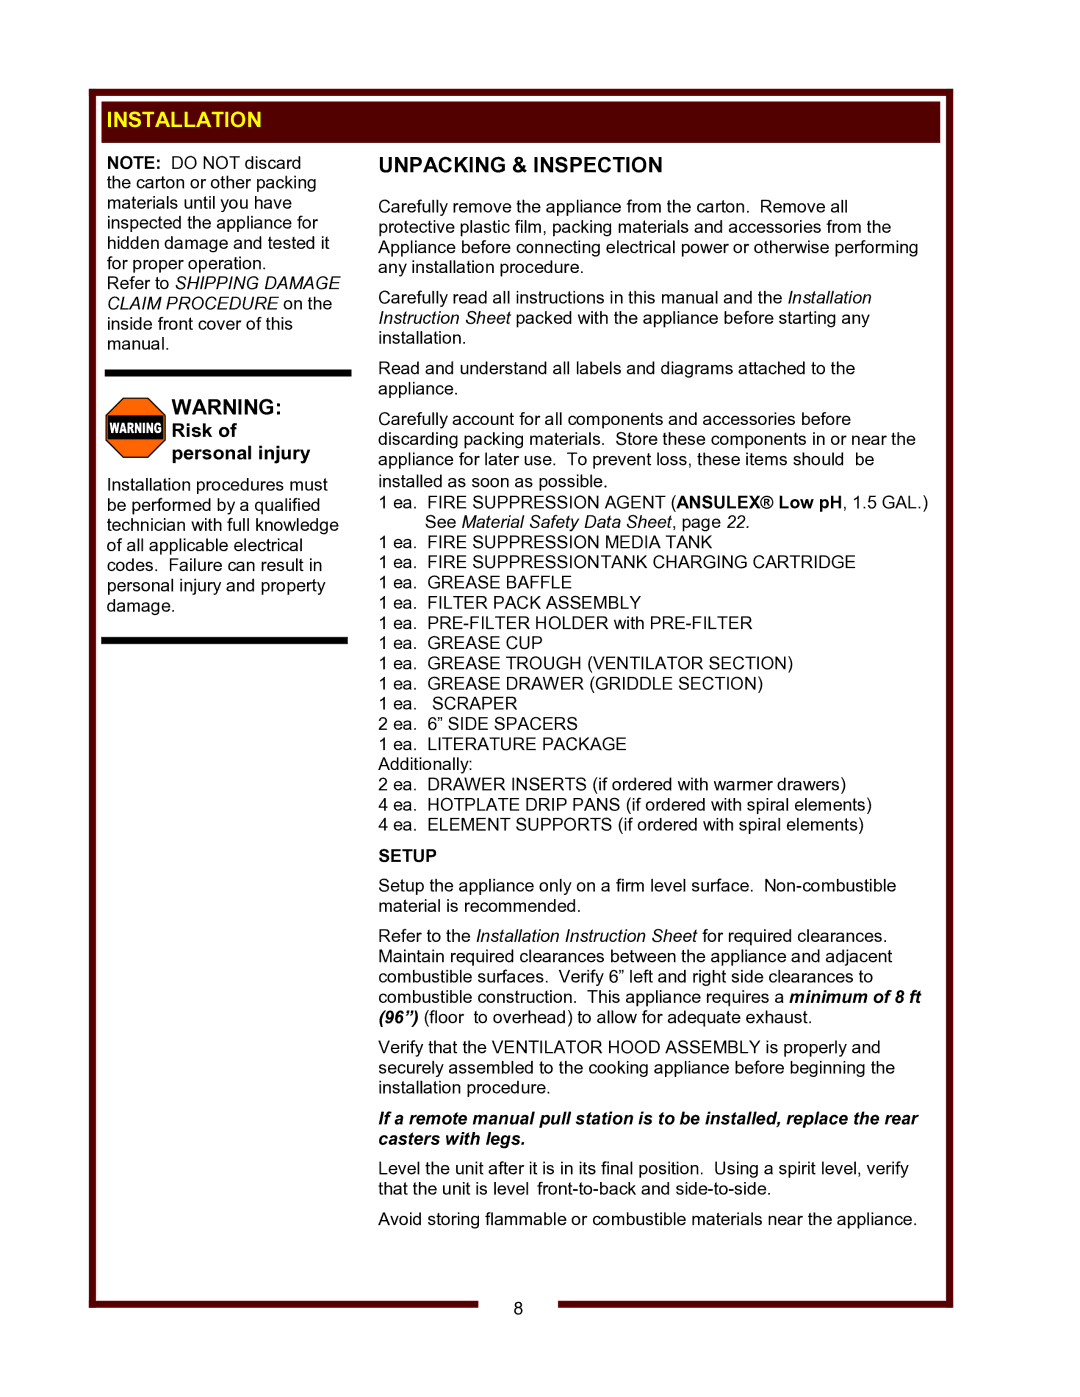
WVG-136RW, WVG-136, WVG-136RW specifications
The Wells WVG-136, WVG-136RW, and WVG-136R are advanced cooking appliances designed to meet the demands of various commercial kitchen settings. These units combine modern technology with user-friendly features, ensuring efficient food preparation.The WVG-136 series is known for its robust construction and reliability. Built from high-grade stainless steel, these units are designed to withstand heavy use in fast-paced environments. The units are not only sturdy but also easy to clean, making them ideal for busy kitchens.
One of the standout features of the WVG-136 series is its versatility. Each model is equipped with multiple cooking options, including steam, convection, and even grill settings, allowing chefs to prepare a wide range of dishes. This flexibility enables kitchens to streamline their operations, as they can use one appliance for various cooking methods.
The digital control panel is another significant aspect of the WVG-136 series. The user-friendly interface allows for easy programming and monitoring of cooking parameters, ensuring precision and consistency in food preparation. With customizable settings, chefs can easily adjust cooking times and temperatures to suit different recipes.
Moreover, the WVG-136RW features a built-in water reservoir, providing enhanced steaming capabilities. This model is particularly advantageous for restaurants that require tender, moist cooking for vegetables, seafood, and rice dishes. The precise steam control helps maintain the nutritional value and flavor of food.
Energy efficiency is another crucial characteristic of the WVG-136 series. These models are designed to consume less energy without compromising on performance. This aspect not only helps in reducing operational costs but also aligns with modern sustainability practices that many businesses are striving to achieve.
The WVG-136R model further enhances functionality with its rapid heat-up time. This feature allows kitchens to minimize wait times and enhance service speed, a critical factor in high-demand settings.
Overall, the Wells WVG-136, WVG-136RW, and WVG-136R are exemplary models that embody innovation and efficiency. Their main features, including versatile cooking options, digital control panels, energy efficiency, and robust construction, make them valuable assets for any commercial kitchen looking to elevate its cooking capabilities. Whether it's a restaurant, catering service, or institutional kitchen, these units stand out as reliable partners in culinary excellence.

