2. HOW TO MEASURE
Measuring ingredients the right way with the correct measuring cups and spoons is not important when making bread. See measuring section for more information.
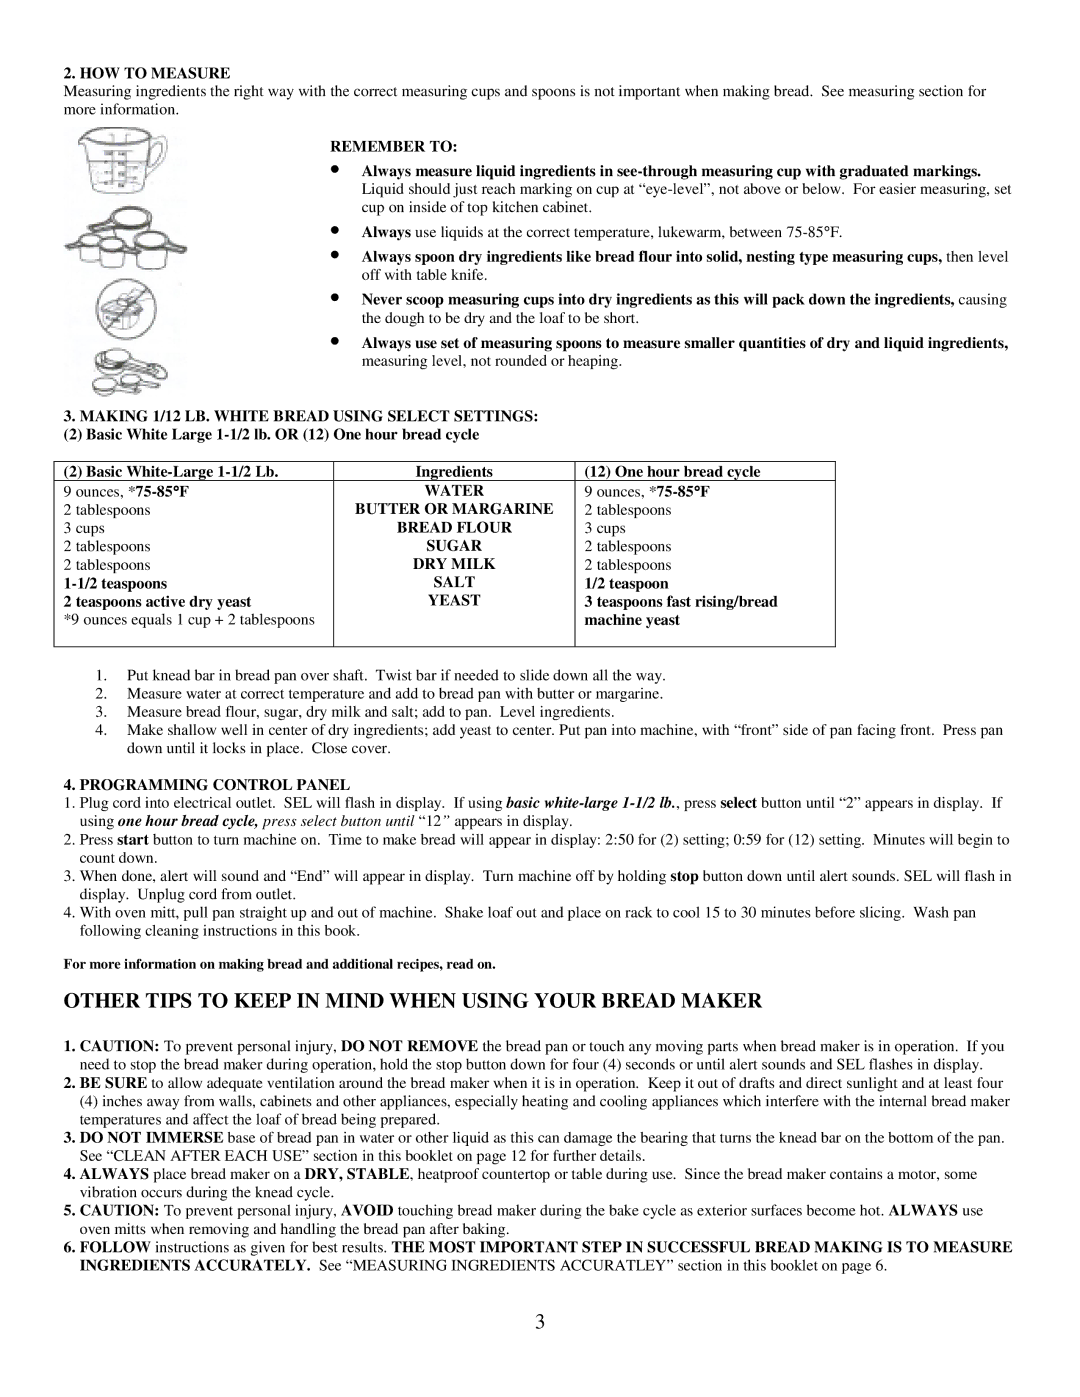
REMEMBER TO:
•Always measure liquid ingredients in
•Always use liquids at the correct temperature, lukewarm, between
•Always spoon dry ingredients like bread flour into solid, nesting type measuring cups, then level off with table knife.
•Never scoop measuring cups into dry ingredients as this will pack down the ingredients, causing the dough to be dry and the loaf to be short.
•Always use set of measuring spoons to measure smaller quantities of dry and liquid ingredients, measuring level, not rounded or heaping.
3.MAKING 1/12 LB. WHITE BREAD USING SELECT SETTINGS:
(2) Basic White Large
(2) Basic | Ingredients | (12) One hour bread cycle |
9 ounces, | WATER | 9 ounces, |
2 tablespoons | BUTTER OR MARGARINE | 2 tablespoons |
3 cups | BREAD FLOUR | 3 cups |
2 tablespoons | SUGAR | 2 tablespoons |
2 tablespoons | DRY MILK | 2 tablespoons |
SALT | 1/2 teaspoon | |
2 teaspoons active dry yeast | YEAST | 3 teaspoons fast rising/bread |
*9 ounces equals 1 cup + 2 tablespoons |
| machine yeast |
|
|
|
1.Put knead bar in bread pan over shaft. Twist bar if needed to slide down all the way.
2.Measure water at correct temperature and add to bread pan with butter or margarine.
3.Measure bread flour, sugar, dry milk and salt; add to pan. Level ingredients.
4.Make shallow well in center of dry ingredients; add yeast to center. Put pan into machine, with “front” side of pan facing front. Press pan down until it locks in place. Close cover.
4.PROGRAMMING CONTROL PANEL
1.Plug cord into electrical outlet. SEL will flash in display. If using basic
2.Press start button to turn machine on. Time to make bread will appear in display: 2:50 for (2) setting; 0:59 for (12) setting. Minutes will begin to count down.
3.When done, alert will sound and “End” will appear in display. Turn machine off by holding stop button down until alert sounds. SEL will flash in display. Unplug cord from outlet.
4.With oven mitt, pull pan straight up and out of machine. Shake loaf out and place on rack to cool 15 to 30 minutes before slicing. Wash pan following cleaning instructions in this book.
For more information on making bread and additional recipes, read on.
OTHER TIPS TO KEEP IN MIND WHEN USING YOUR BREAD MAKER
1.CAUTION: To prevent personal injury, DO NOT REMOVE the bread pan or touch any moving parts when bread maker is in operation. If you need to stop the bread maker during operation, hold the stop button down for four (4) seconds or until alert sounds and SEL flashes in display.
2.BE SURE to allow adequate ventilation around the bread maker when it is in operation. Keep it out of drafts and direct sunlight and at least four
(4) inches away from walls, cabinets and other appliances, especially heating and cooling appliances which interfere with the internal bread maker temperatures and affect the loaf of bread being prepared.
3.DO NOT IMMERSE base of bread pan in water or other liquid as this can damage the bearing that turns the knead bar on the bottom of the pan. See “CLEAN AFTER EACH USE” section in this booklet on page 12 for further details.
4.ALWAYS place bread maker on a DRY, STABLE, heatproof countertop or table during use. Since the bread maker contains a motor, some vibration occurs during the knead cycle.
5.CAUTION: To prevent personal injury, AVOID touching bread maker during the bake cycle as exterior surfaces become hot. ALWAYS use oven mitts when removing and handling the bread pan after baking.
6.FOLLOW instructions as given for best results. THE MOST IMPORTANT STEP IN SUCCESSFUL BREAD MAKING IS TO MEASURE INGREDIENTS ACCURATELY. See “MEASURING INGREDIENTS ACCURATLEY” section in this booklet on page 6.
3