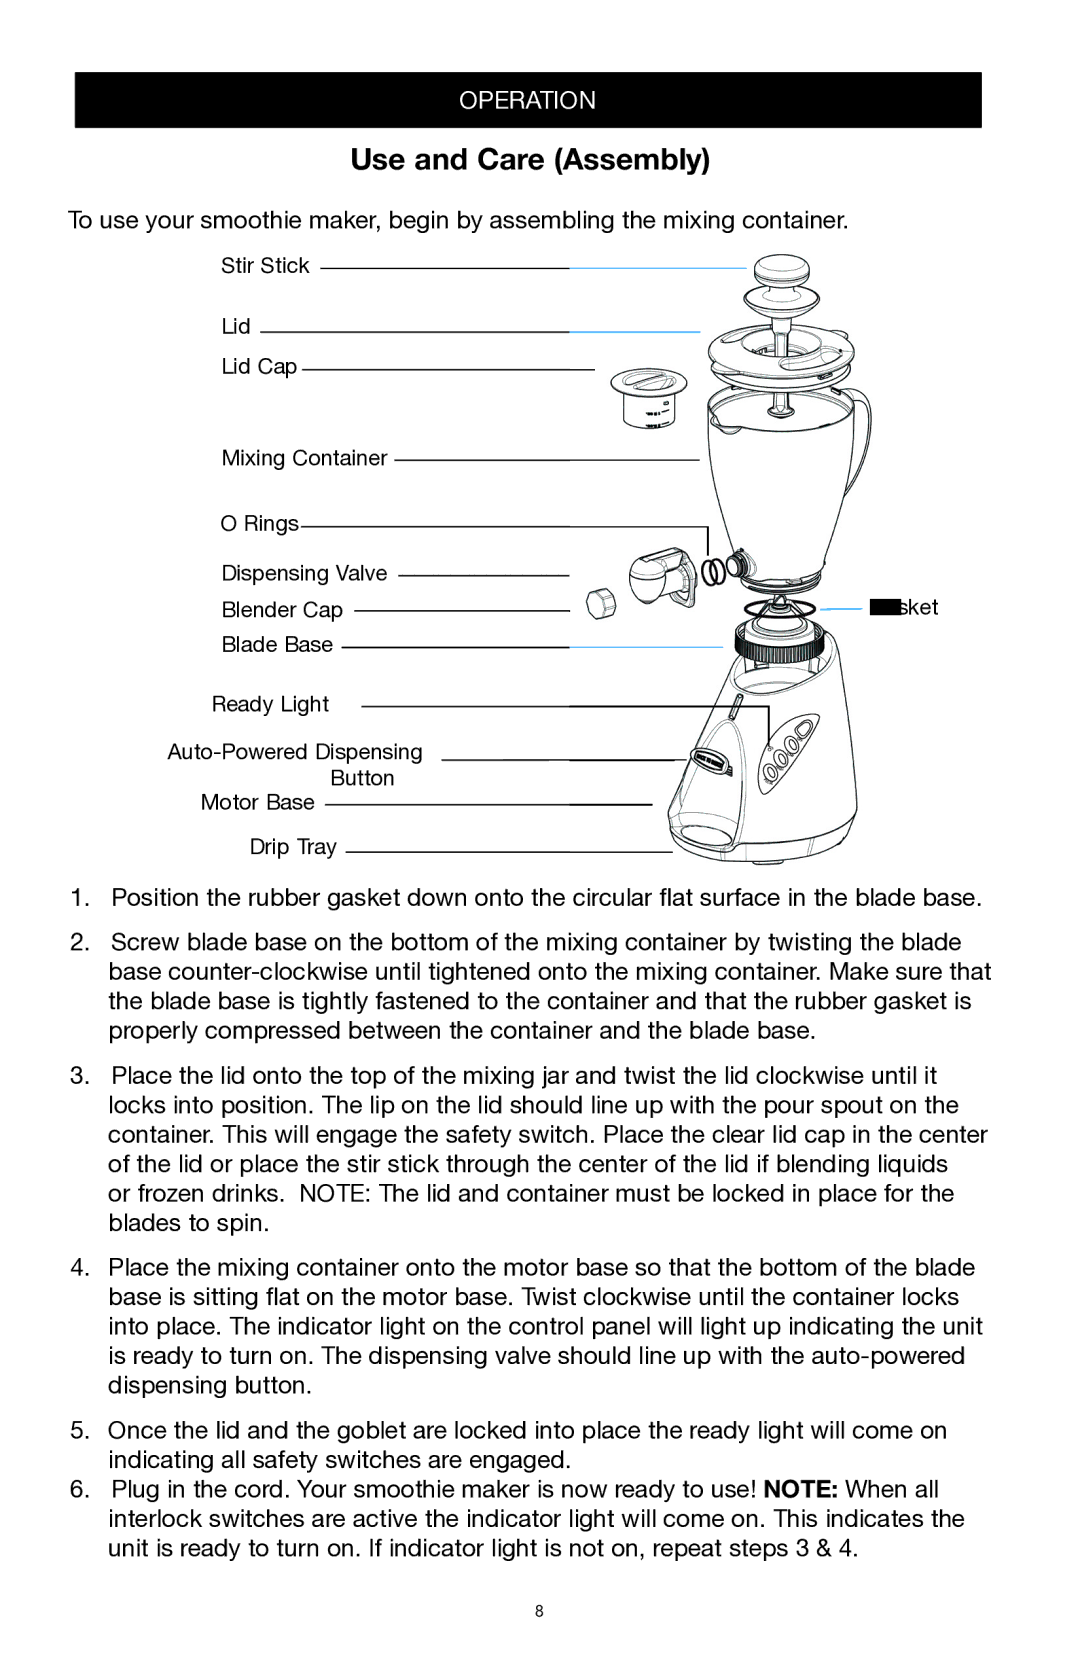
SR1000 specifications
The West Bend Back to Basics SR1000 is a remarkable machine that epitomizes the essence of simplicity and function in the kitchen. Designed for those who appreciate the art of food preparation, this versatile appliance serves as an all-in-one solution for various cooking needs, making it an invaluable addition to any kitchen.One of the cornerstone features of the SR1000 is its user-friendly interface. With straightforward controls, individuals can easily navigate through its different functions without the need for complicated manuals. This simplicity ensures that users, regardless of their cooking skill level, can quickly become adept in utilizing the machine for all their culinary adventures.
The SR1000 is equipped with a powerful heating element, ensuring that meals are prepared quickly and efficiently. Its ceramic-coated non-stick surface not only guarantees easy food release but also facilitates effortless cleanup, making post-cooking chores less daunting. This feature is particularly appealing for busy families or individuals who wish to minimize time spent in the kitchen.
Versatility is another hallmark of the West Bend Back to Basics SR1000. It allows for a range of cooking methods, including grilling, sautéing, steaming, and even making one-pot meals. This adaptability creates endless possibilities for meal preparation, allowing home cooks to explore a variety of culinary techniques without needing multiple appliances occupying counter space.
The SR1000 also boasts advanced safety features, including a cool-touch handle and non-slip base, ensuring that users can operate the machine with confidence. Furthermore, the appliance is designed with energy efficiency in mind, allowing you to cook delicious meals while helping to reduce your overall energy consumption.
In terms of size, the West Bend Back to Basics SR1000 is compact enough for easy storage but spacious enough to accommodate larger meals for family gatherings or entertaining friends. Its contemporary design seamlessly integrates into any kitchen décor, appealing to both traditional and modern aesthetics.
In summary, the West Bend Back to Basics SR1000 is characterized by its user-friendly design, versatility, safety features, and energy efficiency. It is a perfect kitchen companion for anyone looking to simplify their cooking experience while maintaining the quality and flavor of their meals. With this appliance, cooking becomes a breeze, allowing you to focus more on enjoying time with family and friends rather than stressing in the kitchen.

