Understanding your cycles
See the chart below for descriptions of the cycles that are on your dryer. See page 9 for help in selecting the right cycle.
NOTES:
lUse the Energy Preferred Automatic Setting (9) to dry most loads.
lThe last few minutes of all cycles are without heat to make the load easier to handle.
l
l
To help redt. ce wrinkling, remove the load from the dtylsr as soon as tumbling stops. This is important for permanent press, knits, and synthetic fabrics.
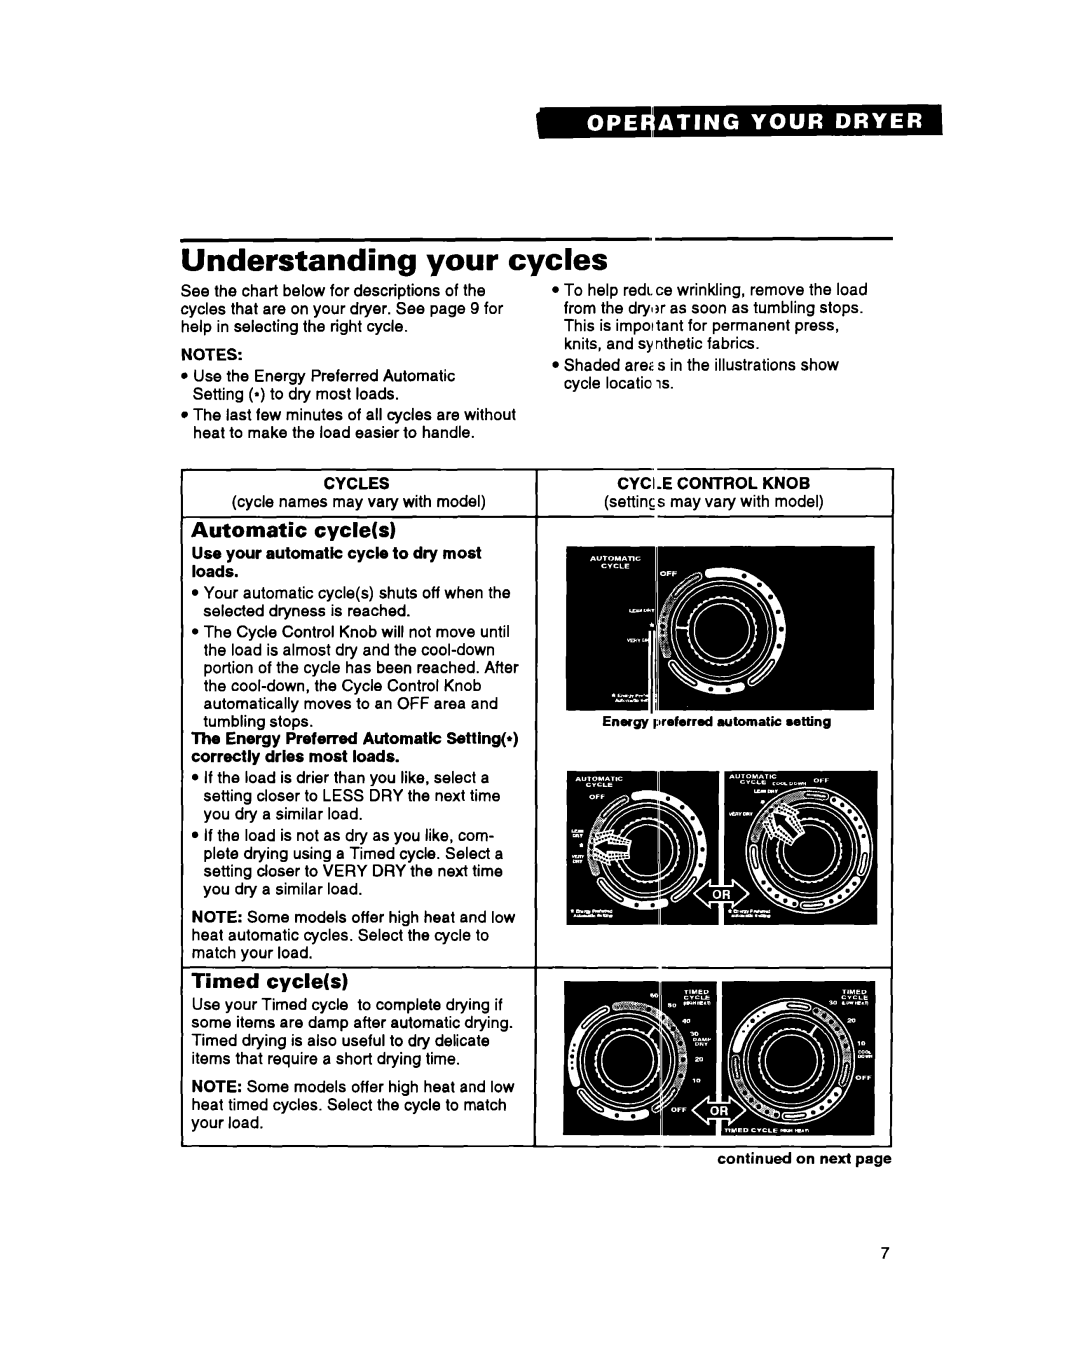
Shaded are: s in the illustrations show cycle locatioNis.
CYCLES | CYC;.E CONTROL KNOB |
(cycle names may vary with model) | (settings may vary with model) |
Automatic cycle(s)
Use your automatic cycle to dry most loads.
l Your automatic cycle(s) shuts off when the selected dryness is reached.
lThe Cycle Control Knob will not move until the load is almost dry and the
tumbling stops.
The Energy Preferred Automatk Settingp) correctly dries most loads.
lIf the load is drier than you like, select a setting closer to LESS DRY the next time you dry a similar load.
lIf the load is not as dry as you like, com- plete drying using a Timed cycle. Select a setting closer to VERY DRY the next time you dry a similar load.
NOTE: Some models offer high heat and low heat automatic cycles. Select the cycle to match your load.
Timed cycle(s)
Use your Timed cycle to complete drying if some items are damp after automatic drying. Timed drying is also useful to dry delicate items that require a short drying time.
NOTE: Some models offer high heat and low heat timed cycles. Select the cycle to match your load.
continued on next page
7
