ET14LC, ET12LK specifications
The Whirlpool ET12LK and ET14LC refrigerators are renowned for their reliability and user-friendly design, making them popular appliances in many households. These models feature a classic top-freezer configuration, which is a timeless choice for anyone looking to store groceries efficiently while maximizing fresh food storage space.One of the standout features of both models is their Energy Star certification. This denotes that they meet strict energy efficiency guidelines set by the U.S. Environmental Protection Agency and the Department of Energy, which not only helps save on electricity bills but also reduces the environmental impact. With their efficient cooling systems, the ET12LK and ET14LC are designed to keep groceries fresher for longer without consuming excessive power.
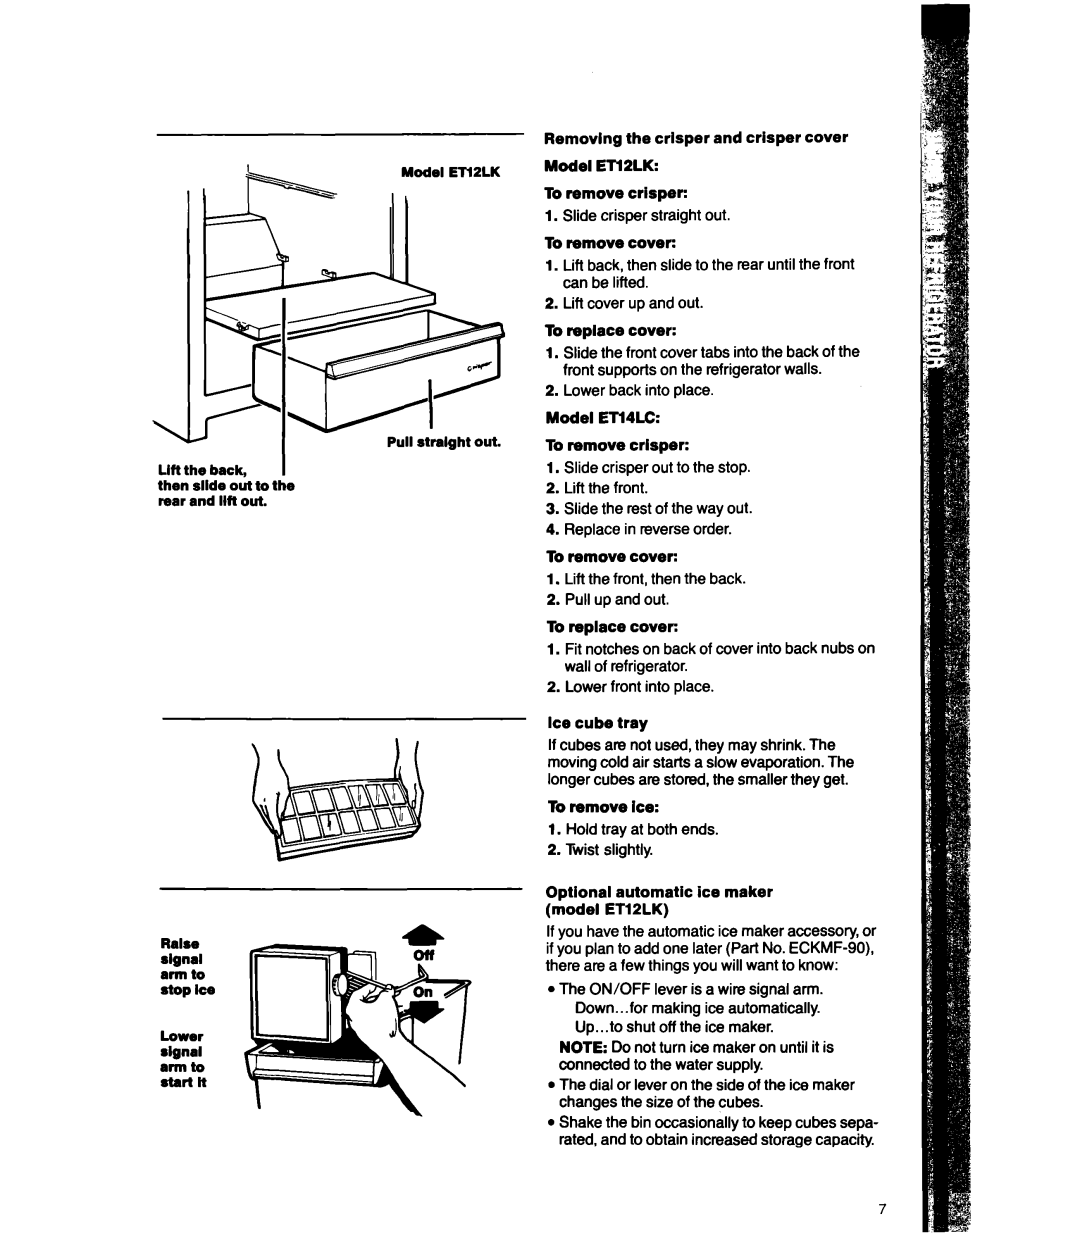
Both refrigerators come with adjustable shelves, which provide flexibility for organizing food items of various sizes. Whether you have tall bottles, large containers, or smaller items, the customizable shelving helps to maximize space and convenience. The crisper drawers are another prominent feature, designed specifically to maintain optimal humidity levels for fruits and vegetables, thereby prolonging their freshness.
The ET12LK and ET14LC models also incorporate a full-width freezer shelf, which is ideal for storing bulk items or frozen meals. This design feature enhances the accessibility of frozen foods, making it easy to locate items without digging through piles of food. Additionally, the units come equipped with a well-lit interior, allowing users to easily identify items, even in low-light conditions.
These refrigerators are built to last, featuring durable materials and a robust construction. The smooth exterior finish is not only aesthetically pleasing but also easy to clean, maintaining a tidy kitchen space. Furthermore, the straightforward controls are user-friendly, emphasizing Whirlpool's commitment to practicality and ease of use.
In summary, the Whirlpool ET12LK and ET14LC refrigerators exemplify classic design combined with modern efficiencies. With adjustable shelving, humidity-controlled crispers, energy-efficient technology, and a sturdy build, these models offer unparalleled convenience for any kitchen. They are perfect for individuals and families alike, ensuring that food storage is handled with care and practicality, making them a staple in many homes across the nation.

