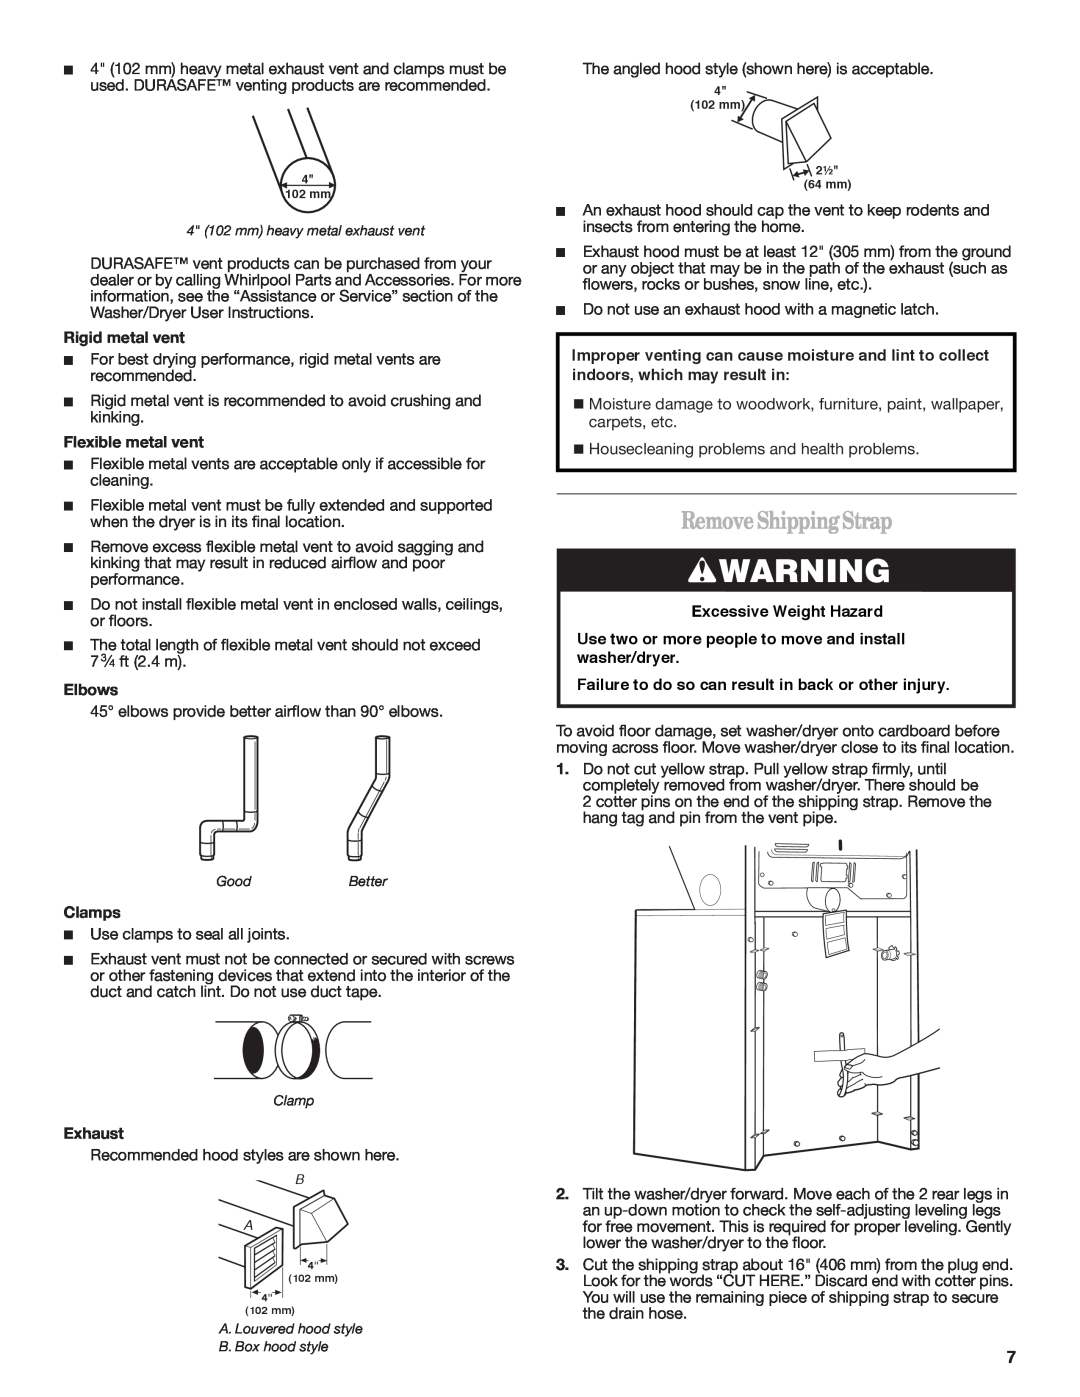
4" (102 mm) heavy metal exhaust vent and clamps must be used. DURASAFE™ venting products are recommended.
4"
102 mm
4" (102 mm) heavy metal exhaust vent
DURASAFE™ vent products can be purchased from your dealer or by calling Whirlpool Parts and Accessories. For more information, see the “Assistance or Service” section of the Washer/Dryer User Instructions.
Rigid metal vent
For best drying performance, rigid metal vents are recommended.
Rigid metal vent is recommended to avoid crushing and kinking.
Flexible metal vent
Flexible metal vents are acceptable only if accessible for cleaning.
Flexible metal vent must be fully extended and supported when the dryer is in its final location.
Remove excess flexible metal vent to avoid sagging and kinking that may result in reduced airflow and poor performance.
Do not install flexible metal vent in enclosed walls, ceilings, or floors.
The total length of flexible metal vent should not exceed 73⁄4 ft (2.4 m).
Elbows
45° elbows provide better airflow than 90° elbows.
The angled hood style (shown here) is acceptable.
4" (102 mm) ![]()
2½" (64 mm)
An exhaust hood should cap the vent to keep rodents and insects from entering the home.
Exhaust hood must be at least 12" (305 mm) from the ground or any object that may be in the path of the exhaust (such as flowers, rocks or bushes, snow line, etc.).
Do not use an exhaust hood with a magnetic latch.
Improper venting can cause moisture and lint to collect indoors, which may result in:
![]() Moisture damage to woodwork, furniture, paint, wallpaper, carpets, etc.
Moisture damage to woodwork, furniture, paint, wallpaper, carpets, etc.
![]() Housecleaning problems and health problems.
Housecleaning problems and health problems.
RemoveShippingStrap
![]() WARNING
WARNING
Excessive Weight Hazard
Use two or more people to move and install washer/dryer.
Failure to do so can result in back or other injury.
To avoid floor damage, set washer/dryer onto cardboard before moving across floor. Move washer/dryer close to its final location.
1.Do not cut yellow strap. Pull yellow strap firmly, until completely removed from washer/dryer. There should be
2 cotter pins on the end of the shipping strap. Remove the hang tag and pin from the vent pipe.
GoodBetter
Clamps
Use clamps to seal all joints.
Exhaust vent must not be connected or secured with screws or other fastening devices that extend into the interior of the duct and catch lint. Do not use duct tape.
Clamp
Exhaust
Recommended hood styles are shown here.
B
A
![]() 4"
4" ![]()
(102 mm)
![]() 4"
4" ![]() (102 mm)
(102 mm)
2.Tilt the washer/dryer forward. Move each of the 2 rear legs in an
3.Cut the shipping strap about 16" (406 mm) from the plug end. Look for the words “CUT HERE.” Discard end with cotter pins. You will use the remaining piece of shipping strap to secure the drain hose.
A. Louvered hood style |
|
B. Box hood style | 7 |
|