4.Turn shutoff valve ON.

5.Check for leaks. Tighten any nuts or connections (including connections at the valve) that leak.

Complete the Installation

WARNING

Electrical Shock Hazard

Plug into a grounded 3 prong outlet.

Do not remove ground prong.

Do not use an adapter.

Do not use an extension cord.

Failure to follow these instructions can result in death, fire, or electrical shock.

1.Plug into a grounded 3 prong outlet.

2.Flush the water system. See “Water Dispenser.”

NOTE: Allow 24 hours to produce the first batch of ice. Discard the first three batches of ice produced. Allow 3 days to completely fill ice container.

Refrigerator Doors

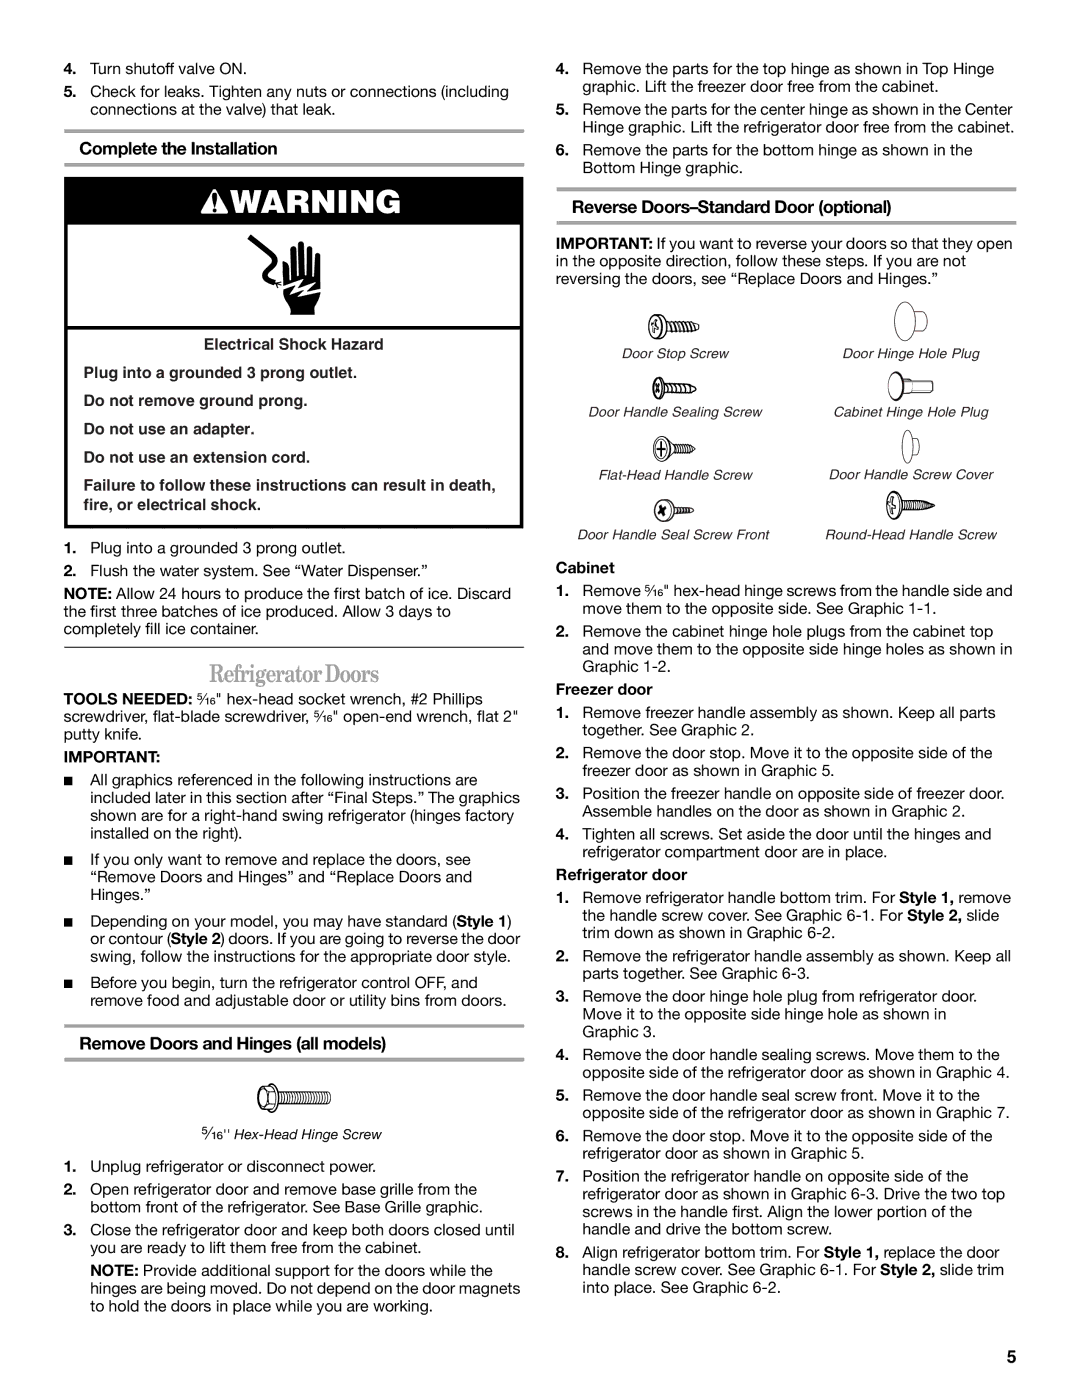
TOOLS NEEDED: ⁵⁄₁₆" hex-head socket wrench, #2 Phillips screwdriver, flat-blade screwdriver, ⁵⁄₁₆" open-end wrench, flat 2" putty knife.

IMPORTANT:

All graphics referenced in the following instructions are included later in this section after “Final Steps.” The graphics shown are for a right-hand swing refrigerator (hinges factory installed on the right).

If you only want to remove and replace the doors, see “Remove Doors and Hinges” and “Replace Doors and Hinges.”

Depending on your model, you may have standard (Style 1) or contour (Style 2) doors. If you are going to reverse the door swing, follow the instructions for the appropriate door style.

Before you begin, turn the refrigerator control OFF, and remove food and adjustable door or utility bins from doors.

Remove Doors and Hinges (all models)

⁵⁄₁₆'' Hex-Head Hinge Screw

1.Unplug refrigerator or disconnect power.

2.Open refrigerator door and remove base grille from the bottom front of the refrigerator. See Base Grille graphic.

3.Close the refrigerator door and keep both doors closed until you are ready to lift them free from the cabinet.

NOTE: Provide additional support for the doors while the hinges are being moved. Do not depend on the door magnets to hold the doors in place while you are working.

4.Remove the parts for the top hinge as shown in Top Hinge graphic. Lift the freezer door free from the cabinet.

5.Remove the parts for the center hinge as shown in the Center Hinge graphic. Lift the refrigerator door free from the cabinet.

6.Remove the parts for the bottom hinge as shown in the Bottom Hinge graphic.

Reverse Doors–Standard Door (optional)

IMPORTANT: If you want to reverse your doors so that they open in the opposite direction, follow these steps. If you are not reversing the doors, see “Replace Doors and Hinges.”

Door Stop Screw

Door Hinge Hole Plug

Door Handle Sealing Screw

Cabinet Hinge Hole Plug

Flat-Head Handle Screw

Door Handle Screw Cover

Door Handle Seal Screw Front

Round-Head Handle Screw

Cabinet

1.Remove ⁵⁄₁₆" hex-head hinge screws from the handle side and move them to the opposite side. See Graphic 1-1.

2.Remove the cabinet hinge hole plugs from the cabinet top and move them to the opposite side hinge holes as shown in Graphic 1-2.

Freezer door

1.Remove freezer handle assembly as shown. Keep all parts together. See Graphic 2.

2.Remove the door stop. Move it to the opposite side of the freezer door as shown in Graphic 5.

3.Position the freezer handle on opposite side of freezer door. Assemble handles on the door as shown in Graphic 2.

4.Tighten all screws. Set aside the door until the hinges and refrigerator compartment door are in place.

Refrigerator door

1.Remove refrigerator handle bottom trim. For Style 1, remove the handle screw cover. See Graphic 6-1. For Style 2, slide trim down as shown in Graphic 6-2.

2.Remove the refrigerator handle assembly as shown. Keep all parts together. See Graphic 6-3.

3.Remove the door hinge hole plug from refrigerator door. Move it to the opposite side hinge hole as shown in Graphic 3.

4.Remove the door handle sealing screws. Move them to the opposite side of the refrigerator door as shown in Graphic 4.

5.Remove the door handle seal screw front. Move it to the opposite side of the refrigerator door as shown in Graphic 7.

6.Remove the door stop. Move it to the opposite side of the refrigerator door as shown in Graphic 5.

7.Position the refrigerator handle on opposite side of the refrigerator door as shown in Graphic 6-3. Drive the two top screws in the handle first. Align the lower portion of the handle and drive the bottom screw.

8.Align refrigerator bottom trim. For Style 1, replace the door handle screw cover. See Graphic 6-1. For Style 2, slide trim into place. See Graphic 6-2.

5

Page 5
Image 5
Whirlpool GC5CHAXNB00, GC3PHEXNB01 Refrigerator Doors, Complete the Installation, Remove Doors and Hinges all models

ET1FHTXMQ04, ET9FHTXMT03, GC3CHAXNT00, GC3CHAXNB00, GC3CHAXNQ00 specifications

The Whirlpool GC3PHEXNB01, GC3PHEXNB00, GC3SHEXNT02, GC3SHEXNB02, and GC3SHEXNS02 are modern refrigerator models designed to meet the demands of today’s households. Combining style, efficiency, and innovative technology, these models stand out as reliable options for any kitchen.

These refrigerators feature advanced cooling technologies that ensure optimal food preservation. One notable feature is the adaptive cooling system. This system intelligently adjusts cooling performance based on usage patterns, ensuring that your food stays fresh longer while also reducing energy consumption. The temperature control settings provide the ability to customize the internal environment, catering to varying needs based on different food types.

Design-wise, the aesthetic appeal of these models is significant. With a sleek, modern finish available in various colors, they easily integrate into any kitchen decor. The stainless steel models offer both durability and a fingerprint-resistant surface, making maintenance simpler while retaining a high-end look.

An essential aspect of the Whirlpool refrigerators is the storage flexibility they provide. Adjustable shelves allow users to create customized space according to their storage needs, making it easy to accommodate larger items or organize smaller ones efficiently. Additionally, door bins are designed to hold gallon-sized containers, optimizing space and accessibility.

Energy efficiency is another hallmark of these models. They are designed to meet ENERGY STAR® standards, signifying that they use less energy compared to traditional models. This not only aids in lowering utility bills but also contributes to environmental sustainability by reducing energy consumption.

The icemaker located within these models provides a convenient solution for those who enjoy chilled beverages. The ice and water dispensers, if present, allow for easy access to filtered water and ice at any time, enhancing convenience for users.

In terms of noise levels, Whirlpool has incorporated technologies that minimize operational sounds, ensuring that these fridges function quietly in the background, perfect for open-concept living spaces.

Overall, the Whirlpool GC3PHEXNB01, GC3PHEXNB00, GC3SHEXNT02, GC3SHEXNB02, and GC3SHEXNS02 refrigerators combine innovative technology with user-friendly features. With their energy efficiency, aesthetic design, and flexibility in storage, they are tailored to enhance the modern kitchen experience, making them a worthy investment for any homeowner looking to upgrade their appliance suite.