
GW397LXU specifications
The Whirlpool GW397LXU is an exceptional addition to any modern kitchen, bringing together advanced technology, user-friendly features, and a sophisticated design. Perfectly suited for both aspiring cooks and experienced chefs, this dual-fuel range combines the best of gas cooking with the precision of electric ovens, ensuring a versatile cooking experience.One of the standout features of the Whirlpool GW397LXU is its dual-fuel capability. This hybrid design allows users to enjoy the instant heat and control of gas burners alongside the consistent and even heating of an electric oven. The cooktop features five burners, including a powerful burner for quick boiling and a simmer burner for delicate sauces. With multiple burner configurations, home chefs can juggle multiple pots and pans with ease.
Another noteworthy aspect of the GW397LXU is its True Convection technology. This innovative feature enhances cooking efficiency by utilizing a third heating element and a fan to circulate hot air throughout the oven. This ensures that food is cooked evenly on every rack, reducing cooking times and providing perfect results every time. Whether baking a batch of cookies or roasting a whole turkey, the True Convection technology delivers professional-grade outcomes.
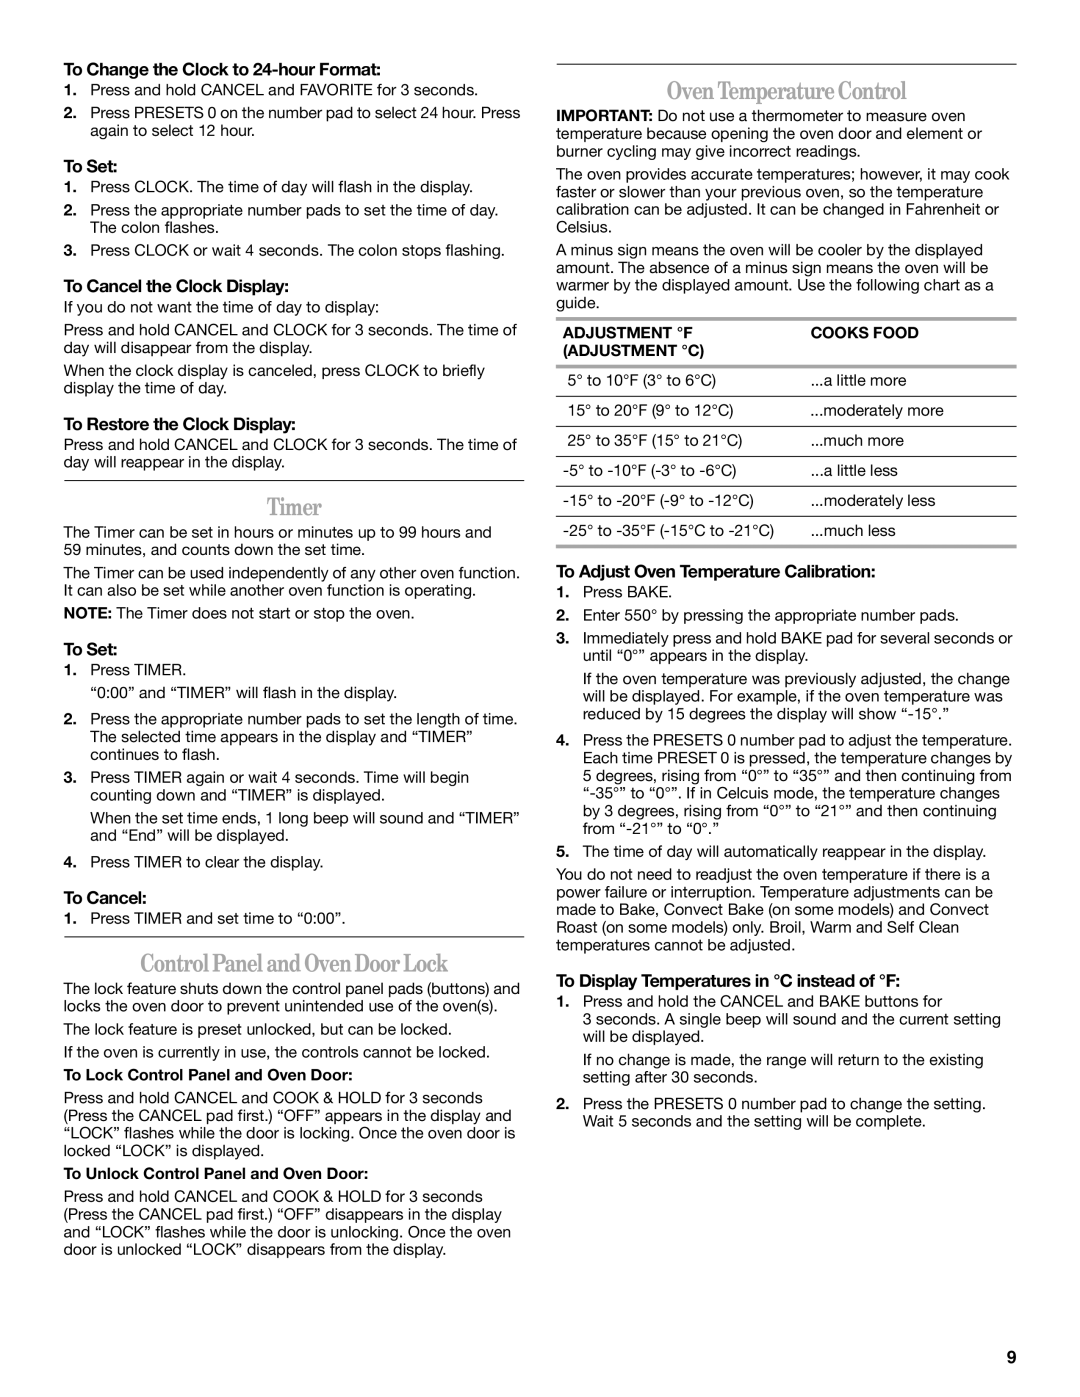
The oven also includes a self-cleaning option, making maintenance hassle-free. Users can select between different cleaning cycles based on their specific needs, ensuring that the oven remains pristine without the labor-intensive scrubbing. This smart feature is complemented by the intuitive control interface, which includes easy-to-read knobs and a digital display, simplifying the cooking process.
The Whirlpool GW397LXU is designed with elegance in mind, featuring a sleek stainless steel finish that adds a touch of sophistication to any kitchen décor. The spacious oven interior can accommodate multiple dishes simultaneously, thanks to its generous capacity.
In addition to its cooking capabilities, this range incorporates safety features such as a control lock to prevent unintended usage, making it an ideal choice for families. Overall, the Whirlpool GW397LXU offers an impressive blend of performance, convenience, and design, making it a standout appliance for those looking to upgrade their cooking experience. With its combination of features and technologies, this dual-fuel range is perfect for any culinary adventure.