The Oven Light
The oven light will come on when you open the oven door.
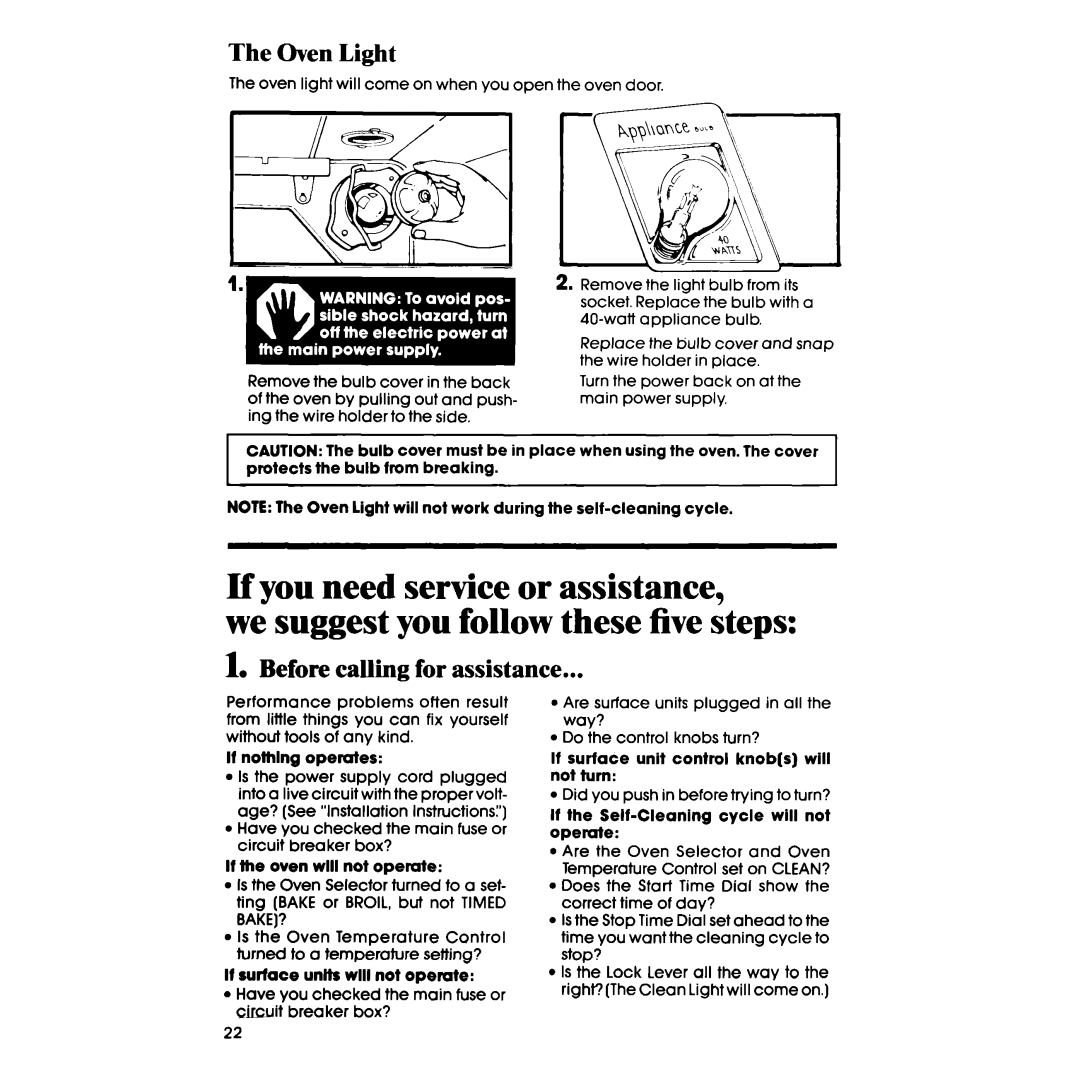
Remove the bulb cover in the back of the oven by pulling out and push- ing the wire holder to the side.
2.Remove the light bulb from its socket. Replace the bulb with a
Replace the bulb cover and snap the wire holder in place.
Turn the power back on at the main power supply,
CAUTION: The bulb cover must be in place when using the oven. The cover protects the bulb from breaking.
NOTE: The Oven light will not work during the
If you need service or assistance,
we suggest you follow these five steps:
1. Before calling for assistance...
Performance problems often result from little things you can fix yourself without tools of any kind.
l
l
Are surface units plugged in all the way?
Do the control knobs turn?
If nothlng operates:
l Is the power supply cord plugged into a live circuit with the proper volt- age? (See “Installation Instructions:‘)
l Have you checked the main fuse or circuit breaker box?
If the oven will not operate:
l Is the Oven Selector turned to a set- ting (BAKE or BROIL, but not TIMED BAKE]?
l Is the Oven Temperature Control turned to a temperature setting?
If surface unfts will not operate:
l Have you checked the main fuse or circuit breaker box?
If surface unit control knob(s) will not turn:
l Did you push in before trying to turn?
If the Self-Cleaning cycle will not operate:
l Are the Oven Selector and Oven Temperature Control set on CLEAN? l Does the Start Time Dial show the
correct time of day?
lIs the Stop Time Dial set ahead to the time you want the cleaning cycle to stop?
l Is the Lock Lever all the way to the right? (The Clean Light will come on.)
22
