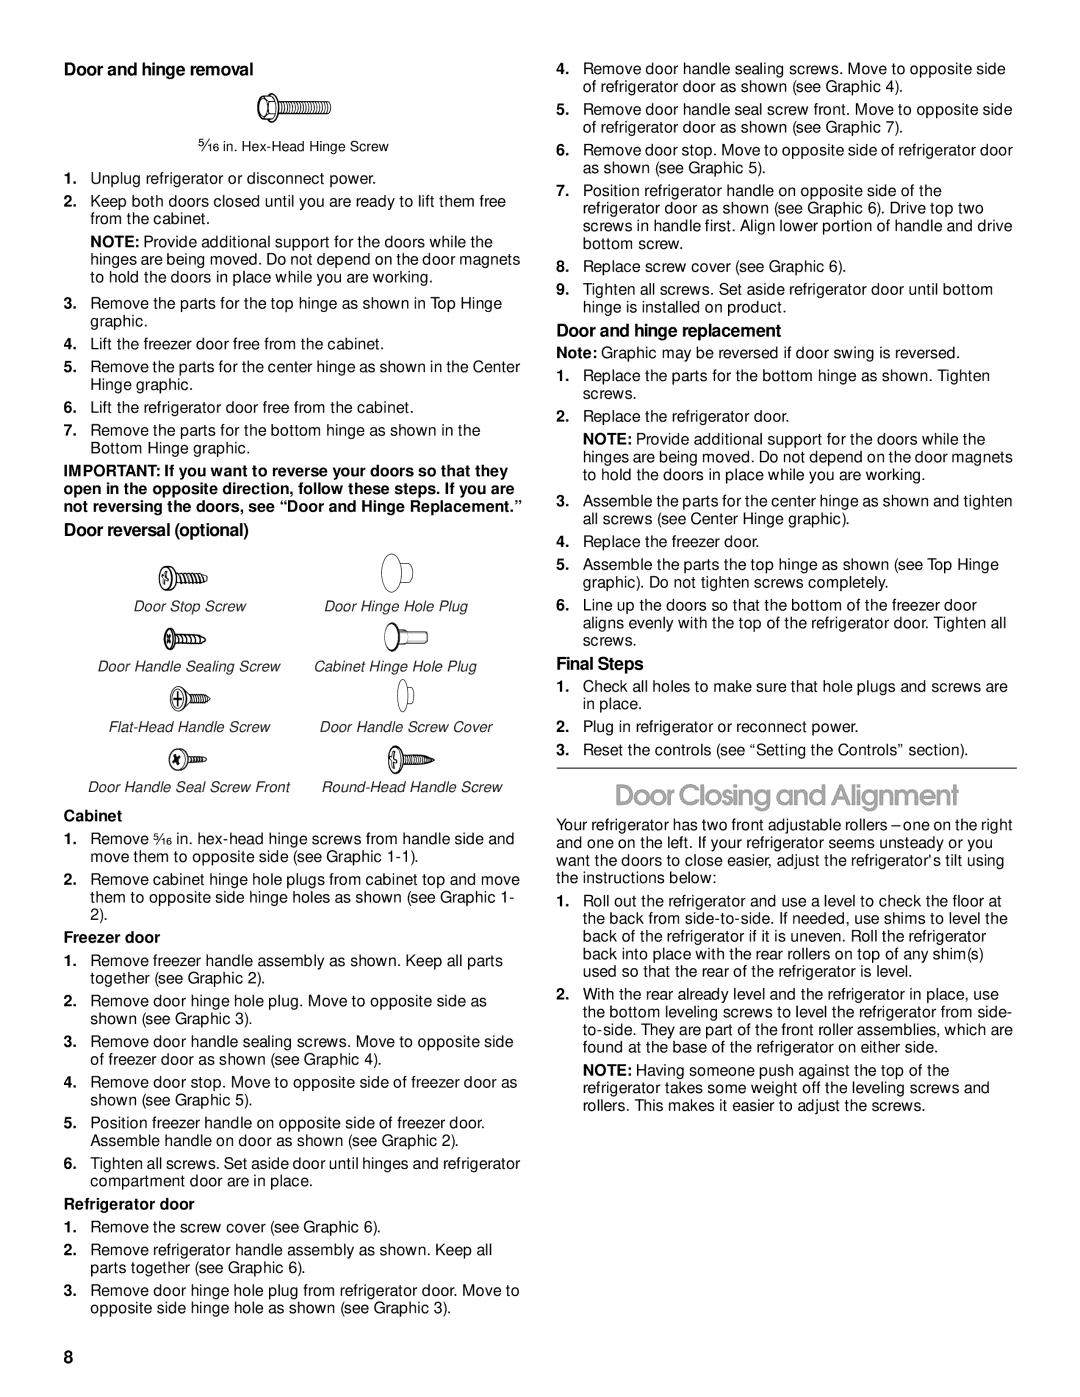
Door and hinge removal

⁵⁄₁₆ in. Hex-Head Hinge Screw

1.Unplug refrigerator or disconnect power.

2.Keep both doors closed until you are ready to lift them free from the cabinet.

NOTE: Provide additional support for the doors while the hinges are being moved. Do not depend on the door magnets to hold the doors in place while you are working.

3.Remove the parts for the top hinge as shown in Top Hinge graphic.

4.Lift the freezer door free from the cabinet.

5.Remove the parts for the center hinge as shown in the Center Hinge graphic.

6.Lift the refrigerator door free from the cabinet.

7.Remove the parts for the bottom hinge as shown in the Bottom Hinge graphic.

IMPORTANT: If you want to reverse your doors so that they open in the opposite direction, follow these steps. If you are not reversing the doors, see “Door and Hinge Replacement.”

Door reversal (optional)

Door Stop Screw

Door Hinge Hole Plug

Door Handle Sealing Screw

Cabinet Hinge Hole Plug

Flat-Head Handle Screw

Door Handle Screw Cover

Door Handle Seal Screw Front

Round-Head Handle Screw

Cabinet

1.Remove ⁵⁄₁₆ in. hex-head hinge screws from handle side and move them to opposite side (see Graphic 1-1).

2.Remove cabinet hinge hole plugs from cabinet top and move them to opposite side hinge holes as shown (see Graphic 1- 2).

Freezer door

1.Remove freezer handle assembly as shown. Keep all parts together (see Graphic 2).

2.Remove door hinge hole plug. Move to opposite side as shown (see Graphic 3).

3.Remove door handle sealing screws. Move to opposite side of freezer door as shown (see Graphic 4).

4.Remove door stop. Move to opposite side of freezer door as shown (see Graphic 5).

5.Position freezer handle on opposite side of freezer door. Assemble handle on door as shown (see Graphic 2).

6.Tighten all screws. Set aside door until hinges and refrigerator compartment door are in place.

Refrigerator door

1.Remove the screw cover (see Graphic 6).

2.Remove refrigerator handle assembly as shown. Keep all parts together (see Graphic 6).

3.Remove door hinge hole plug from refrigerator door. Move to opposite side hinge hole as shown (see Graphic 3).

4.Remove door handle sealing screws. Move to opposite side of refrigerator door as shown (see Graphic 4).

5.Remove door handle seal screw front. Move to opposite side of refrigerator door as shown (see Graphic 7).

6.Remove door stop. Move to opposite side of refrigerator door as shown (see Graphic 5).

7.Position refrigerator handle on opposite side of the refrigerator door as shown (see Graphic 6). Drive top two screws in handle first. Align lower portion of handle and drive bottom screw.

8.Replace screw cover (see Graphic 6).

9.Tighten all screws. Set aside refrigerator door until bottom hinge is installed on product.

Door and hinge replacement

Note: Graphic may be reversed if door swing is reversed.

1.Replace the parts for the bottom hinge as shown. Tighten screws.

2.Replace the refrigerator door.

NOTE: Provide additional support for the doors while the hinges are being moved. Do not depend on the door magnets to hold the doors in place while you are working.

3.Assemble the parts for the center hinge as shown and tighten all screws (see Center Hinge graphic).

4.Replace the freezer door.

5.Assemble the parts the top hinge as shown (see Top Hinge graphic). Do not tighten screws completely.

6.Line up the doors so that the bottom of the freezer door aligns evenly with the top of the refrigerator door. Tighten all screws.

Final Steps

1.Check all holes to make sure that hole plugs and screws are in place.

2.Plug in refrigerator or reconnect power.

3.Reset the controls (see “Setting the Controls” section).

Door Closing and Alignment

Your refrigerator has two front adjustable rollers – one on the right and one on the left. If your refrigerator seems unsteady or you want the doors to close easier, adjust the refrigerator's tilt using the instructions below:

1.Roll out the refrigerator and use a level to check the floor at the back from side-to-side. If needed, use shims to level the back of the refrigerator if it is uneven. Roll the refrigerator back into place with the rear rollers on top of any shim(s) used so that the rear of the refrigerator is level.

2.With the rear already level and the refrigerator in place, use the bottom leveling screws to level the refrigerator from side- to-side. They are part of the front roller assemblies, which are found at the base of the refrigerator on either side.

NOTE: Having someone push against the top of the refrigerator takes some weight off the leveling screws and rollers. This makes it easier to adjust the screws.

8

Page 8
Image 8
Whirlpool ST14CKXHW00 manual Door Closing and Alignment, Door and hinge removal, Door reversal optional, Final Steps

ST14CKXHW00 specifications

The Whirlpool ST14CKXHW00 is a cutting-edge refrigerator designed to enhance the efficiency and convenience of modern kitchens. With its sleek, contemporary design, this appliance not only adds elegance to any space but also incorporates advanced technology aimed at improving food preservation and energy consumption.

One of the standout features of the ST14CKXHW00 is its storage capacity. With ample space, it can accommodate a variety of food items, making it ideal for families or individuals who enjoy cooking. This model includes adjustable shelving, allowing users to customize their layout according to their needs, ensuring that tall bottles, snacks, or large meal prep containers can fit without hassle.

The refrigerator utilizes Whirlpool's innovative Adaptive Defrost technology. This system monitors usage patterns to determine when defrosting is necessary, which helps to maintain optimal energy efficiency while minimizing frost buildup. This means that users can expect less maintenance and longer intervals between defrosting cycles.

Additionally, the ST14CKXHW00 features a humidity-controlled crisper drawer, designed specifically to keep fruits and vegetables fresher for longer periods. By allowing users to regulate humidity levels, it creates the perfect environment for preserving produce, reducing spoilage, and minimizing waste.

In terms of smart technology, this model is equipped with Wi-Fi connectivity. This allows users to monitor and control the refrigerator remotely through a smartphone app. Whether adjusting temperatures, receiving alerts about open doors, or checking the freshness of food items, the app adds an extra layer of convenience to daily life.

Energy efficiency is another hallmark of the Whirlpool ST14CKXHW00. It boasts an Energy Star certification, indicating that it meets or exceeds federal energy efficiency standards. This not only helps users save on utility bills but also contributes to a more sustainable home by reducing the overall carbon footprint.

Overall, the Whirlpool ST14CKXHW00 is a robust refrigerator that combines innovative technologies with practical features. Its focus on energy efficiency, smart connectivity, and superior storage solutions makes it an ideal choice for anyone seeking a reliable appliance that keeps food fresh while enhancing the culinary experience. With its stylish design and user-friendly features, this refrigerator stands out as a top contender in today's competitive market.