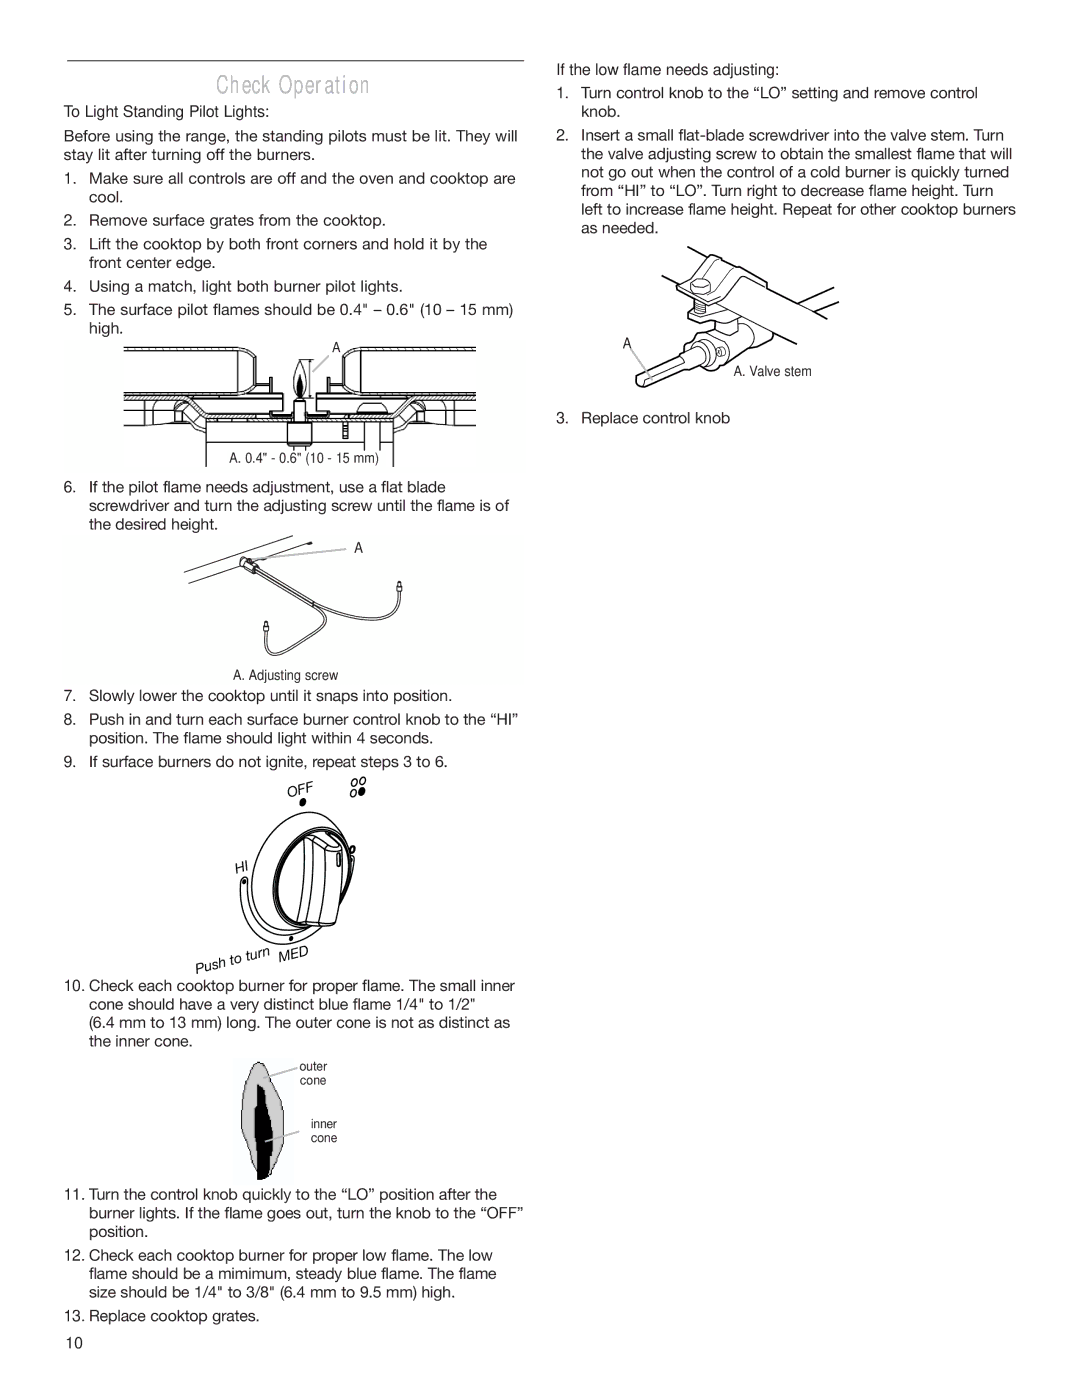
W10173324B specifications
The Whirlpool W10173324B is a meticulously crafted appliance designed to elevate your laundry experience, combining functionality with innovative technology. This washer is part of Whirlpool's commitment to providing reliable, efficient, and user-friendly laundry solutions.One of the standout features of the W10173324B is its advanced washing technologies. It employs an Adaptive Wash technology that automatically senses and adapts to each load's needs, ensuring optimal cleaning performance while conserving water and energy. This feature not only enhances the washing experience but also helps in maintaining the quality of fabrics over time.
With a focus on user convenience, the W10173324B comes equipped with a large capacity drum, allowing users to handle bigger loads in fewer cycles. This is particularly beneficial for busy households, as it saves both time and effort. The 4.5 cubic feet capacity ensures that you can wash more clothes, including bulky items like comforters, with ease.
The washer also features a variety of wash cycles and options tailored to different fabric types and stain levels. From delicate items to heavily soiled work clothes, the W10173324B has you covered. The presence of a stubborn stain cycle showcases Whirlpool's dedication to tackling tough stains, providing specialized cleaning for those harder-to-remove marks.
Energy efficiency is another hallmark of the W10173324B. It is designed with eco-friendly features, such as a high-efficiency wash system that uses less water while delivering superior cleaning performance. This not only reduces water consumption but also leads to significant savings on utility bills over time.
Ease of use is paramount, and the W10173324B features a straightforward control panel that makes selecting wash settings simple. Additionally, the appliance comes with a delay start option, allowing users to schedule their laundry at a more convenient time.
In terms of durability, the W10173324B is built from high-quality materials, ensuring it can withstand regular use without compromising performance. The design is sleek and modern, fitting seamlessly into a variety of laundry room aesthetics.
In conclusion, the Whirlpool W10173324B stands out as a top choice for anyone seeking an efficient, versatile, and easy-to-use washing machine. With its combination of cutting-edge technology, user-friendly features, and energy efficiency, it undoubtedly meets the needs of modern households. Whether you're dealing with everyday laundry or specialized cleaning challenges, this washer is equipped to deliver outstanding results.

