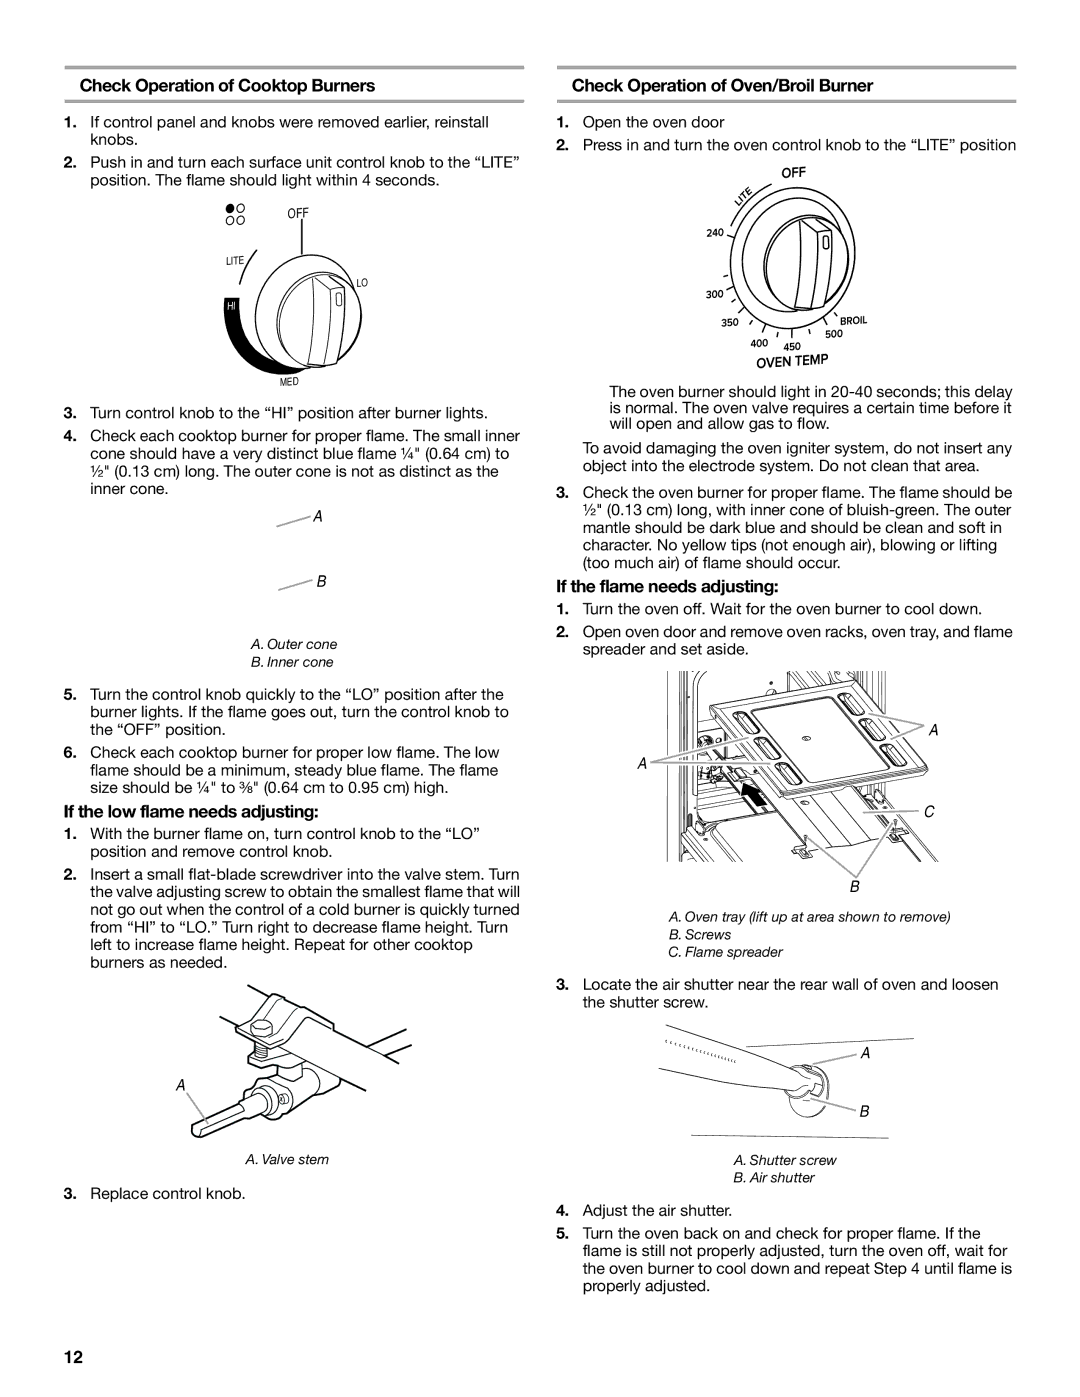
Check Operation of Cooktop Burners
1.If control panel and knobs were removed earlier, reinstall knobs.
2.Push in and turn each surface unit control knob to the “LITE” position. The flame should light within 4 seconds.
OFF
LITE
LO
HI
MED
3.Turn control knob to the “HI” position after burner lights.
4.Check each cooktop burner for proper flame. The small inner cone should have a very distinct blue flame ¼" (0.64 cm) to ½" (0.13 cm) long. The outer cone is not as distinct as the inner cone.
![]() A
A
![]() B
B
A. Outer cone
B. Inner cone
5.Turn the control knob quickly to the “LO” position after the burner lights. If the flame goes out, turn the control knob to the “OFF” position.
6.Check each cooktop burner for proper low flame. The low flame should be a minimum, steady blue flame. The flame size should be ¼" to ³⁄₈" (0.64 cm to 0.95 cm) high.
If the low flame needs adjusting:
1.With the burner flame on, turn control knob to the “LO” position and remove control knob.
2.Insert a small
A
A. Valve stem
3.Replace control knob.
Check Operation of Oven/Broil Burner
1.Open the oven door
2.Press in and turn the oven control knob to the “LITE” position
■The oven burner should light in
To avoid damaging the oven igniter system, do not insert any object into the electrode system. Do not clean that area.
3.Check the oven burner for proper flame. The flame should be ½" (0.13 cm) long, with inner cone of
If the flame needs adjusting:
1.Turn the oven off. Wait for the oven burner to cool down.
2.Open oven door and remove oven racks, oven tray, and flame spreader and set aside.
![]()
![]() A
A
A ![]()
![]()
![]()
![]() C
C
B
A. Oven tray (lift up at area shown to remove)
B.Screws
C.Flame spreader
3.Locate the air shutter near the rear wall of oven and loosen the shutter screw.
A
![]() B
B
A. Shutter screw
B. Air shutter
4.Adjust the air shutter.
5.Turn the oven back on and check for proper flame. If the flame is still not properly adjusted, turn the oven off, wait for the oven burner to cool down and repeat Step 4 until flame is properly adjusted.
12