Automatic Ice and Water Dispenser
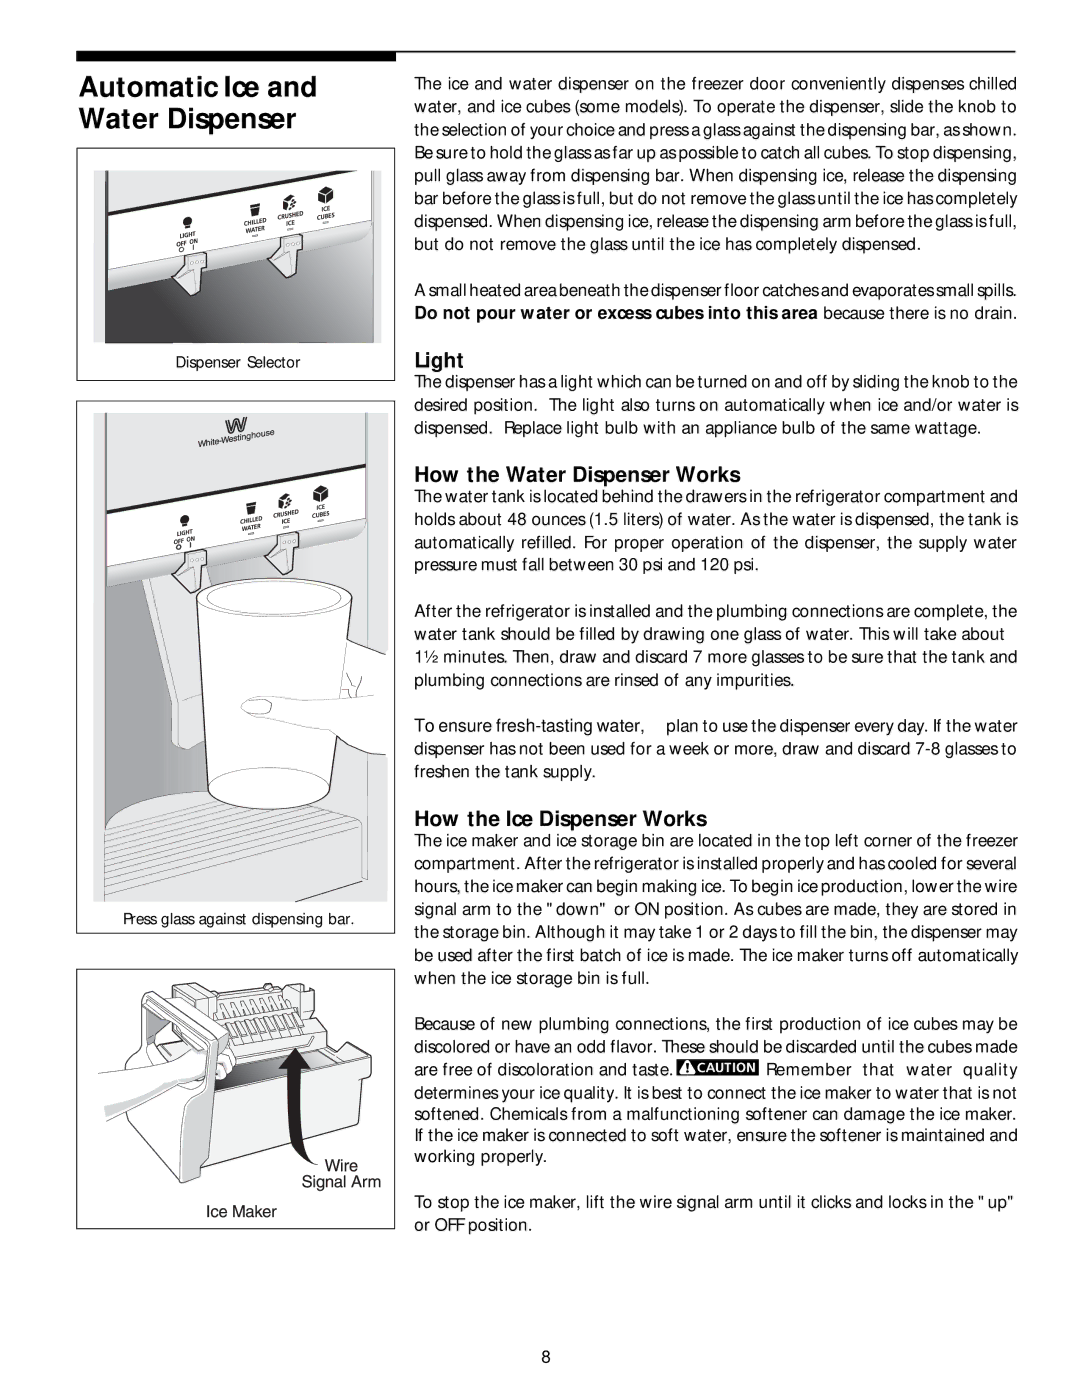
Dispenser Selector |
Press glass against dispensing bar.
The ice and water dispenser on the freezer door conveniently dispenses chilled water, and ice cubes (some models). To operate the dispenser, slide the knob to the selection of your choice and press a glass against the dispensing bar, as shown. Be sure to hold the glass as far up as possible to catch all cubes. To stop dispensing, pull glass away from dispensing bar. When dispensing ice, release the dispensing bar before the glass is full, but do not remove the glass until the ice has completely dispensed. When dispensing ice, release the dispensing arm before the glass is full, but do not remove the glass until the ice has completely dispensed.
A small heated area beneath the dispenser floor catches and evaporates small spills. Do not pour water or excess cubes into this area because there is no drain.
Light
The dispenser has a light which can be turned on and off by sliding the knob to the desired position. The light also turns on automatically when ice and/or water is dispensed. Replace light bulb with an appliance bulb of the same wattage.
How the Water Dispenser Works
The water tank is located behind the drawers in the refrigerator compartment and holds about 48 ounces (1.5 liters) of water. As the water is dispensed, the tank is automatically refilled. For proper operation of the dispenser, the supply water pressure must fall between 30 psi and 120 psi.
After the refrigerator is installed and the plumbing connections are complete, the water tank should be filled by drawing one glass of water. This will take about 1½ minutes. Then, draw and discard 7 more glasses to be sure that the tank and plumbing connections are rinsed of any impurities.
To ensure
How the Ice Dispenser Works
The ice maker and ice storage bin are located in the top left corner of the freezer compartment. After the refrigerator is installed properly and has cooled for several hours, the ice maker can begin making ice. To begin ice production, lower the wire signal arm to the "down" or ON position. As cubes are made, they are stored in the storage bin. Although it may take 1 or 2 days to fill the bin, the dispenser may be used after the first batch of ice is made. The ice maker turns off automatically when the ice storage bin is full.
Because of new plumbing connections, the first production of ice cubes may be discolored or have an odd flavor. These should be discarded until the cubes made
are free of discoloration and taste.![]()
![]()
![]()
![]()
![]() Remember that water quality determines your ice quality. It is best to connect the ice maker to water that is not softened. Chemicals from a malfunctioning softener can damage the ice maker. If the ice maker is connected to soft water, ensure the softener is maintained and working properly.
Remember that water quality determines your ice quality. It is best to connect the ice maker to water that is not softened. Chemicals from a malfunctioning softener can damage the ice maker. If the ice maker is connected to soft water, ensure the softener is maintained and working properly.
To stop the ice maker, lift the wire signal arm until it clicks and locks in the "up" or OFF position.
8