•Slide the boot cover all the way up (toward the drive handles) to access the drive handle bolts.
•Remove drive handle bolts, drive handles, and rubber boot.
•Remove the four bolts securing the retaining plate to the control tower cover.
•Pull up on the control tower cover and slide up and over the control tower.
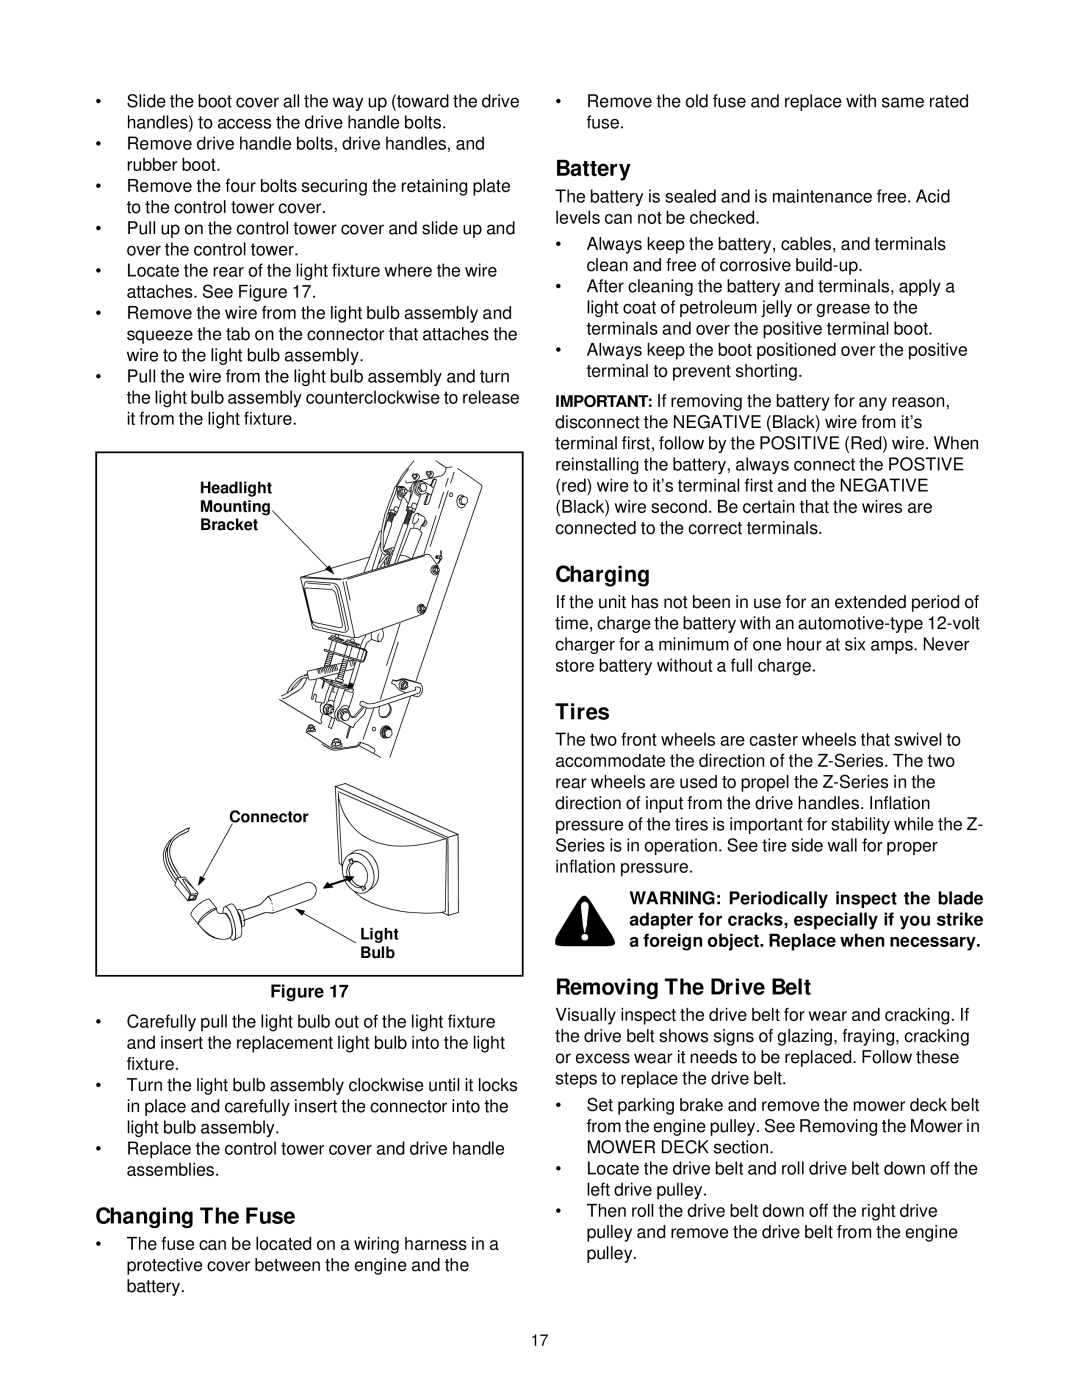
•Locate the rear of the light fixture where the wire attaches. See Figure 17.
•Remove the wire from the light bulb assembly and squeeze the tab on the connector that attaches the wire to the light bulb assembly.
•Pull the wire from the light bulb assembly and turn the light bulb assembly counterclockwise to release it from the light fixture.
Headlight |
Mounting |
Bracket |
Connector |
Light |
Bulb |
Figure 17
•Carefully pull the light bulb out of the light fixture and insert the replacement light bulb into the light fixture.
•Turn the light bulb assembly clockwise until it locks in place and carefully insert the connector into the light bulb assembly.
•Replace the control tower cover and drive handle assemblies.
Changing The Fuse
•The fuse can be located on a wiring harness in a protective cover between the engine and the battery.
•Remove the old fuse and replace with same rated fuse.
Battery
The battery is sealed and is maintenance free. Acid levels can not be checked.
•Always keep the battery, cables, and terminals clean and free of corrosive
•After cleaning the battery and terminals, apply a light coat of petroleum jelly or grease to the terminals and over the positive terminal boot.
•Always keep the boot positioned over the positive terminal to prevent shorting.
IMPORTANT: If removing the battery for any reason, disconnect the NEGATIVE (Black) wire from it’s terminal first, follow by the POSITIVE (Red) wire. When reinstalling the battery, always connect the POSTIVE (red) wire to it’s terminal first and the NEGATIVE (Black) wire second. Be certain that the wires are connected to the correct terminals.
Charging
If the unit has not been in use for an extended period of time, charge the battery with an
Tires
The two front wheels are caster wheels that swivel to accommodate the direction of the
WARNING: Periodically inspect the blade adapter for cracks, especially if you strike a foreign object. Replace when necessary.
Removing The Drive Belt
Visually inspect the drive belt for wear and cracking. If the drive belt shows signs of glazing, fraying, cracking or excess wear it needs to be replaced. Follow these steps to replace the drive belt.
•Set parking brake and remove the mower deck belt from the engine pulley. See Removing the Mower in MOWER DECK section.
•Locate the drive belt and roll drive belt down off the left drive pulley.
•Then roll the drive belt down off the right drive pulley and remove the drive belt from the engine pulley.
17