Manuals
/
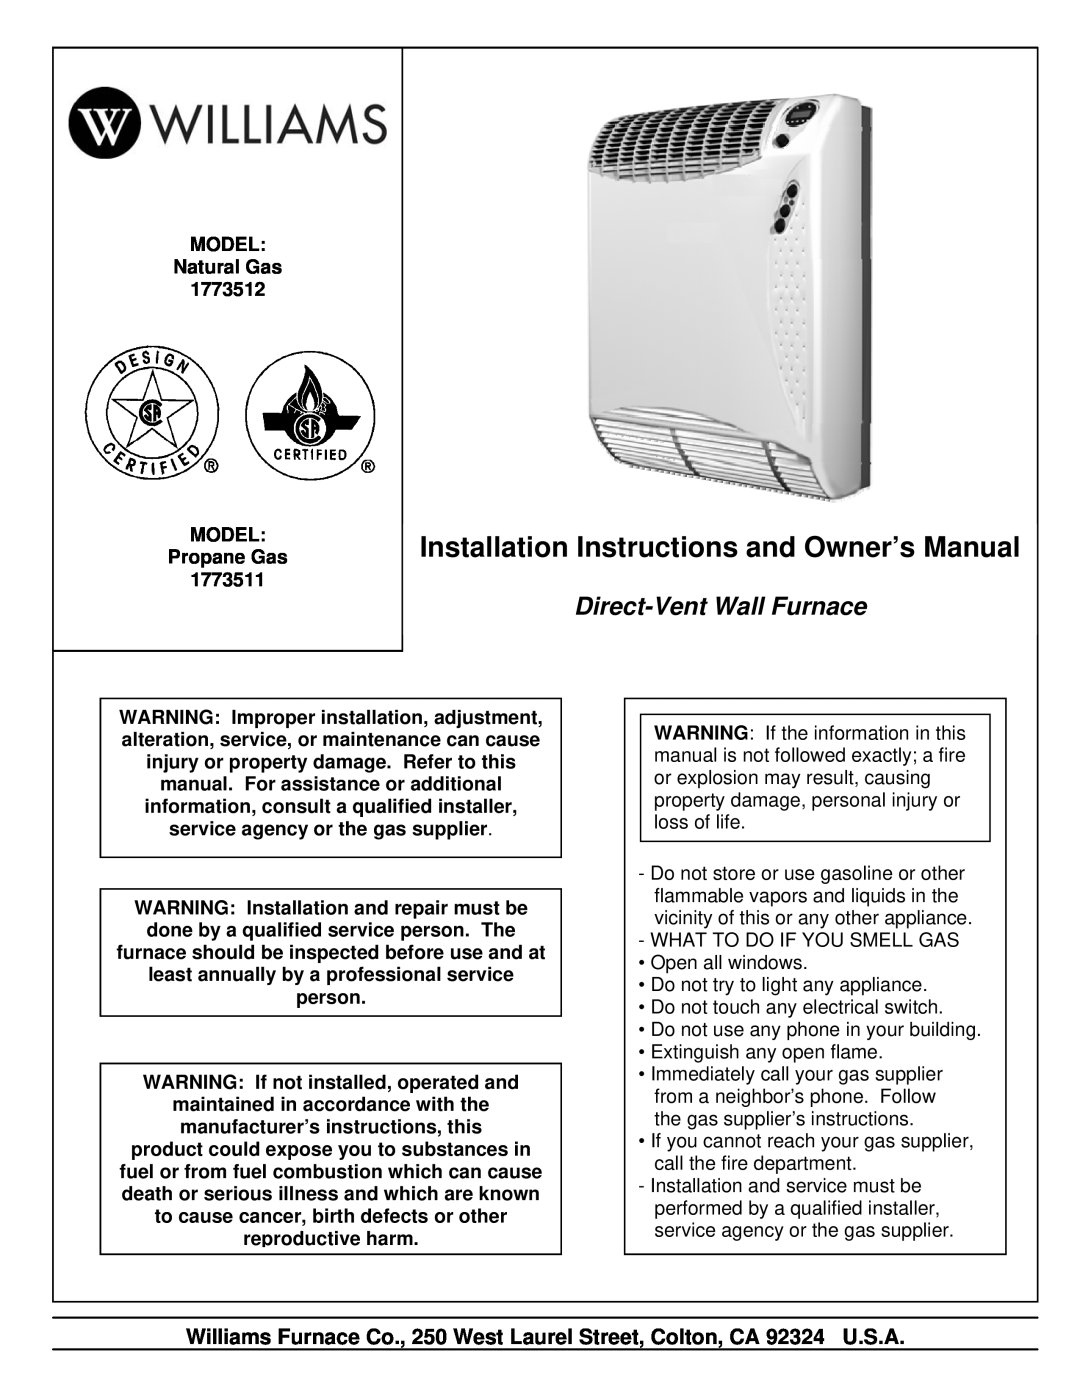
Williams
/
Household Appliance
/
Furnace
Williams
1773511, 1773512
installation instructions
Direct-Vent Wall Furnace
Models:
1773512
1773511
1
1
24
24
Download
24 pages
4.62 Kb
1
2
3
4
5
6
7
8
Troubleshooting
Install
Electrical Wiring Diagram Key
Programmable Timer
Gas Assembly
High Altitude Adjustment
Day and Time Setting
How to
Technical Data
Cancelling a Single Program
Page 1
Image 1
Page 1
Page 2
Page 1
Image 1
Page 1
Page 2
Contents
Direct-Vent Wall Furnace
Williams Furnace Co., 250 West Laurel Street, Colton, CA 92324 U.S.A
Instructions to Installer
Table of Contents General Information and Technical Data
Safety Information for Users of LP Gas
Safety Rules and General Warnings
LP Gas Warning Odor
That’s your signal to go into immediate action
Some Points to Remember
Technical Data
Wall Installation
Installation
Air inlet tube length = wall thickness + 3/32-inches 2.4 mm
Outside Location for Vent Terminal
Flue outlet tube length = wall thickness + 1-5/16-inches 7.9 mm
A + 33.3 mm
13. Relocate the vent cap and attach it with the screws. Figure
Gas Type
Gas Conversions
Nozzle Part Number
Nozzle Diameter
Installing a New Main Gas Shutoff Valve
High Altitude Adjustment
Pressure Testing of the Gas Supply System
Gas Supply
Checking the Gas Inlet Pressure
First Firing the Furnace
Checking the Gas Manifold Pressure
A B C
Electrical Wiring Diagram Key
Operating Instructions
FOR YOUR SAFETY READ BEFORE OPERATING
OPERATING INSTRUCTIONS
TO TURN OFF GAS TO APPLIANCE
USING THE FEATURES OF YOUR FURNACE
HOW TO SHUT OFF THE APPLIANCE
WHAT TO DO IF THE RED LAMP IS LIT
Servicing
Checking and Adjusting the Gas Manifold Pressure
Checking, Removing and Reassembling of the Vent Air Intake System
Lubrication of Moving Parts
Annual Maintenance Requirements
Overview
Programmable Timer
Day and Time Setting
Setting and Adjustment Initial Conditions
Programming the Timer
Manual Operation
Cancelling of all Preset Programs
Cancelling a Single Program
Using the Skip Function
Skip Function Procedure During Operation
Troubleshooting Step
Troubleshooting Starting Sequence Electrical
Step
Summer Mode Step
Troubleshooting Step
Starting Sequence Gas
Gas Assembly
Replacement Parts
Electric Box
S - Combustion Blower Motor M1 - Overheat Thermostat
RP8 Flame Sensor RP7 Spark Igniter 2 pieces
M2 - Fan Thermostat Fan Blades 4 pieces M - Fan Motor 2 Pieces
Part NumberJLTT015 Part Number JLTT023 Part Number JMTR017
Top
Page
Image
Contents