Parts Included • Tools Needed • How to Unpack
About this manual —
We hope this manual will provide clear instructions to install and operate
Two symbols have been used —
! | Indicates caution should be taken! | Indicates suggestions to make |
| processes easier for you. |
NOTE: The
PARTS INCLUDED:
1 | Radome | 1 large yellow spade connector |
3 base mounting feet | 2 small red spade connectors | |
1 | Power switch | All required screws and washers |
2 | Wall plates (white & brown) | 1 base with electronics, dish, single LNBF |
1 | Surface mount bracket |
|
2 | Cable clamps |
|
1 | Cable entry plate |
|
TOOLS NEEDED FOR UNPACKING & INSTALLATION:
7/16” open end wrench Level
Drill w/3/4” bit
1/8” Allen wrench
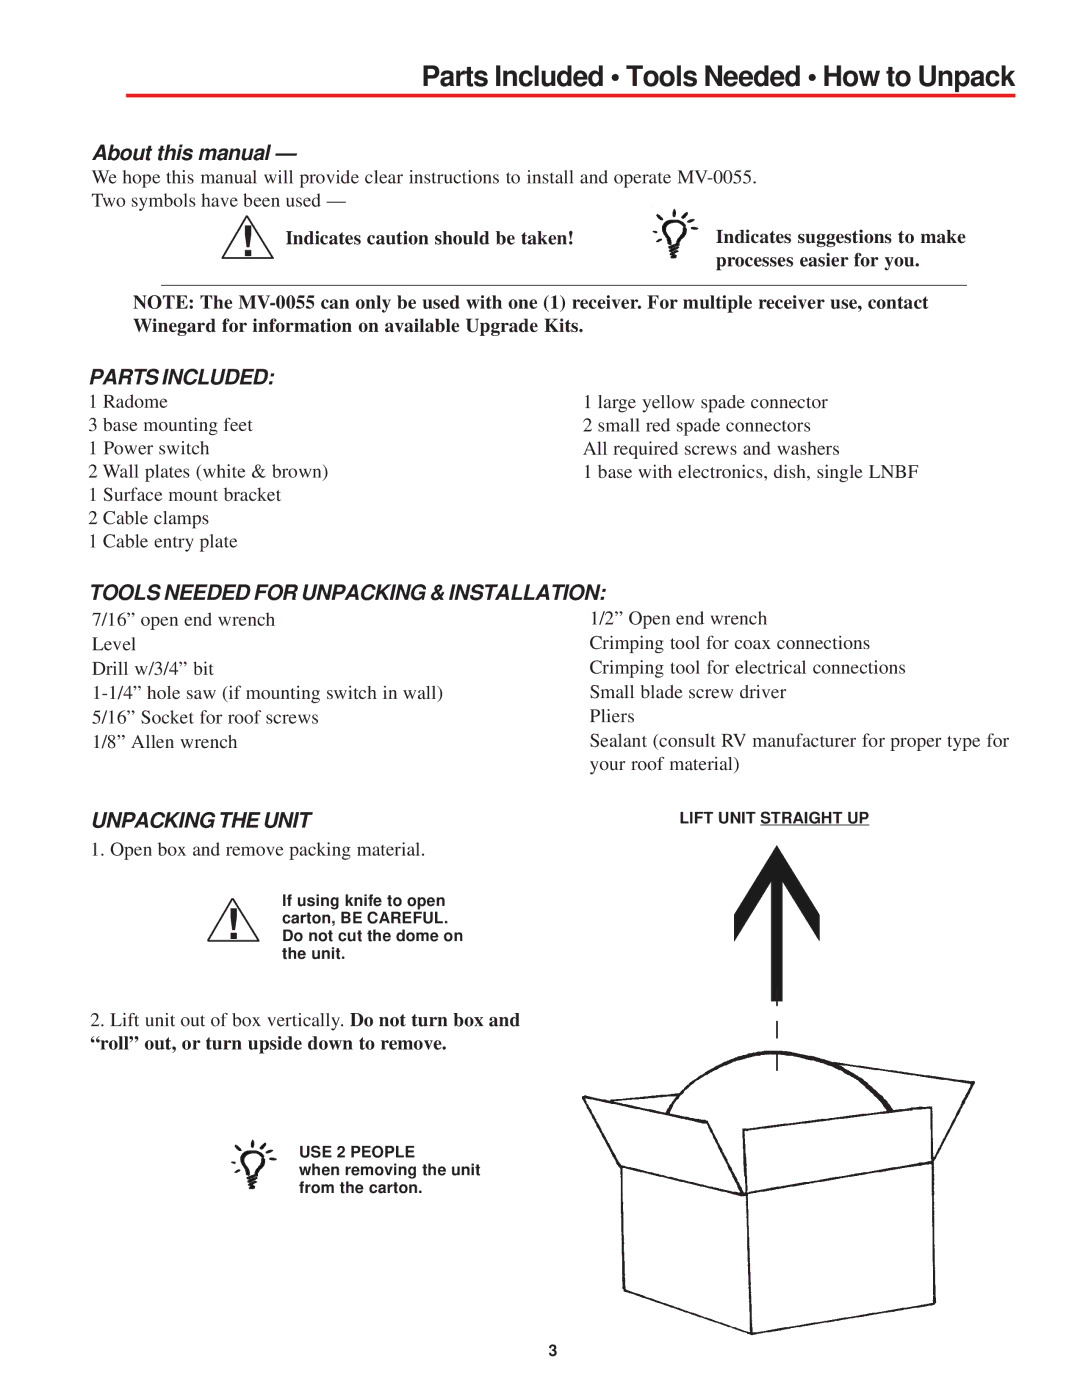
UNPACKING THE UNIT
1. Open box and remove packing material.
If using knife to open
!carton, BE CAREFUL. Do not cut the dome on the unit.
2.Lift unit out of box vertically. Do not turn box and “roll” out, or turn upside down to remove.
1/2” Open end wrench
Crimping tool for coax connections Crimping tool for electrical connections Small blade screw driver
Pliers
Sealant (consult RV manufacturer for proper type for your roof material)
LIFT UNIT STRAIGHT UP
USE 2 PEOPLE
when removing the unit from the carton.
3