To Delete User Account |
| How to Switch a User | |
|
|
| |
1 Click Start > Control Panel > User Account. |
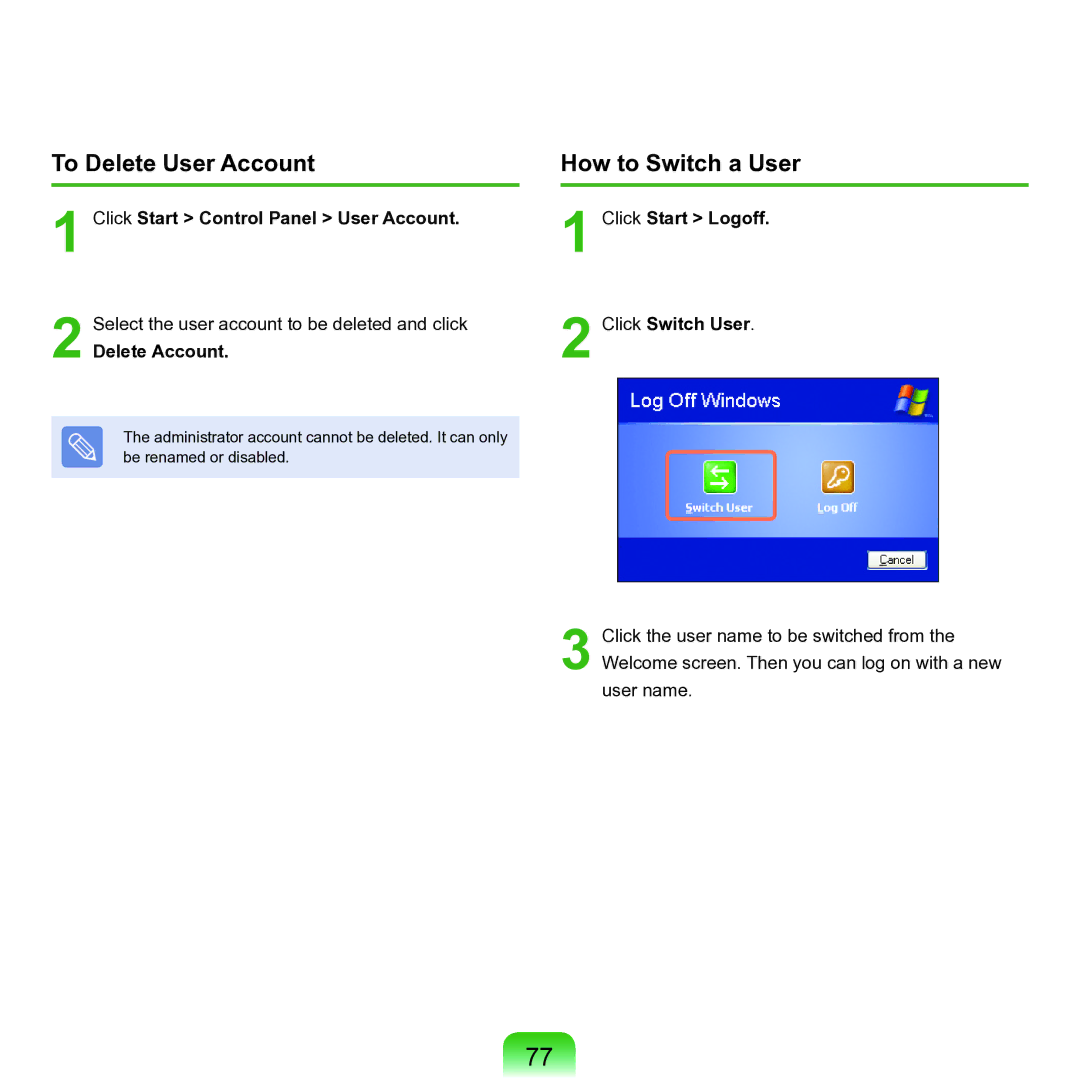
| 1 Click Start > Logoff. | |
Select the user account to be deleted and click | 2 | Click Switch User. | |
2 Delete Account. |
| ||
The administrator account cannot be deleted. It can only be renamed or disabled.
3 Click the user name to be switched from the Welcome screen. Then you can log on with a new user name.
77