Easy Display Manager (Optional)
Easy Display Manager is a program that displays the changed setting on the screen when a setting is changed by pressing the shortcut keys, and enables changing the display mode through the Display Settings window.
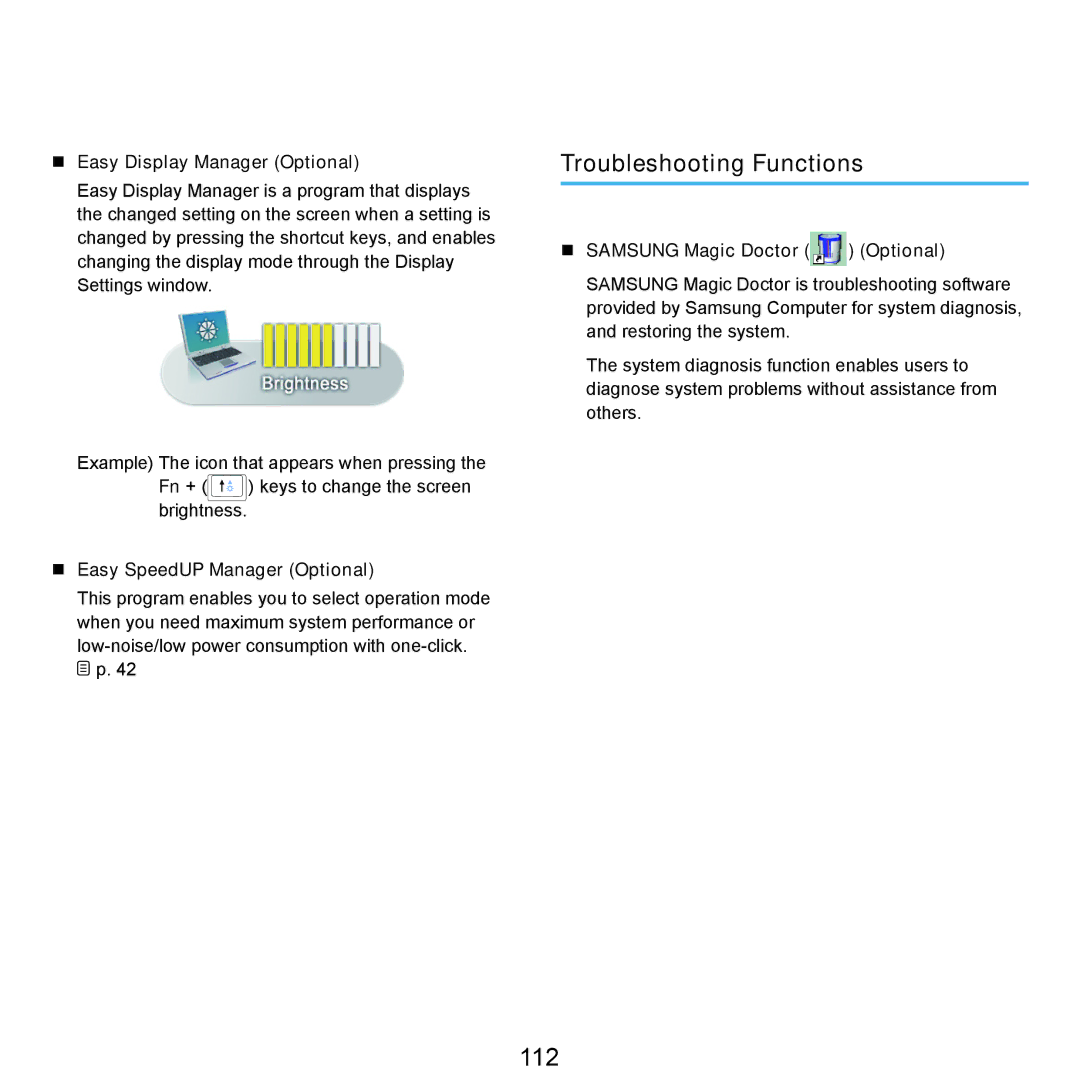
Example) The icon that appears when pressing the
Fn + ( ![]()
![]()
![]()
![]()
![]()
![]() ) keys to change the screen brightness.
) keys to change the screen brightness.
Easy SpeedUP Manager (Optional)
This program enables you to select operation mode when you need maximum system performance or
![]() p. 42
p. 42
Troubleshooting Functions
SAMSUNG Magic Doctor ( ) (Optional)
SAMSUNG Magic Doctor is troubleshooting software provided by Samsung Computer for system diagnosis, and restoring the system.
The system diagnosis function enables users to diagnose system problems without assistance from others.