Warming Drawer Installation | 14 |
|
|
Anti-Tip Block
INSTALL ANTI-TIP BLOCKING
Install an
An
Install the Warming Drawer
Unpack the warming drawer on a flat surface. Remove all packaging materials from inside the warming drawer. Do not discard the package containing the two wood screws needed for installation.
Turn power off to the electrical outlet.
Slide the left corner of the warming drawer into the opening. If the electrical outlet is installed inside the opening, plug the power cord into the outlet. The excess cord should be coiled behind or beside the unit. If the outlet is located in an adjacent cabinet, thread the power cord through the hole in the cabinet wall. Push the drawer back into the opening until the trim meets the cabinet front. Make sure the power cord does not get trapped under the warming drawer.
IMPORTANT NOTE: Do not lift up on the handle to push the drawer into place.
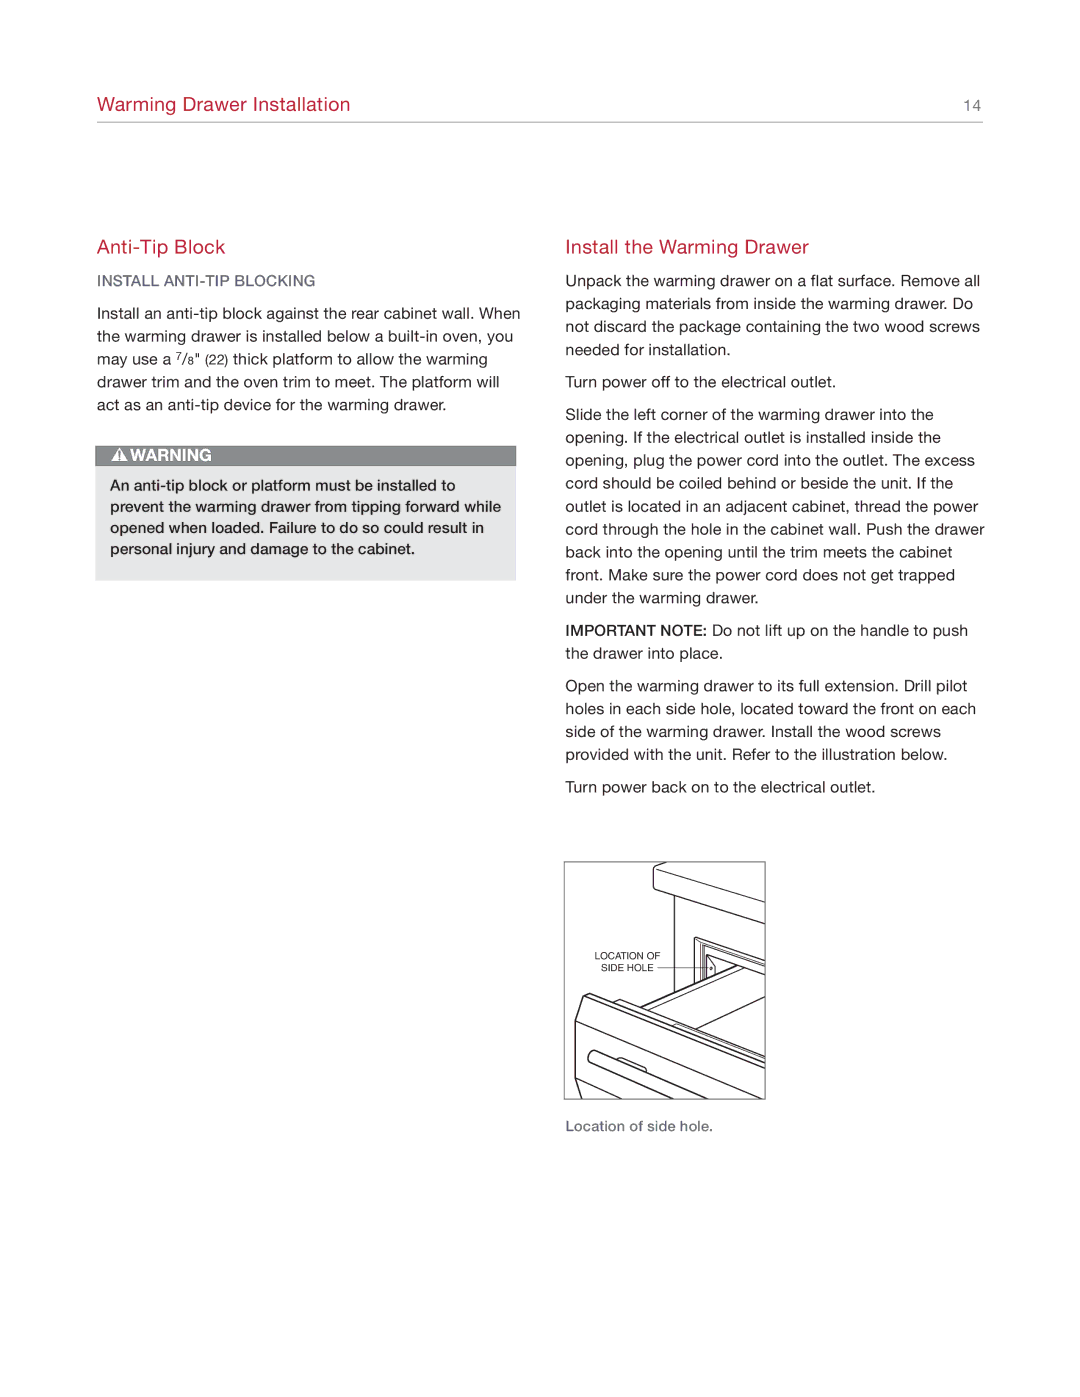
Open the warming drawer to its full extension. Drill pilot holes in each side hole, located toward the front on each side of the warming drawer. Install the wood screws provided with the unit. Refer to the illustration below.
Turn power back on to the electrical outlet.
LOCATION OF
SIDE HOLE
Location of side hole.