WPSSCO24 specifications
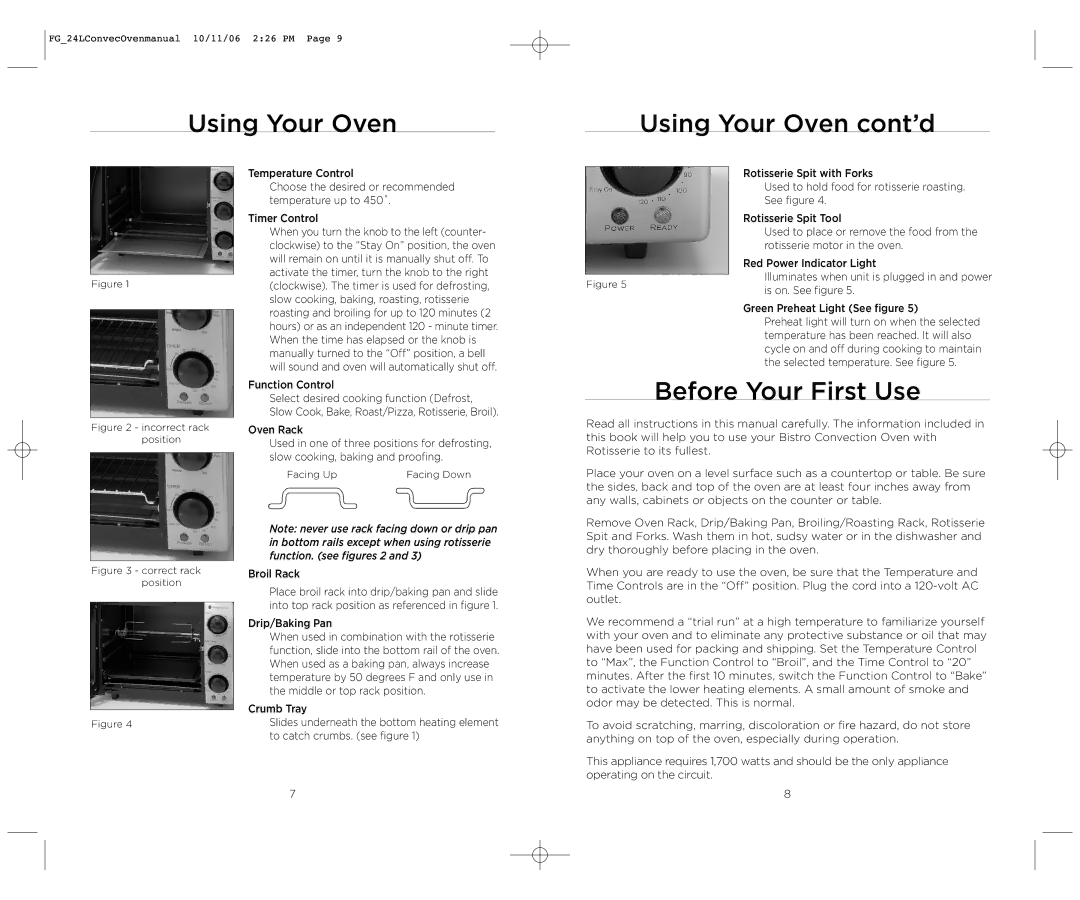
The Wolfgang Puck WPSSCO24 is a high-performance countertop oven designed to bring professional-grade cooking capabilities into your kitchen. Known for its versatility and efficiency, this appliance seamlessly combines convenience with advanced cooking technology. Drawing on the culinary expertise of Wolfgang Puck, a renowned chef and restaurateur, the WPSSCO24 offers a variety of cooking methods, including baking, roasting, grilling, and more, making it an ideal tool for both everyday meals and special occasions.One of the standout features of the WPSSCO24 is its powerful convection cooking system. This technology circulates hot air evenly throughout the oven, ensuring that every dish is cooked to perfection. With precise temperature control, the oven can reach high temperatures quickly, allowing for faster cooking times without sacrificing quality. Whether you’re baking a pizza, roasting vegetables, or preparing a roast, this oven provides consistent results, making it an invaluable asset in the kitchen.
The WPSSCO24 is also equipped with multiple cooking presets, which simplify the cooking process for users. These presets take the guesswork out of meal preparation and allow you to achieve restaurant-quality dishes with minimal effort. Additionally, the oven features a spacious interior that can accommodate a variety of cookware sizes, from baking sheets to casseroles, enhancing its versatility.
Another notable characteristic of the WPSSCO24 is its sleek, modern design. With its stainless steel exterior and minimalist controls, it seamlessly fits into any kitchen aesthetic. The easy-to-read digital display provides quick access to cooking settings and times, making it user-friendly for both novice cooks and experienced chefs.
Safety is a priority with the WPSSCO24, which includes features such as an automatic shut-off mechanism and cool-touch handles. These features ensure that users can operate the oven safely while minimizing the risk of accidents.
In summary, the Wolfgang Puck WPSSCO24 countertop oven combines advanced cooking technologies with a user-friendly design, making it a top choice for home chefs seeking efficiency and quality. Its convection cooking capabilities, cooking presets, and safety features make it a versatile and reliable kitchen companion, perfect for achieving culinary excellence in the comfort of your own home.

