Skid Shoes
The machine is equipped with skid shoes on the back side of housing under the hitch frame to prevent wear- ing the frame and provide depth control. They should be checked occasionally for wear and replaced if required.
![]() WARNING
WARNING
■Before proceeding, read and follow all safety rules.
1.Place a 4" x 4" block under each end of snow- blower frame.
NOTE: Block only high enough for the skid shoes to clear ground.
2.Lower snowblower to sit securely on blocks.
3.Properly secure tractor and release all hydraulic pressure.
4.Loosen and remove skid shoe mounting bolts (2) and nuts (3).
5.Remove and inspect skid shoe (1).
6.Adjust skid shoe (1) to provide correct depth of cut.
7.Tighten mounting bolts (2) and nuts (3). Tighten to specifications given on torque chart.
1.Skid Shoe
2.1/2 NC x 4 Cap Screw
3.1/2 NC Flanged Lock Nut
Figure 14. Skid Shoe Adjustment
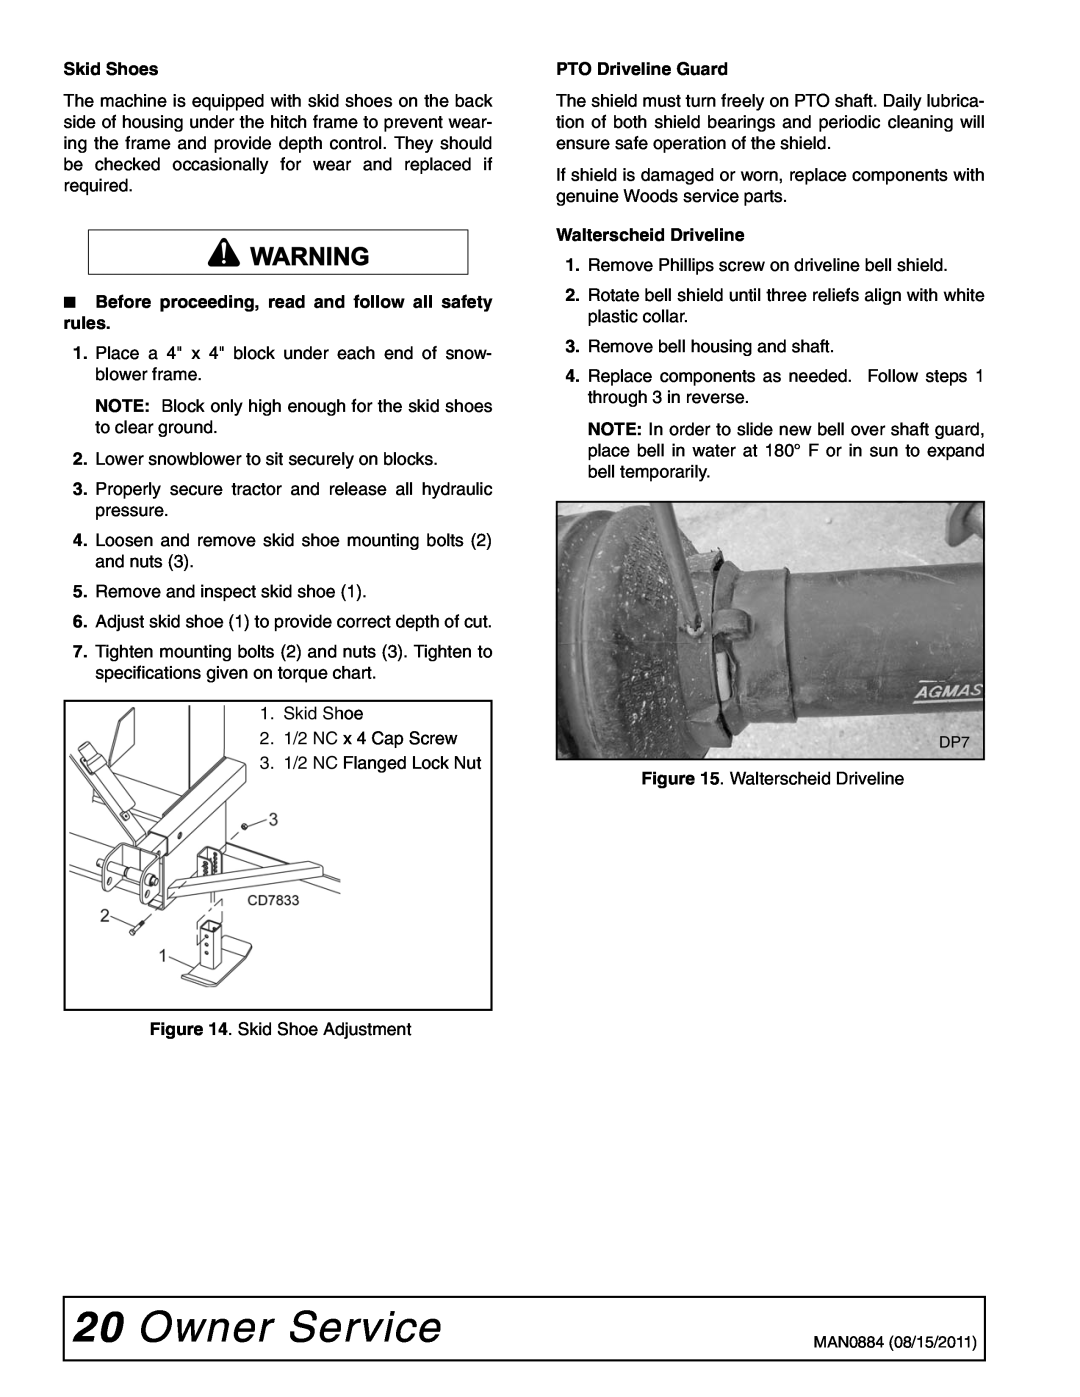
PTO Driveline Guard
The shield must turn freely on PTO shaft. Daily lubrica- tion of both shield bearings and periodic cleaning will ensure safe operation of the shield.
If shield is damaged or worn, replace components with genuine Woods service parts.
Walterscheid Driveline
1.Remove Phillips screw on driveline bell shield.
2.Rotate bell shield until three reliefs align with white plastic collar.
3.Remove bell housing and shaft.
4.Replace components as needed. Follow steps 1 through 3 in reverse.
NOTE: In order to slide new bell over shaft guard, place bell in water at 180° F or in sun to expand bell temporarily.
DP7
Figure 15. Walterscheid Driveline
20 Owner Service | MAN0884 (08/15/2011) |
|
|