Model W1784 (Mfg. Since 2/07)
4.Use a 5mm hex wrench to remove the four cap screws that secure the base to the stapler body (see Figure 6).
7.Remove the four cap screws and lock washers from the cylinder cover, and remove it from the stapler body.
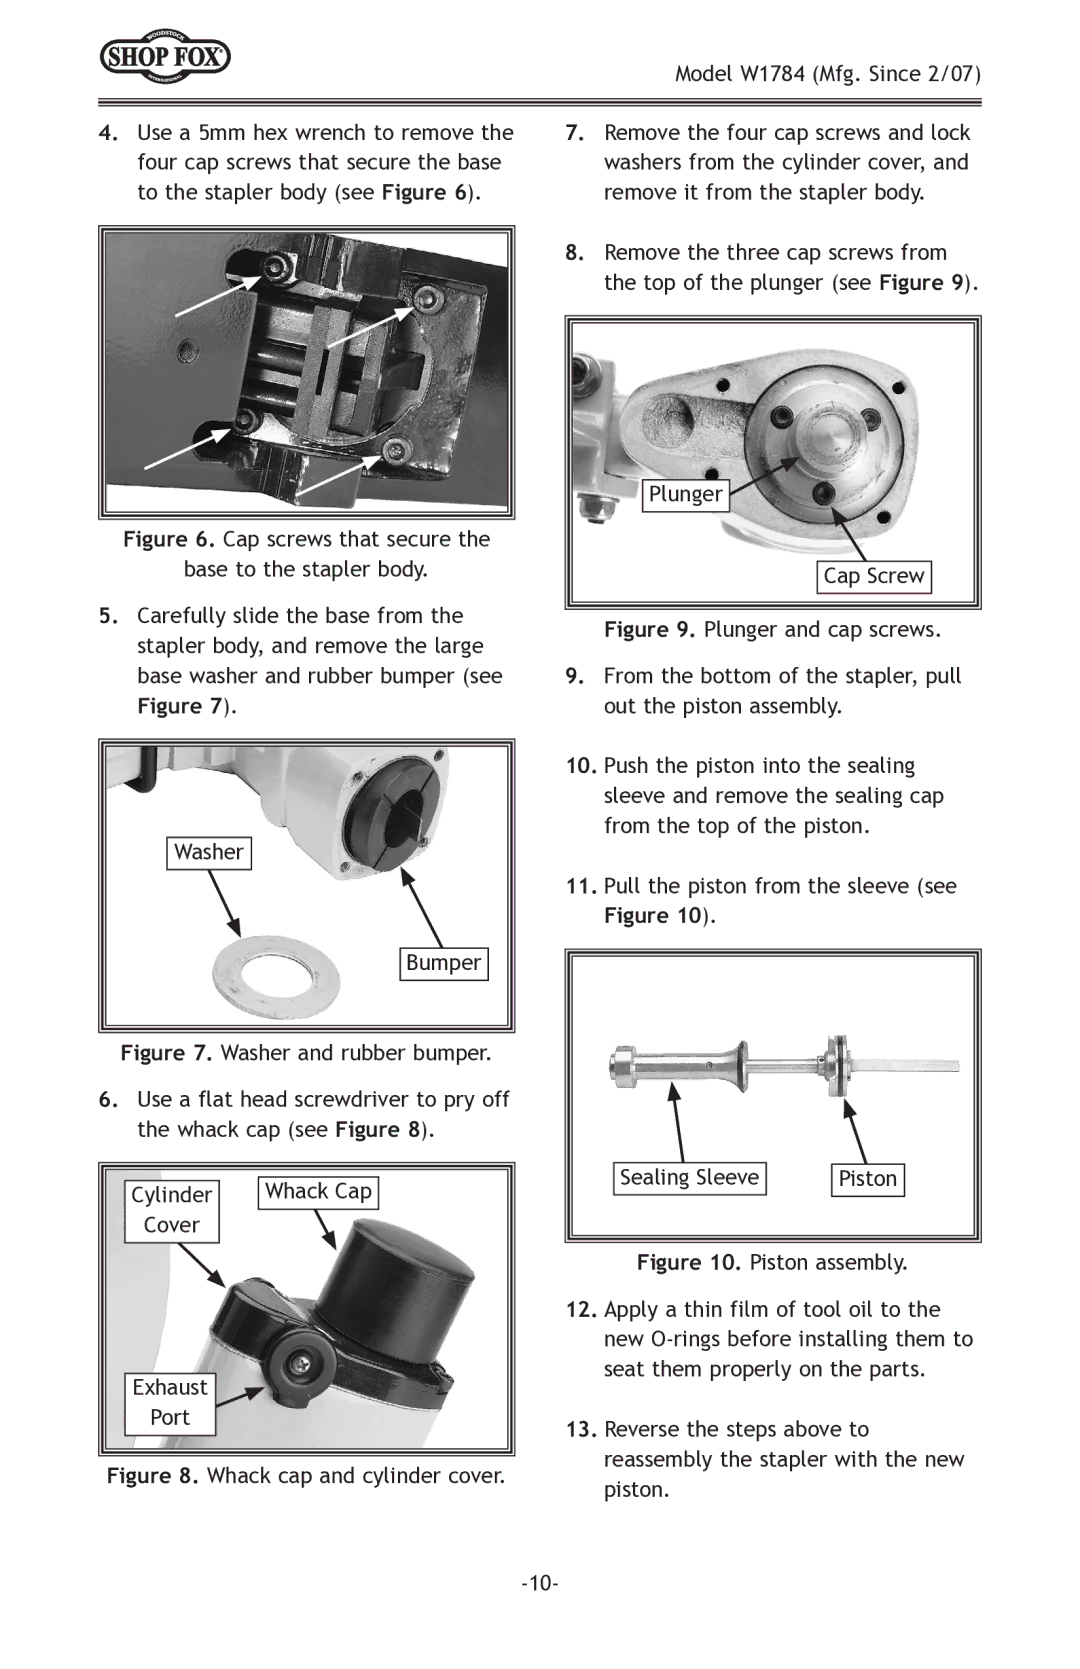
8.Remove the three cap screws from the top of the plunger (see Figure 9).
Figure 6. Cap screws that secure the
base to the stapler body.
5.Carefully slide the base from the stapler body, and remove the large base washer and rubber bumper (see
Figure 7).
Washer
Bumper
Figure 7. Washer and rubber bumper.
6.Use a flat head screwdriver to pry off the whack cap (see Figure 8).
Cylinder |
| Whack Cap |
Cover |
|
|
|
|
|
Exhaust
Port
Figure 8. Whack cap and cylinder cover.
Plunger ![]()
Cap Screw
Figure 9. Plunger and cap screws.
9.From the bottom of the stapler, pull out the piston assembly.
10.Push the piston into the sealing sleeve and remove the sealing cap from the top of the piston.
11.Pull the piston from the sleeve (see
Figure 10).
Sealing Sleeve |
| Piston |
|
|
|