Model W1822 (For Machines Mfg. Since 9/10)
7.Align the mounting holes, then thread (2)
8.Move the sliding table to the right and install the remaining
9.Place the straightedge across the saw table and the sliding table at each end to make sure that the combined table surface is flat.
— If the combined table surface is flat, skip to the next step.
SETUP
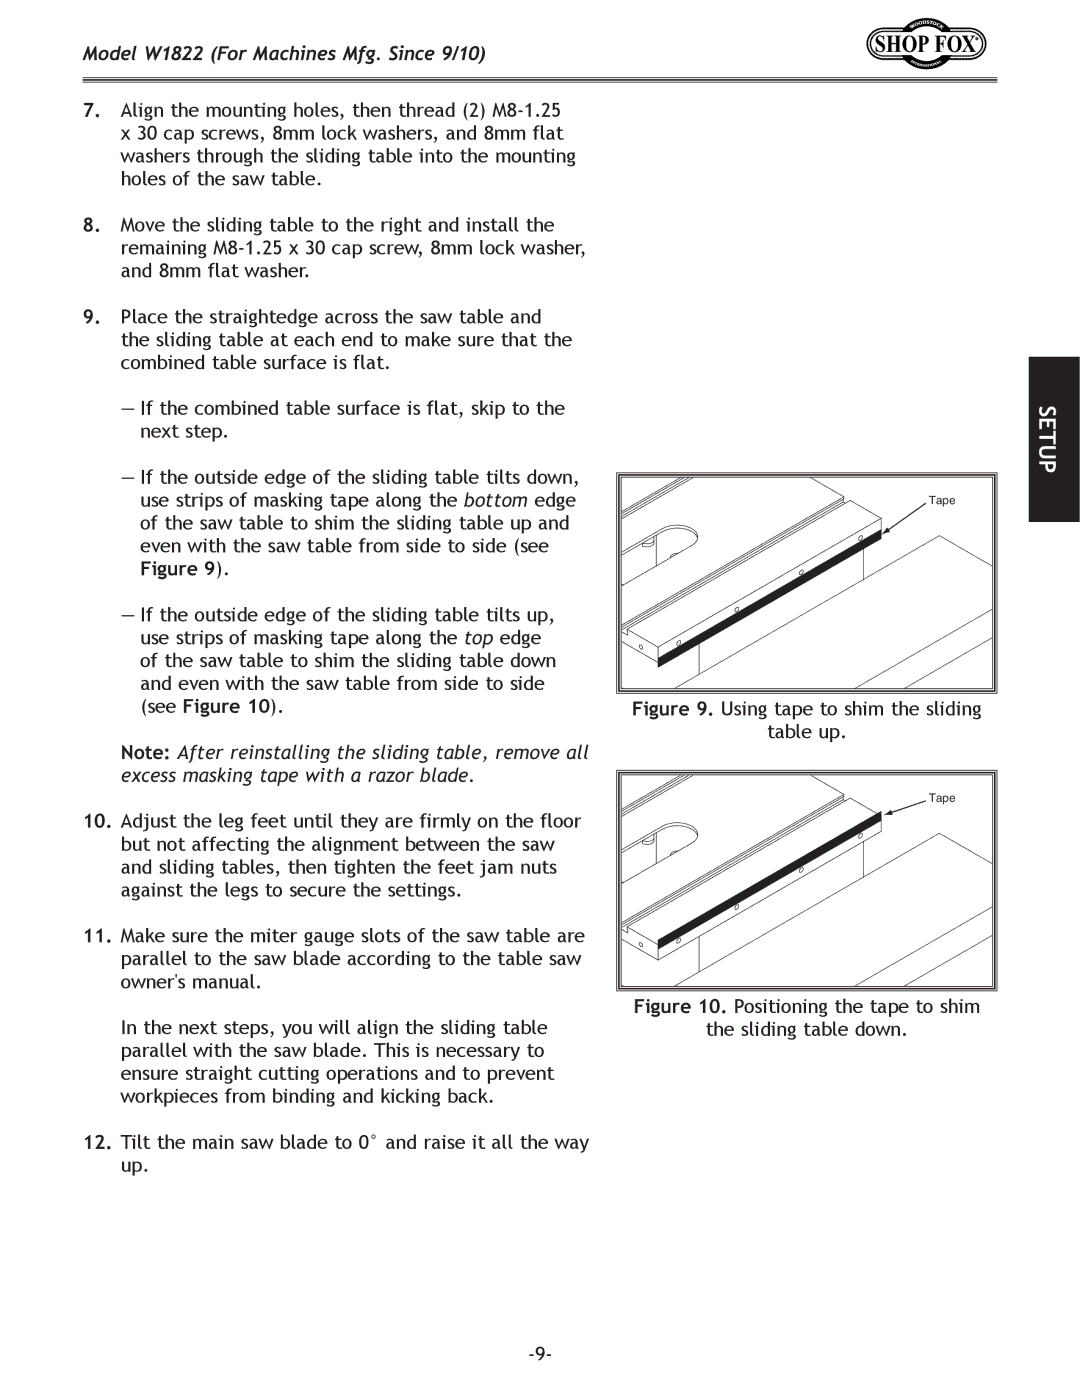
—If the outside edge of the sliding table tilts down, use strips of masking tape along the bottom edge of the saw table to shim the sliding table up and even with the saw table from side to side (see
Figure 9).
—If the outside edge of the sliding table tilts up, use strips of masking tape along the top edge of the saw table to shim the sliding table down and even with the saw table from side to side (see Figure 10).
Note: After reinstalling the sliding table, remove all excess masking tape with a razor blade.
10.Adjust the leg feet until they are firmly on the floor but not affecting the alignment between the saw and sliding tables, then tighten the feet jam nuts against the legs to secure the settings.
11.Make sure the miter gauge slots of the saw table are parallel to the saw blade according to the table saw owner's manual.
In the next steps, you will align the sliding table parallel with the saw blade. This is necessary to ensure straight cutting operations and to prevent workpieces from binding and kicking back.
12.Tilt the main saw blade to 0° and raise it all the way up.
Tape |
Figure 9. Using tape to shim the sliding |
table up. |
Tape |
Figure 10. Positioning the tape to shim |
the sliding table down. |