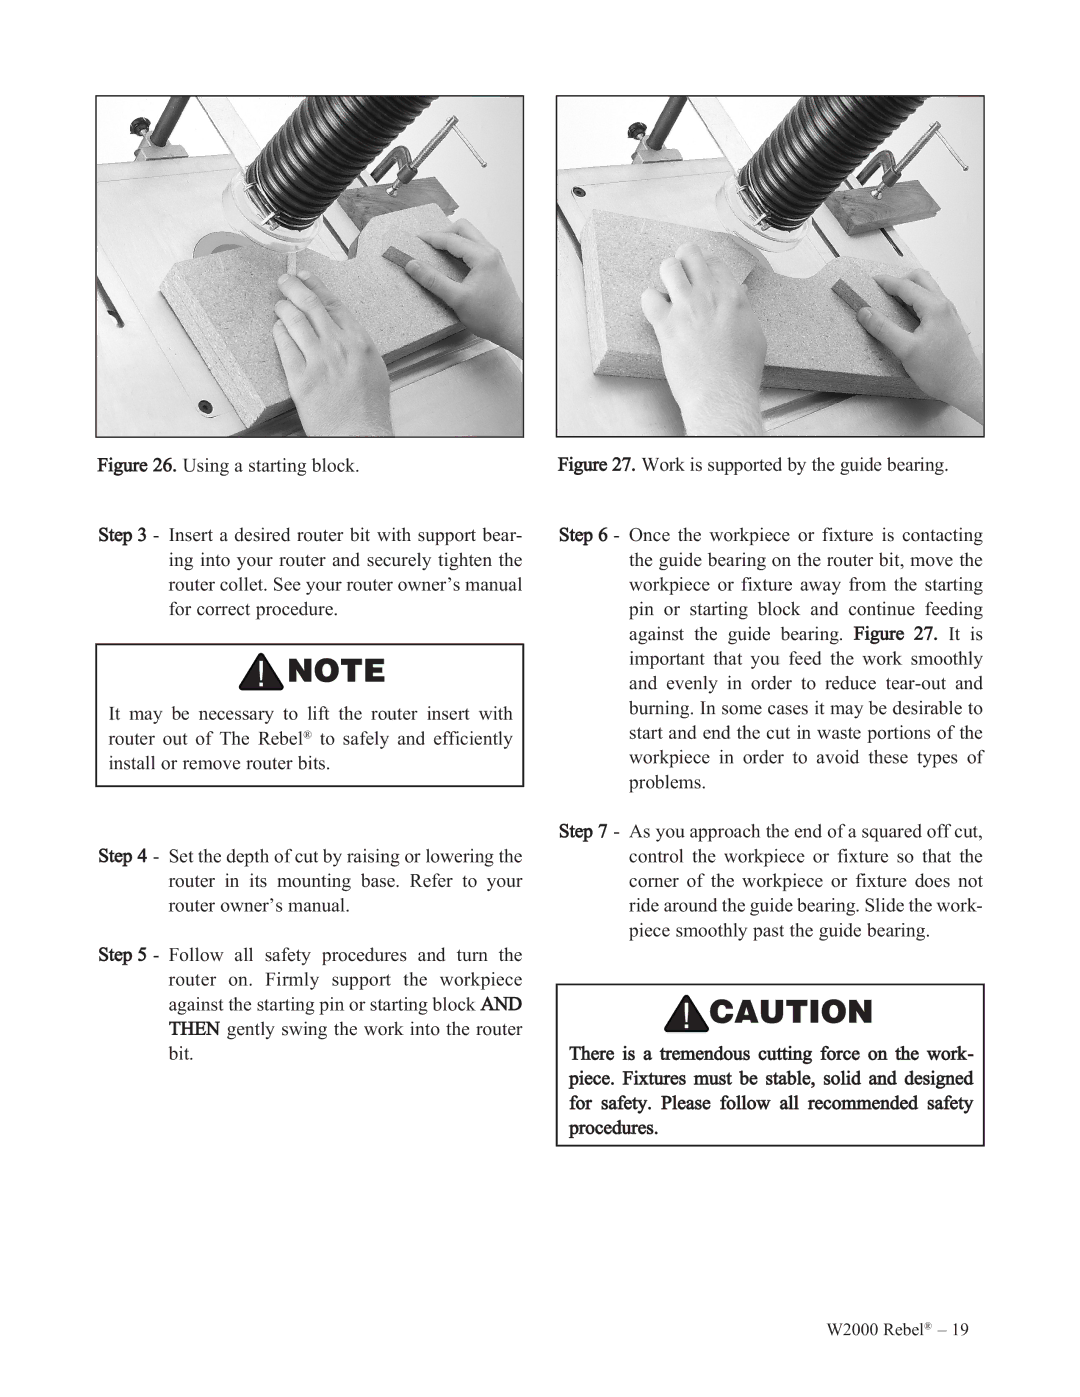
Figure 26. Using a starting block.
Step 3 - Insert a desired router bit with support bear- ing into your router and securely tighten the router collet. See your router owner’s manual for correct procedure.
It may be necessary to lift the router insert with router out of The Rebel® to safely and efficiently install or remove router bits.
Step 4 - Set the depth of cut by raising or lowering the router in its mounting base. Refer to your router owner’s manual.
Step 5 - Follow all safety procedures and turn the router on. Firmly support the workpiece against the starting pin or starting block AND THEN gently swing the work into the router bit.
Figure 27. Work is supported by the guide bearing.
Step 6 - Once the workpiece or fixture is contacting the guide bearing on the router bit, move the workpiece or fixture away from the starting pin or starting block and continue feeding against the guide bearing. Figure 27. It is important that you feed the work smoothly and evenly in order to reduce tear-out and burning. In some cases it may be desirable to start and end the cut in waste portions of the workpiece in order to avoid these types of problems.
Step 7 - As you approach the end of a squared off cut, control the workpiece or fixture so that the corner of the workpiece or fixture does not ride around the guide bearing. Slide the work- piece smoothly past the guide bearing.
There is a tremendous cutting force on the work- piece. Fixtures must be stable, solid and designed for safety. Please follow all recommended safety procedures.
W2000 Rebel® – 19