E. Straight Edge Shaping
Straight edge shaping requires the use of the fence assembly. Although many edge shaping router bits have a guide bearing, the fence should still be used to provide maximum support and safety during the rout- ing operation. Please review the Fence Adjustment Section on Page 13. Remember use a sample piece of wood and make a test cut. For straight edge shaping, proceed as follows:
Step 1 - Select the appropriate router bit and mount it securely into the router collet. Follow the router manufacturer’s recommended proce- dure.
Step 2 - Adjust the router and router bit height in rela- tion to your workpiece. Lock the router height adjustment mechanism into position. Again follow the manufacturer’s recom- mended procedure.
If removing a lot of material, it is best to run your stock through in multiple passes, each time setting the router to cut deeper until reaching the desired depth.
Step 3 - Position the infeed fence for the correct depth of cut. Please refer to the Fence Adjustment Section.
Step 4 - Select a sample piece of wood for testing. Make sure the sample you choose is at least 12'' long. As with your finish piece, the test piece must be processed using all safety mea- sures and safety devices. After you have com- pleted your test cut,
F. Miter Gauge Work
The miter gauge is used to control narrow workpieces when shaping or routing end grain such as door rails, tenons and profiling edges. To use the miter gauge:
Step 1 - Position the miter gauge in the miter slot. Always feed against the direction of router bit rotation. Adjust the miter gauge angle if nec- essary. See Miter Gauge Adjustment on Page 15.
Step 2 - Since the miter gauge supports the work through the entire cut, slide the outfeed fence out of the way. Failure to do so may cause a dangerous
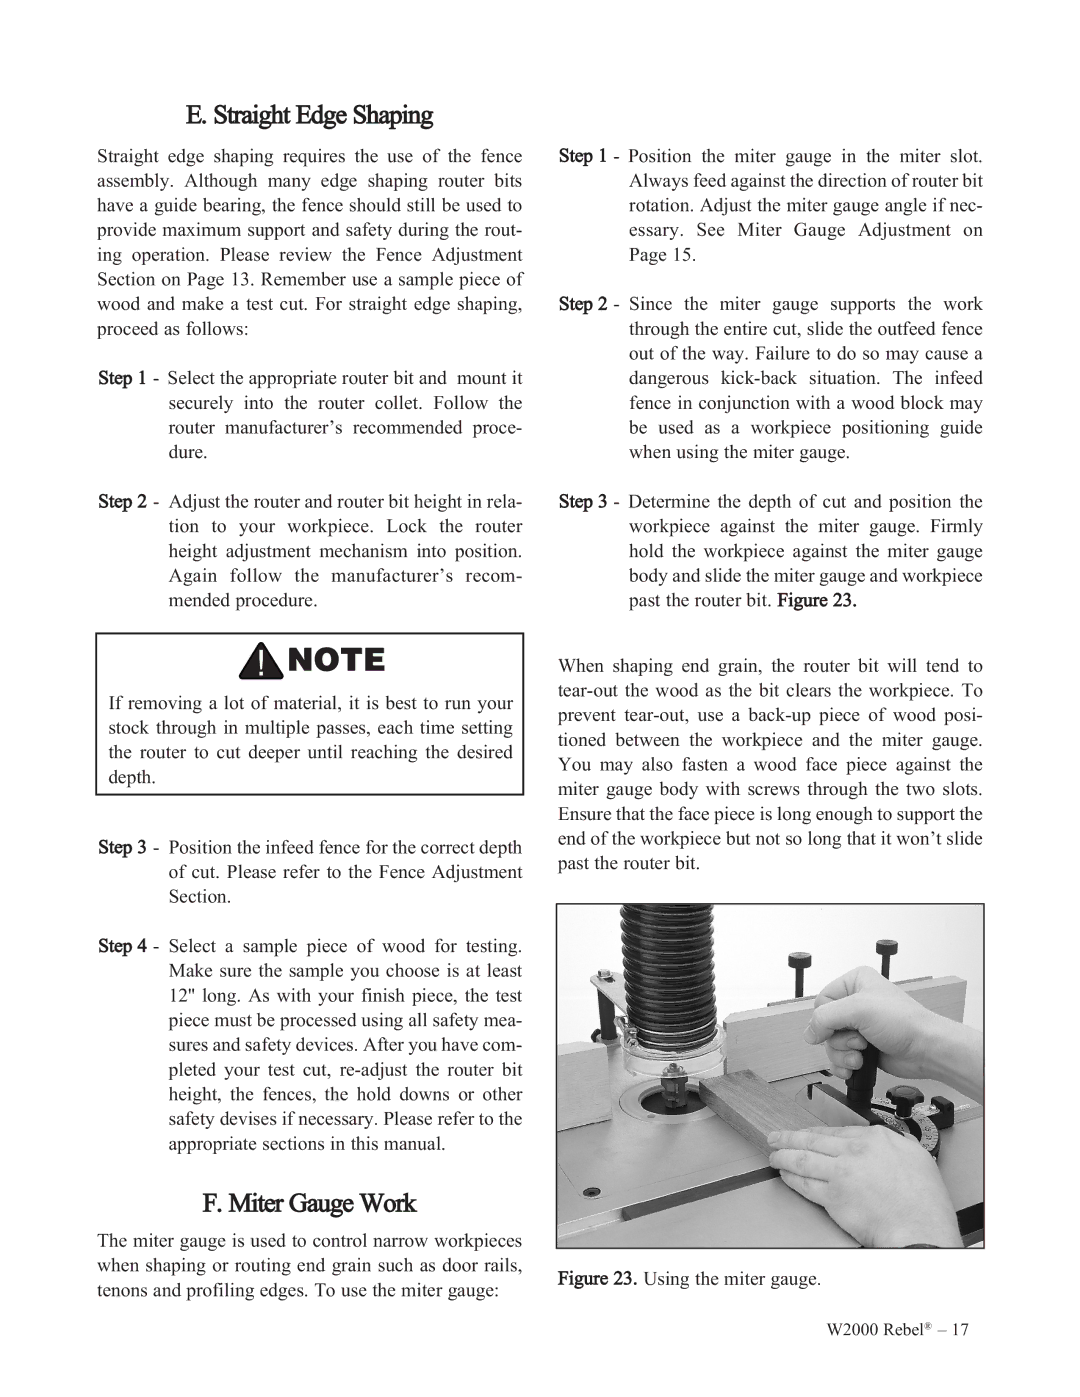
Step 3 - Determine the depth of cut and position the workpiece against the miter gauge. Firmly hold the workpiece against the miter gauge body and slide the miter gauge and workpiece past the router bit. Figure 23.
When shaping end grain, the router bit will tend to
Figure 23. Using the miter gauge.
W2000 Rebel® – 17