8 | Chapter 2 |
Step 5: Verifying Thin Client Operation
After the thin client displays the Xenith Pro desktop, you can verify the System Version and that your general system information is correct.
1.On the General tab of the System Information window (on the Wyse Zero Toolbar, click the System Information icon), verify the System Version is 2.0_017.
2.After verification, close the System Information window. The thin client is ready for operation and setup by an administrator.
TIP: Administrator and other documentation for your thin client are available at: http://www.wyse.com/manuals. For
Step 6: Attach a Wyse Conversion Label on Each Converted Thin Client
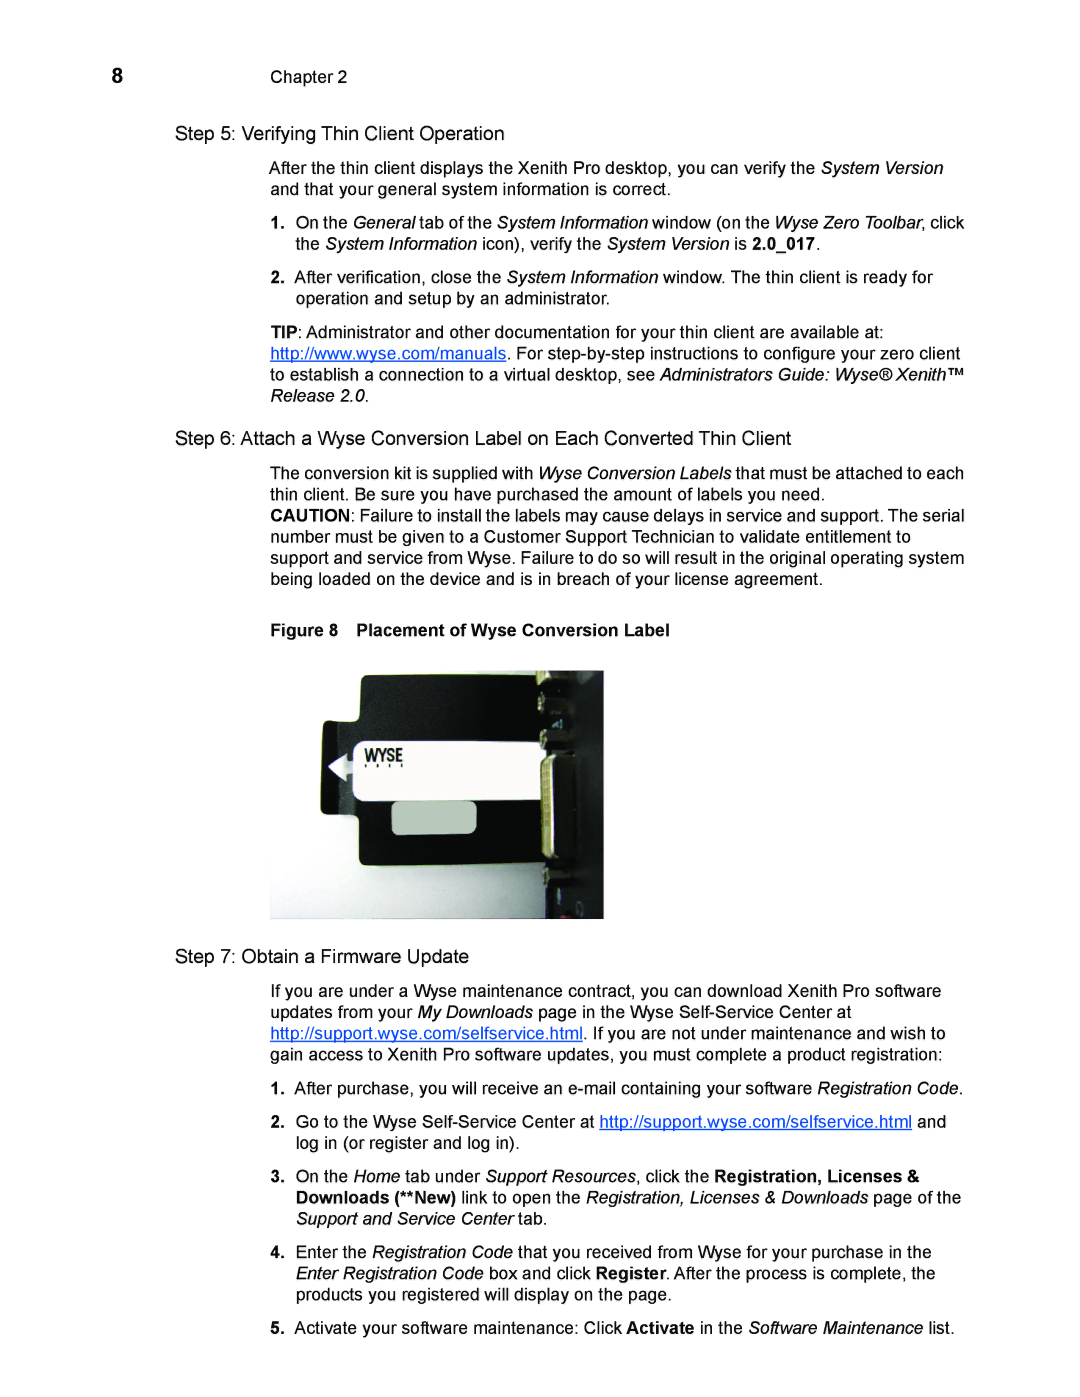
The conversion kit is supplied with Wyse Conversion Labels that must be attached to each thin client. Be sure you have purchased the amount of labels you need.
CAUTION: Failure to install the labels may cause delays in service and support. The serial number must be given to a Customer Support Technician to validate entitlement to support and service from Wyse. Failure to do so will result in the original operating system being loaded on the device and is in breach of your license agreement.
Figure 8 Placement of Wyse Conversion Label
Step 7: Obtain a Firmware Update
If you are under a Wyse maintenance contract, you can download Xenith Pro software updates from your My Downloads page in the Wyse
1.After purchase, you will receive an
2.Go to the Wyse
3.On the Home tab under Support Resources, click the Registration, Licenses & Downloads (**New) link to open the Registration, Licenses & Downloads page of the Support and Service Center tab.
4.Enter the Registration Code that you received from Wyse for your purchase in the Enter Registration Code box and click Register. After the process is complete, the products you registered will display on the page.
5.Activate your software maintenance: Click Activate in the Software Maintenance list.