4 | Chapter 2 |
Procedures
IMPORTANT: Complete the following procedures as an administrator (administrator privileges are required).
Step 1: Copy the RX0 Xenith Pro Conversion Image Folder (on the
Navigate to the RX0 Xenith Pro Conversion Image folder (contained on the Conversion Software Assembly
Step 2: Install Wyse USB Firmware Tool v1.18
1.Navigate to the Wyse USB Firmware Tool v1.18_GA.exe (contained on the Conversion Software Assembly
2.Enter the destination folder you want (for example, C:\USBFT) in the Unzip to folder box, and then click Unzip to extract all files from the Wyse USB Firmware Tool
v1.18_GA.exe file into the folder. The default directory for the extracted files is Wyse USB Firmware Tool.
CAUTION: It is not recommended to use your desktop for the destination folder as there are several files that will be extracted from the .exe file.
3.After installation, create a shortcut on the desktop for the Wyse USB Firmware Tool.exe file (see your operating system documentation).
Step 3: Use Wyse USB Firmware Tool to Configure a Single USB Key to Install Firmware
CAUTION: For Windows 7 Enterprise and Windows 7 Ultimate operating systems, be sure to
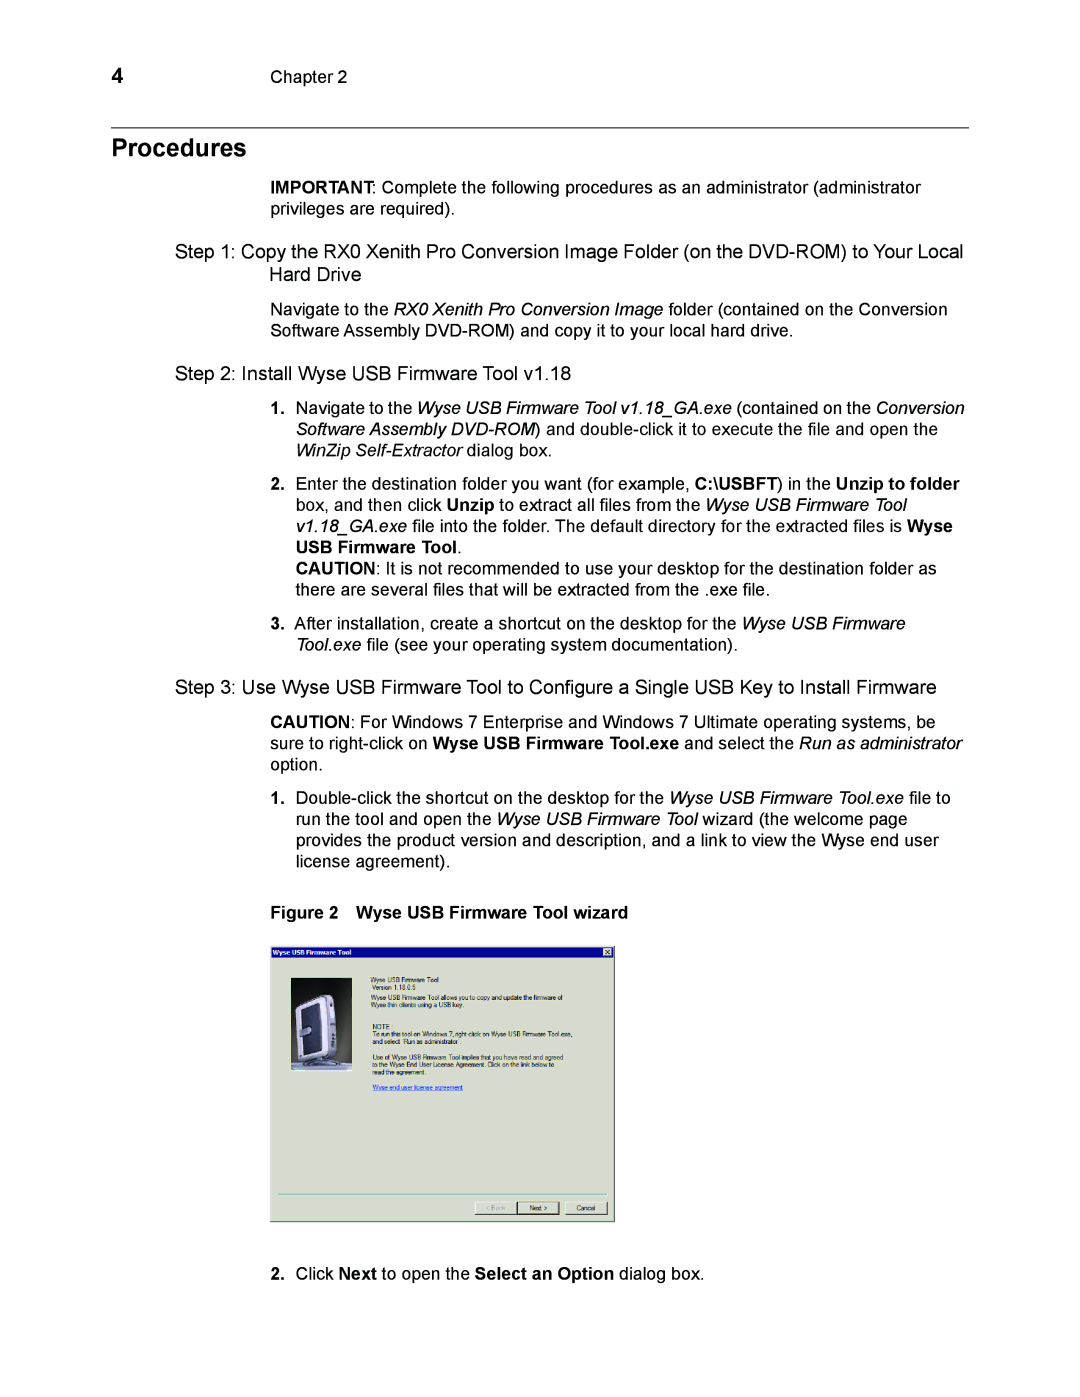
1.
Figure 2 Wyse USB Firmware Tool wizard
2.Click Next to open the Select an Option dialog box.
