4 | Chapter 2 |
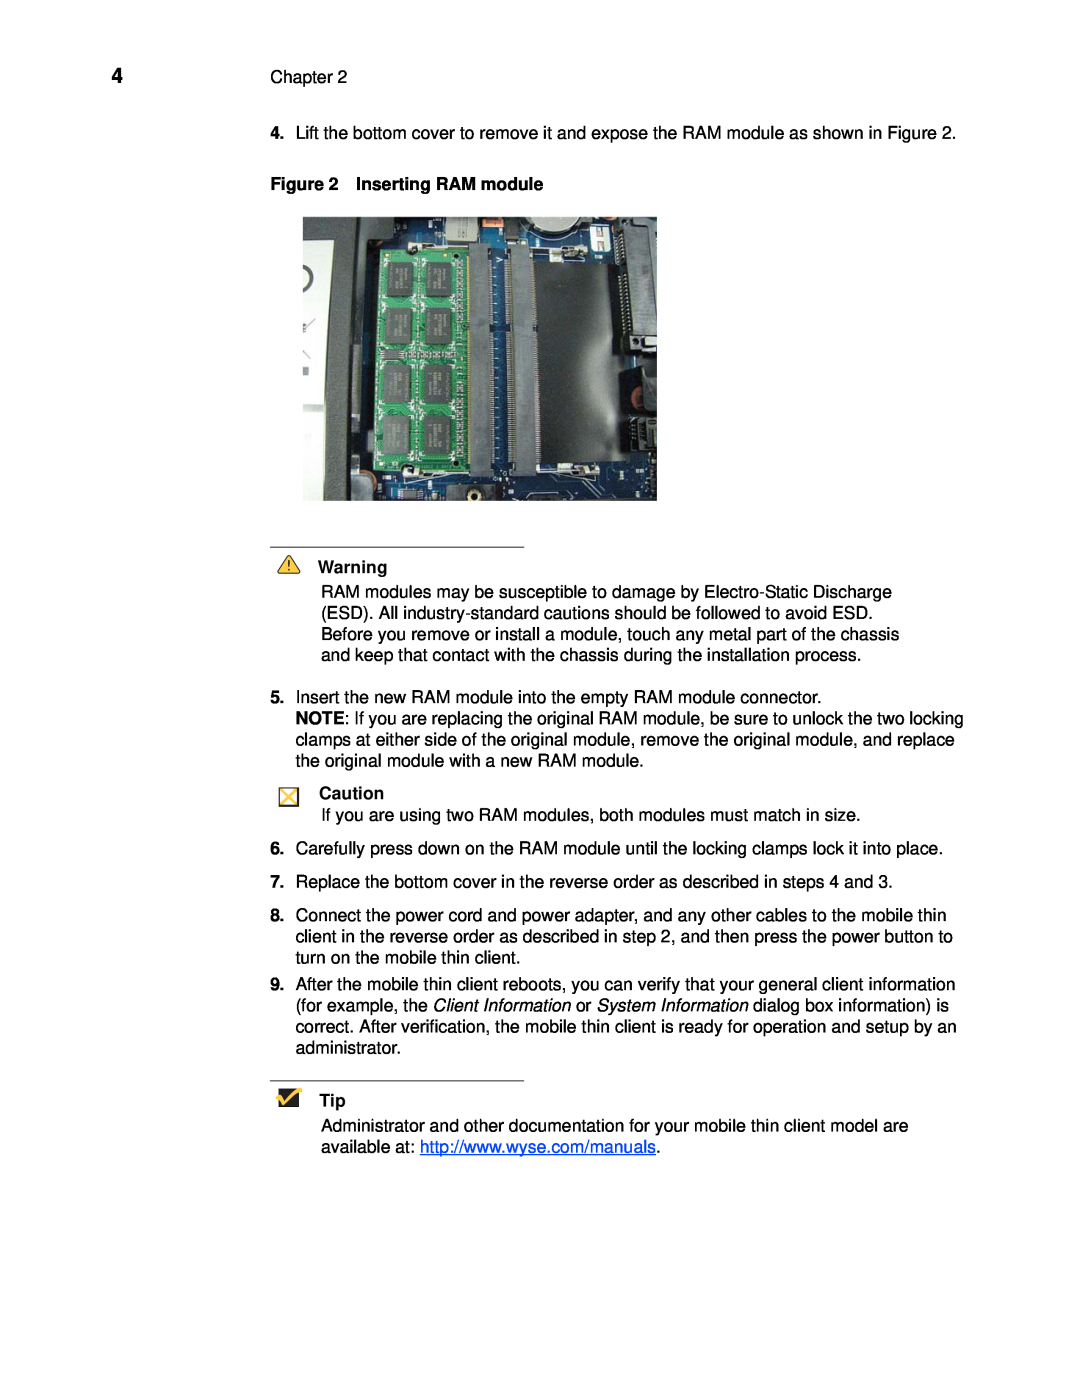
| 4. Lift the bottom cover to remove it and expose the RAM module as shown in Figure 2. |
| Figure 2 Inserting RAM module |
Warning
RAM modules may be susceptible to damage by
5.Insert the new RAM module into the empty RAM module connector.
NOTE: If you are replacing the original RAM module, be sure to unlock the two locking clamps at either side of the original module, remove the original module, and replace the original module with a new RAM module.
Caution
If you are using two RAM modules, both modules must match in size.
6.Carefully press down on the RAM module until the locking clamps lock it into place.
7.Replace the bottom cover in the reverse order as described in steps 4 and 3.
8.Connect the power cord and power adapter, and any other cables to the mobile thin client in the reverse order as described in step 2, and then press the power button to turn on the mobile thin client.
9.After the mobile thin client reboots, you can verify that your general client information (for example, the Client Information or System Information dialog box information) is correct. After verification, the mobile thin client is ready for operation and setup by an administrator.
Tip
Administrator and other documentation for your mobile thin client model are available at: http://www.wyse.com/manuals.