RECORDING

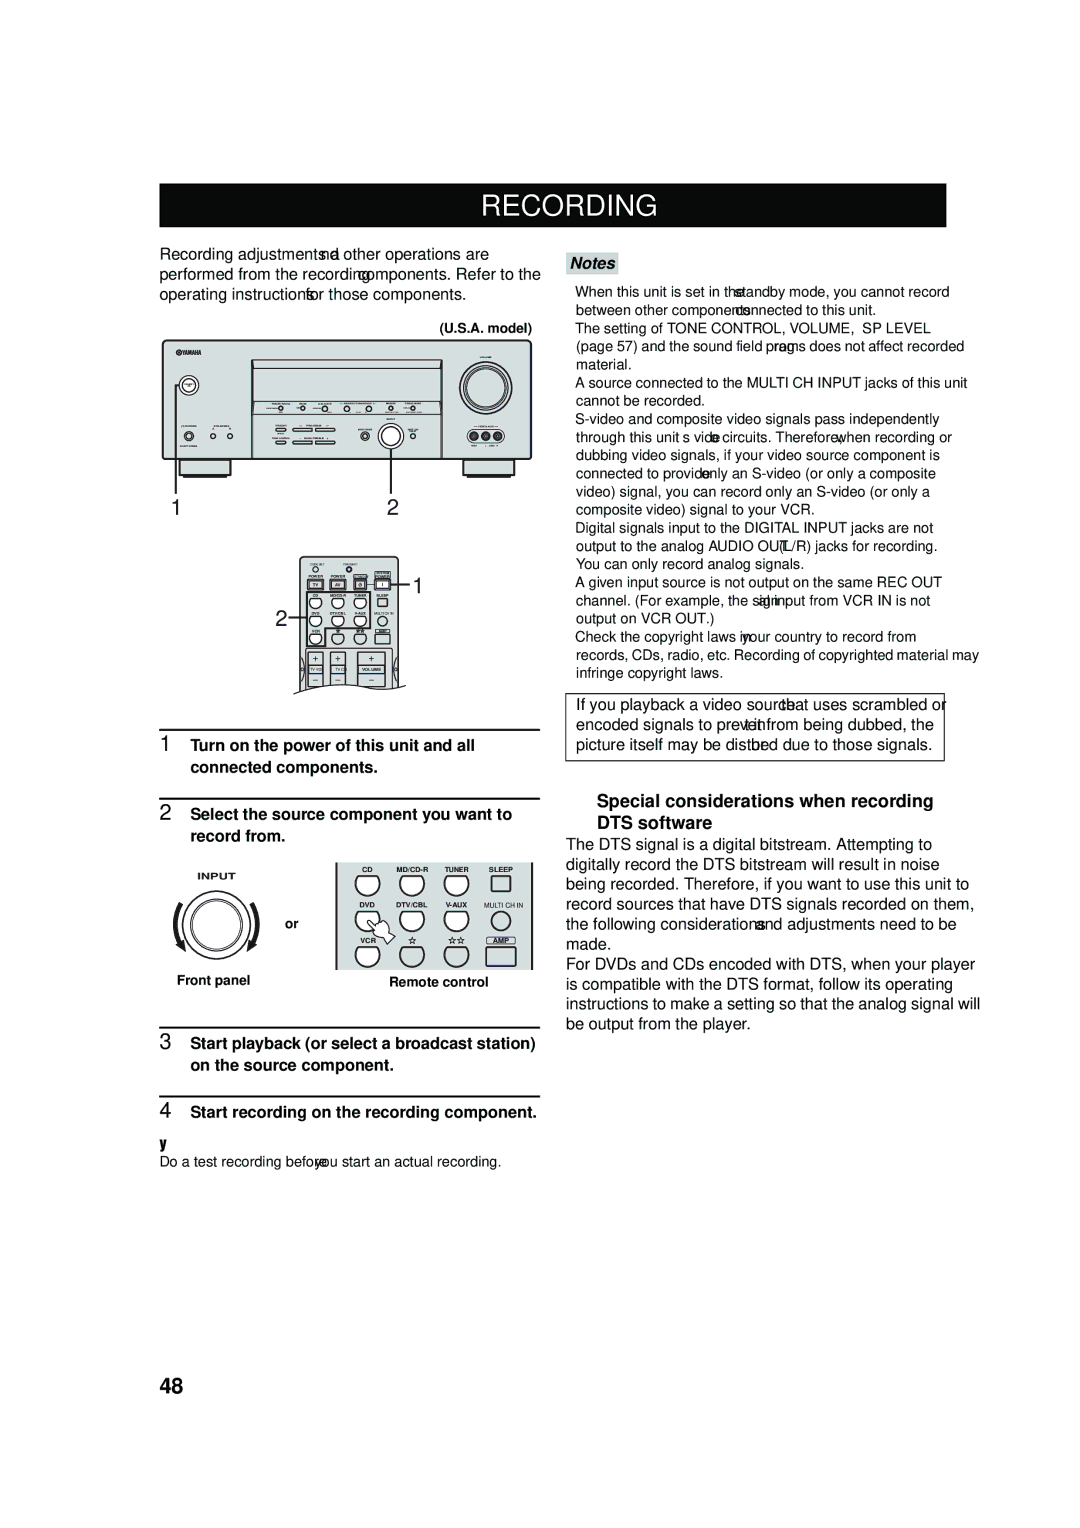
Recording adjustments and other operations are performed from the recording components. Refer to the operating instructions for those components.

(U.S.A. model)

VOLUME

STANDBY


/ON


PRESET/TUNING

FM/AM

A/B/C/D/E

l PRESET/TUNING/CH h

MEMORY

TUNING MODE


XM


INPUT


PHONES

SPEAKERS

STRAIGHT

l

PROGRAM h


VIDEO AUX


A

B


INPUT MODE


MULTI CH


INPUT


TONE CONTROL

BASS/TREBLE


SILENT CINEMA


VIDEO

L AUDIO R

1


2


CODE SET

TRANSMIT


SYSTEM

1


POWER

POWER

STANDBY

POWER


TV

AV


CD

MD/CD-R

TUNER

SLEEP

2

DVD

DTV/CBL

V-AUX

MULTI CH IN


VCR


AMP


TV VOL

TV CH

VOLUME


TV MUTE

TV INPUT


1Turn on the power of this unit and all connected components.

2Select the source component you want to record from.

CD

MD/CD-R

TUNER

SLEEP

INPUT


DVD

DTV/CBL

V-AUX

MULTI CH IN

or


VCR


AMP

Front panel

Remote control

3Start playback (or select a broadcast station) on the source component.

4Start recording on the recording component.

y

Do a test recording before you start an actual recording.

Notes

When this unit is set in the standby mode, you cannot record between other components connected to this unit.

The setting of TONE CONTROL, VOLUME, “SP LEVEL” (page 57) and the sound field programs does not affect recorded material.

A source connected to the MULTI CH INPUT jacks of this unit cannot be recorded.

S-video and composite video signals pass independently through this unit’s video circuits. Therefore, when recording or dubbing video signals, if your video source component is connected to provide only an S-video (or only a composite video) signal, you can record only an S-video (or only a composite video) signal to your VCR.

Digital signals input to the DIGITAL INPUT jacks are not output to the analog AUDIO OUT (L/R) jacks for recording. You can only record analog signals.

A given input source is not output on the same REC OUT channel. (For example, the signal input from VCR IN is not output on VCR OUT.)

Check the copyright laws in your country to record from records, CDs, radio, etc. Recording of copyrighted material may infringe copyright laws.

If you playback a video source that uses scrambled or encoded signals to prevent it from being dubbed, the picture itself may be disturbed due to those signals.

Special considerations when recording

DTS software

The DTS signal is a digital bitstream. Attempting to digitally record the DTS bitstream will result in noise being recorded. Therefore, if you want to use this unit to record sources that have DTS signals recorded on them, the following considerations and adjustments need to be made.

For DVDs and CDs encoded with DTS, when your player is compatible with the DTS format, follow its operating instructions to make a setting so that the analog signal will be output from the player.

48

Page 52
Image 52
Yamaha RX-V457 owner manual Recording, Special considerations when recording DTS software

RX-V457 specifications

The Yamaha RX-V457 is a versatile and powerful AV receiver that was crafted to enhance the home audio experience. Designed with both quality and functionality in mind, this receiver appeals to both audiophiles and casual listeners looking for an impressive sound system.

One of the standout features of the RX-V457 is its robust audio performance. It supports a 6.1-channel surround sound system, providing immersive audio quality that brings movies, music, and games to life. With a total output of 630 watts, users can expect dynamic sound that fills the room, whether it’s the subtle sound of a whisper or the booming action of a blockbuster movie.

This AV receiver also comes equipped with Yamaha’s Digital ToP-ART (Total Purity Audio Reproduction Technology). This technology minimizes signal interference, which results in clearer audio and better overall sound quality. Additionally, the RX-V457 employs the YPAO (Yamaha Parametric Room Acoustic Optimizer) feature. This automatic calibration system analyzes the room’s acoustics and adjusts the receiver’s settings for optimal performance, ensuring that every listener experiences the best sound quality, regardless of where they are seated.

Connectivity options are plentiful with the RX-V457. It boasts a range of audio and video inputs, including multiple HDMI inputs, component video, and composite video connections. This extensive capability allows users to connect various devices such as DVD players, gaming consoles, and streaming devices seamlessly. Furthermore, the receiver supports both analog and digital audio signals, making it an adaptable choice for diverse audio sources.

In terms of user interface, the Yamaha RX-V457 is designed for ease of use. The straightforward remote control and on-screen display make navigating through options simple, allowing users to adjust settings or switch inputs without hassle.

The aesthetics of the RX-V457 is sleek and unobtrusive, fitting comfortably into a variety of home entertainment setups. The build quality is robust, ensuring longevity and reliability for years to come. Overall, the Yamaha RX-V457 delivers a balanced combination of advanced technology, user-friendly features, and high-fidelity sound, making it an excellent choice for anyone looking to elevate their audio experience at home.