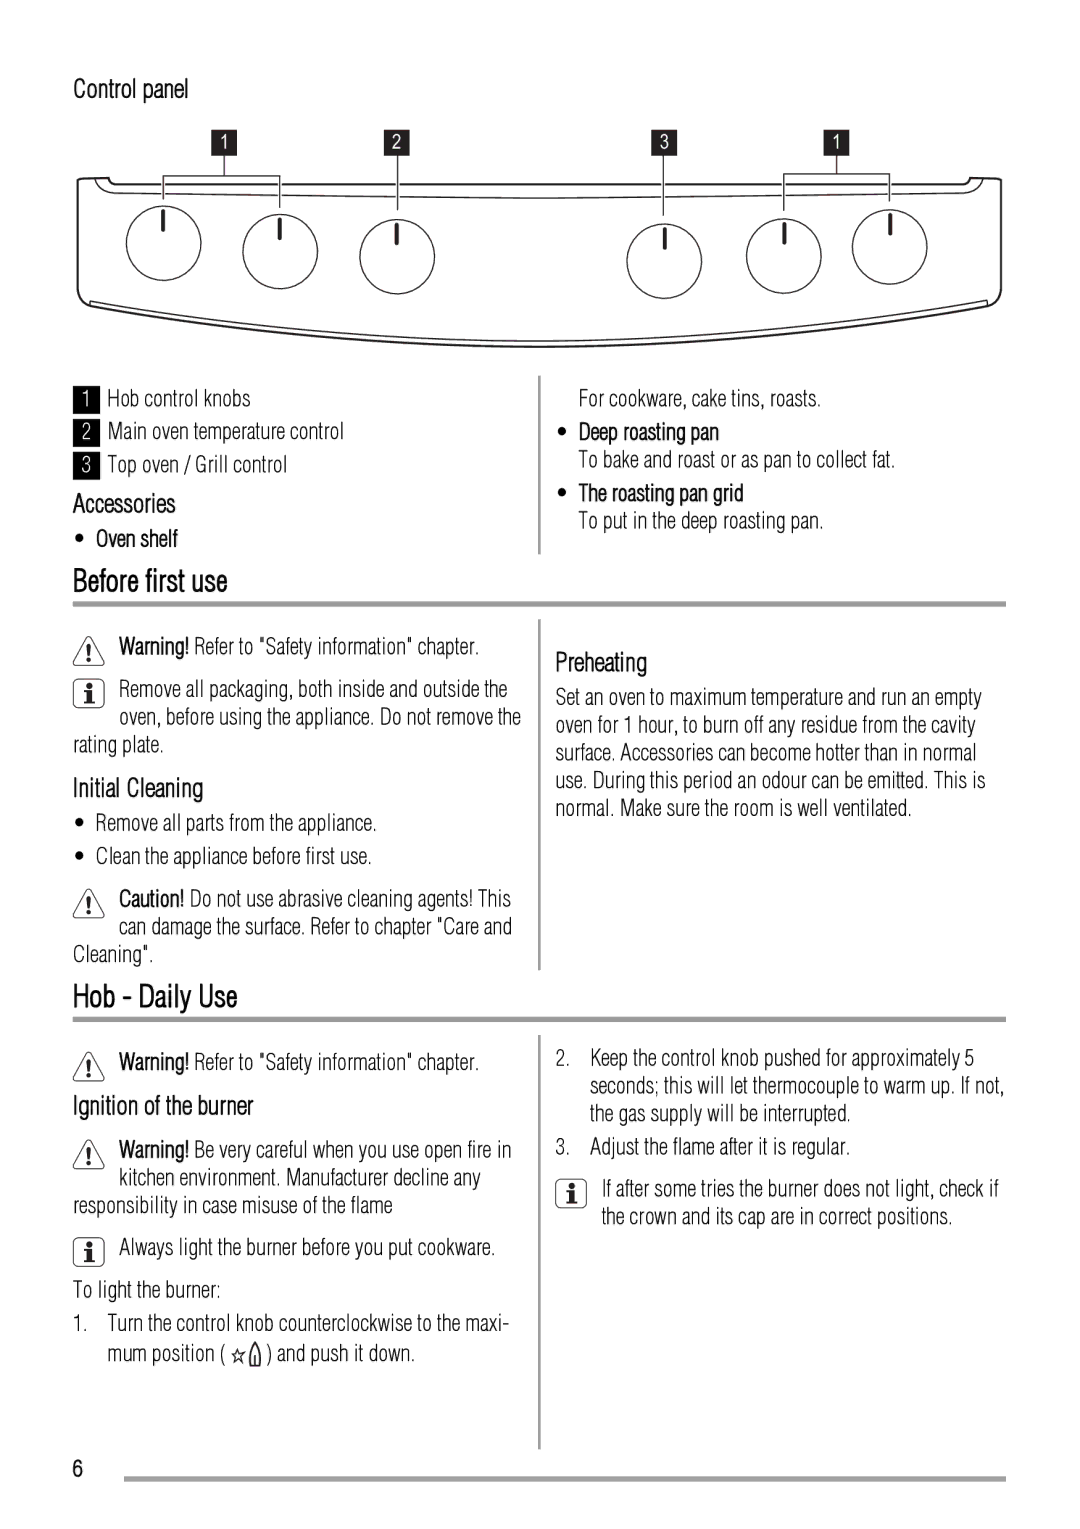
ZCG661 specifications
The Zanussi ZCG661 is a freestanding gas cooker that combines functionality and style, making it an excellent addition to any modern kitchen. This versatile appliance is designed with a variety of features that enhance cooking convenience and performance.One of the standout characteristics of the ZCG661 is its powerful four-burner gas hob. This provides ample space for multiple dishes to be prepared simultaneously, making it ideal for families or those who love to entertain. Each burner comes with adjustable flame control, allowing users to achieve precise cooking temperatures, whether they’re simmering sauces or boiling pasta.
The cooker incorporates a spacious oven with a generous capacity of 65 liters. This means home chefs have sufficient room to cook larger meals or multiple dishes at once. The oven features a conventional heating system that distributes heat evenly, ensuring thorough cooking and reducing the likelihood of hot spots. Additionally, the oven includes an oven light, allowing users to monitor their dishes without the need to open the door.
An important feature of the Zanussi ZCG661 is its easy-to-clean enamel interior, which prevents food from sticking and makes wipe-downs a breeze. The removable oven door and removable inner glass panel further simplify the cleaning process.
For those who enjoy baked goods, the ZCG661 also comes with a grill function, enabling users to achieve that perfect crispy finish on meats and vegetables. The grill element provides an additional layer of versatility, transforming the oven into a dual-purpose cooking appliance.
Safety is a priority with the Zanussi ZCG661, which includes a flame failure device. This innovative technology automatically cuts off the gas supply if the flame goes out, offering peace of mind for users, especially in households with children or pets.
The design of the ZCG661 is sleek, with a stainless steel finish and aesthetic control knobs, making it not only functional but also a visual highlight in the kitchen. The appliance is built to last, with a solid construction and feedback-driven design.
In summary, the Zanussi ZCG661 gas cooker is a well-rounded kitchen appliance that boasts a range of features tailored for efficiency, safety, and ease of use. From its spacious oven to its powerful burners, this cooker is designed to meet the demands of modern cooking while ensuring an enjoyable and hassle-free experience for every home chef.