Hob - Daily use
Warning! Refer to "Safety information" chapter.
1. | Turn the control knob to a necessary heat setting. |
2. | To complete the cooking process, turn the control |
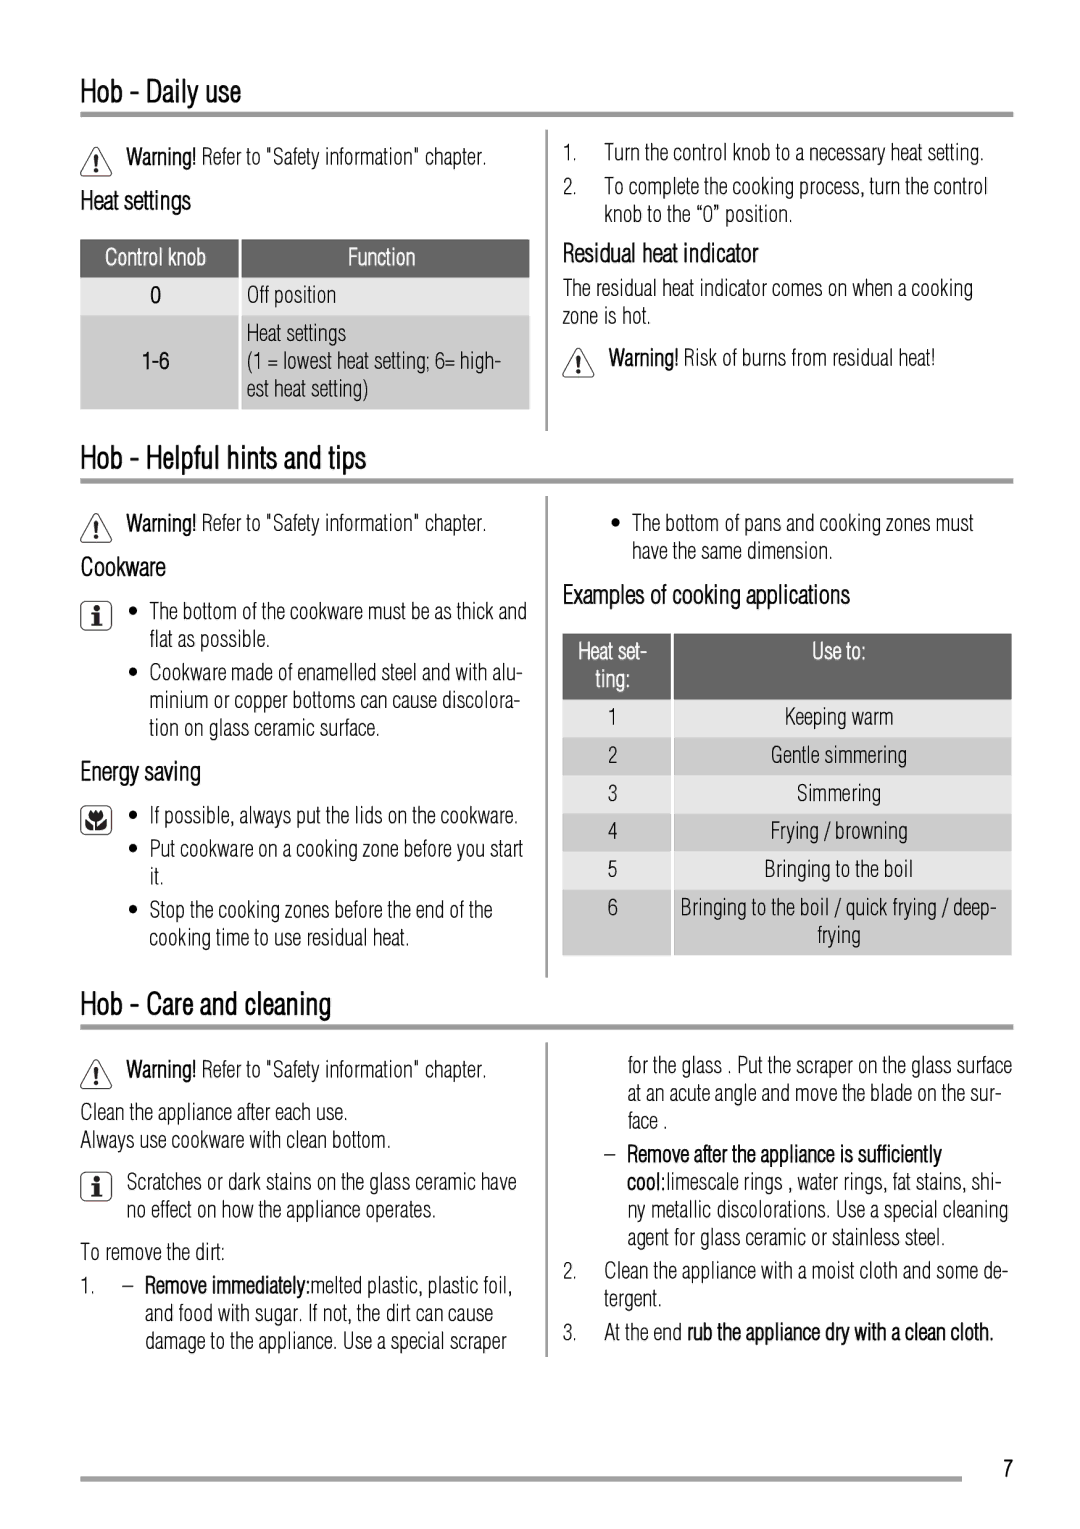
Heat settings
Control knob
0
Function
Off position
Heat settings
(1 = lowest heat setting; 6= high- est heat setting)
knob to the “0” position. |
Residual heat indicator
The residual heat indicator comes on when a cooking zone is hot.
Warning! Risk of burns from residual heat!
Hob - Helpful hints and tips
Warning! Refer to "Safety information" chapter.
Cookware
• The bottom of the cookware must be as thick and flat as possible.
•Cookware made of enamelled steel and with alu- minium or copper bottoms can cause discolora- tion on glass ceramic surface.
Energy saving
• If possible, always put the lids on the cookware.
•Put cookware on a cooking zone before you start it.
•Stop the cooking zones before the end of the cooking time to use residual heat.
•The bottom of pans and cooking zones must have the same dimension.
Examples of cooking applications
Heat set- | Use to: |
ting: |
|
1 | Keeping warm |
2 | Gentle simmering |
3 | Simmering |
4 | Frying / browning |
5 | Bringing to the boil |
6Bringing to the boil / quick frying / deep-
frying
Hob - Care and cleaning
Warning! Refer to "Safety information" chapter.
Clean the appliance after each use. Always use cookware with clean bottom.
Scratches or dark stains on the glass ceramic have no effect on how the appliance operates.
To remove the dirt:
1.– Remove immediately:melted plastic, plastic foil, and food with sugar. If not, the dirt can cause damage to the appliance. Use a special scraper
for the glass . Put the scraper on the glass surface at an acute angle and move the blade on the sur- face .
–Remove after the appliance is sufficiently
cool:limescale rings , water rings, fat stains, shi- ny metallic discolorations. Use a special cleaning agent for glass ceramic or stainless steel.
2.Clean the appliance with a moist cloth and some de- tergent.
3.At the end rub the appliance dry with a clean cloth.
7