TRENDnet TV-IP100 manual System Administration Users

Page 18

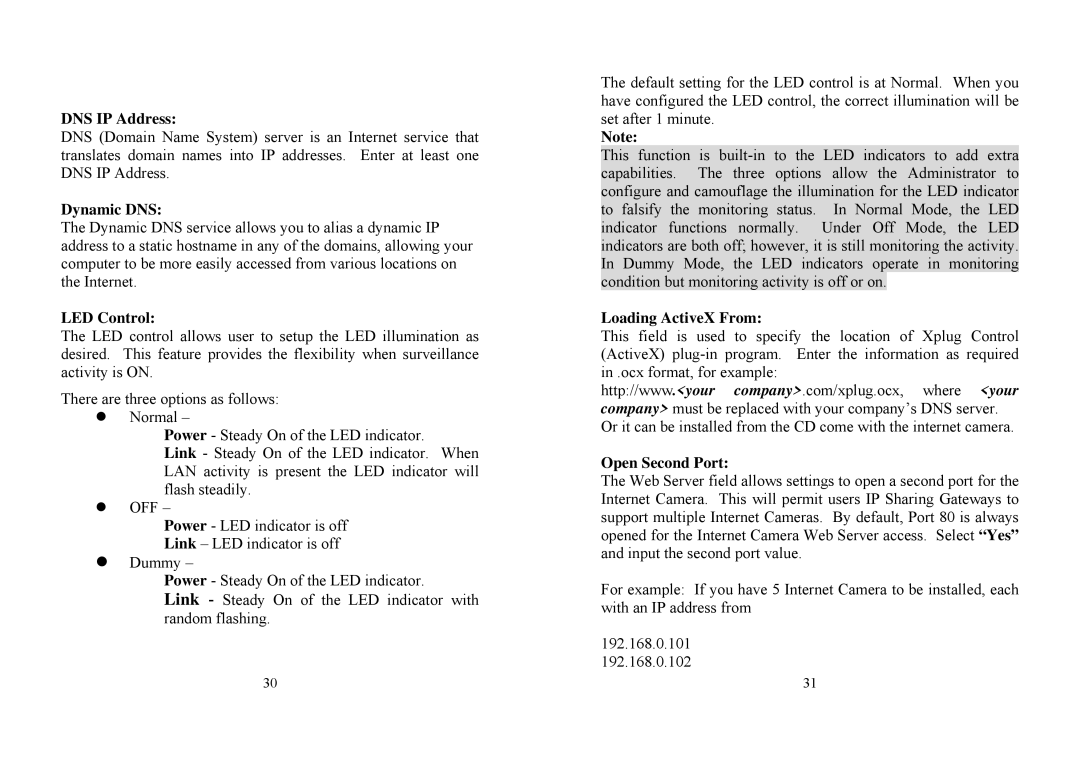
Frame Rate:

Select the frame rate desired with default setting at Auto for optimal frame rate.

Brightness Control:

Adjust the brightness level with default setting at 64.

Contrast Control:

Adjust the contrast level with default setting at 64.

Saturation Control:

Adjust the saturation with default setting at 64.

Light Frequency:

Adjust the light frequency to suit your area of operation from the options either 50 Hz or 60 Hz (default).

Note:

50 Hz and 60 Hz variants are available to accommodate the different light frequency found in USA (60 Hz) and Europe (50 Hz) for the Internet Camera to ensure better image quality.

Save/Cancel:

After making sure all settings in the Image are correct, click the “Save” button to store the settings for the Internet Camera. You can alternatively click the “Cancel” button to restore all settings to the values last saved to or retrieved from the Internet Camera.

34

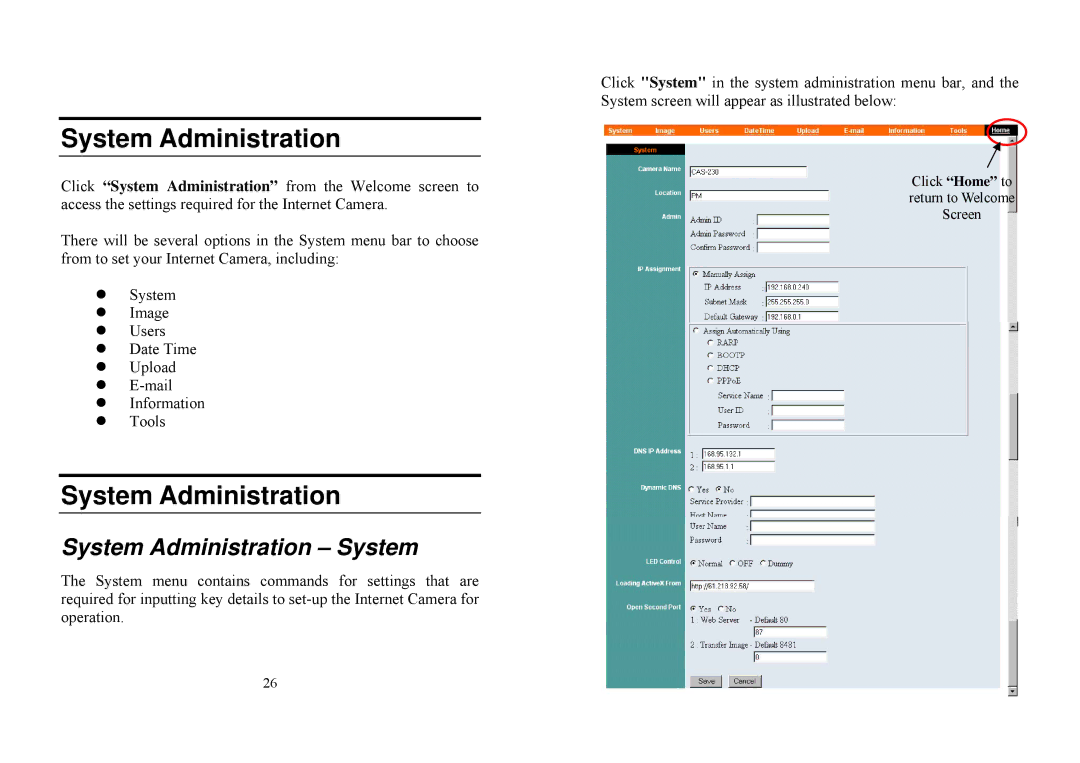
System Administration - Users

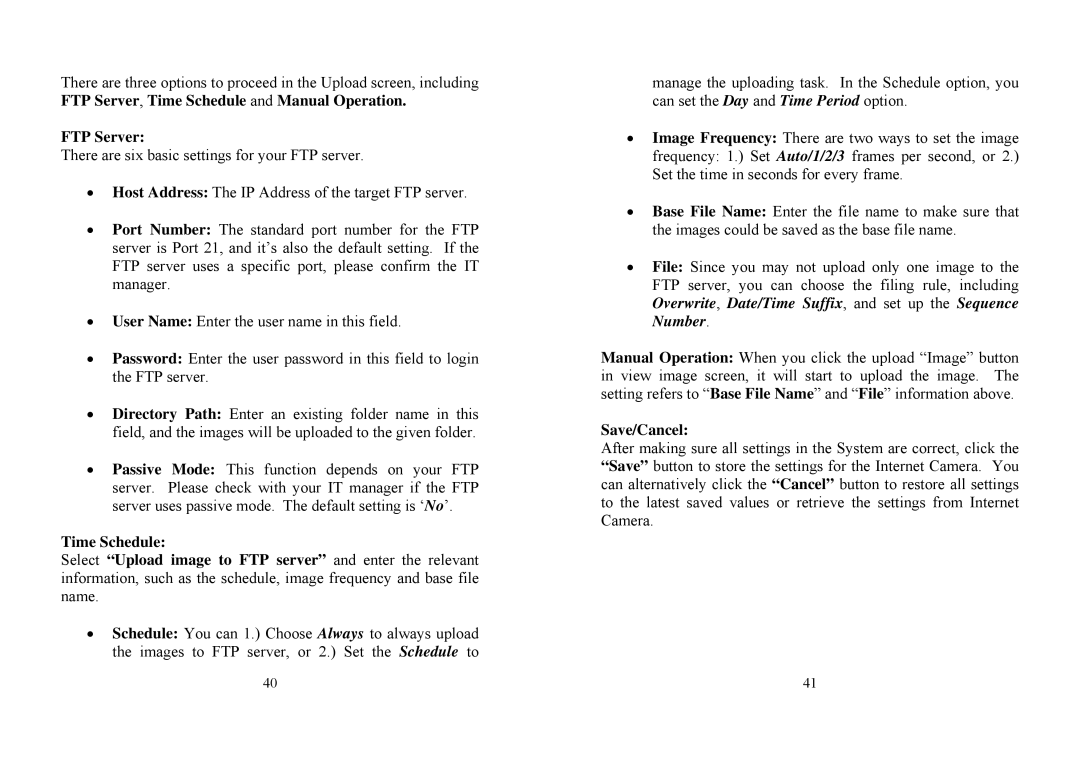
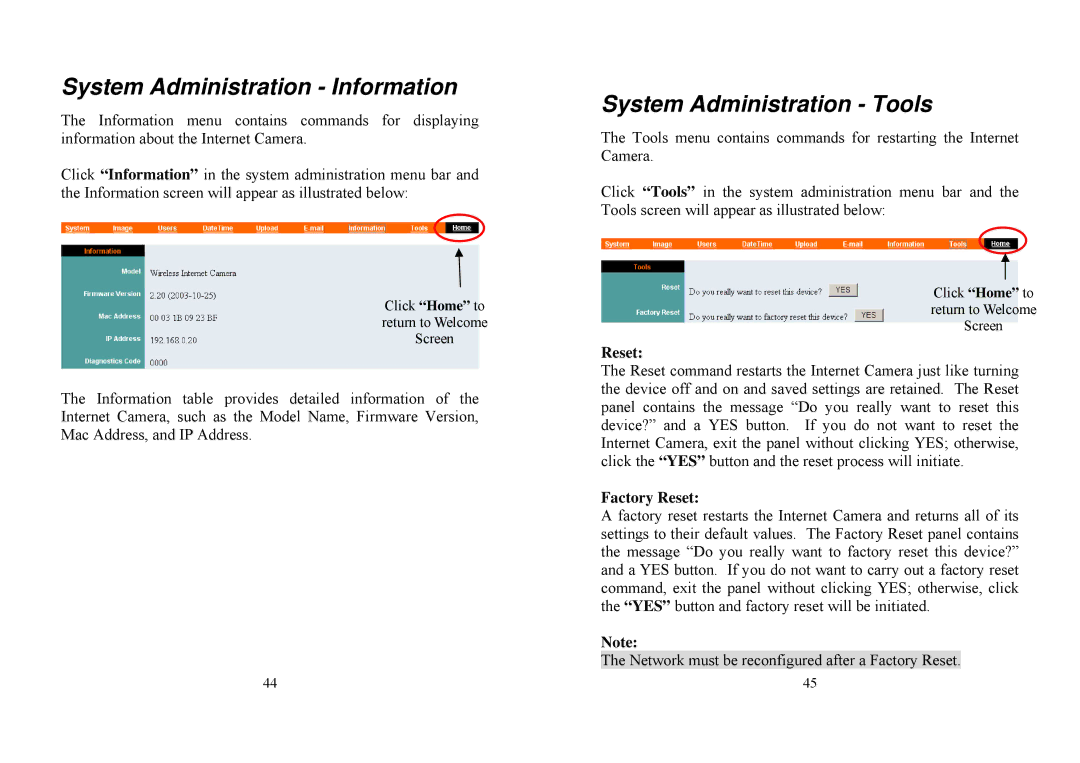
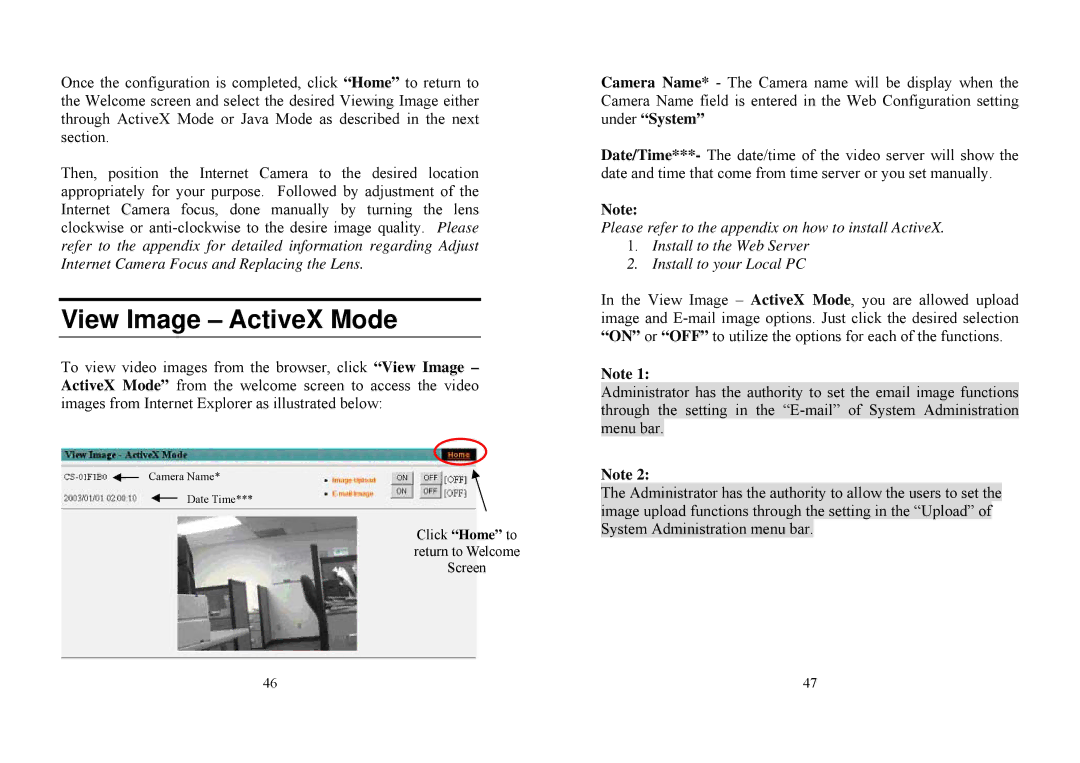
The User options menu contains commands to allow the system administrator to assign legal users who are permitted to monitor the Internet Camera from the remote site.

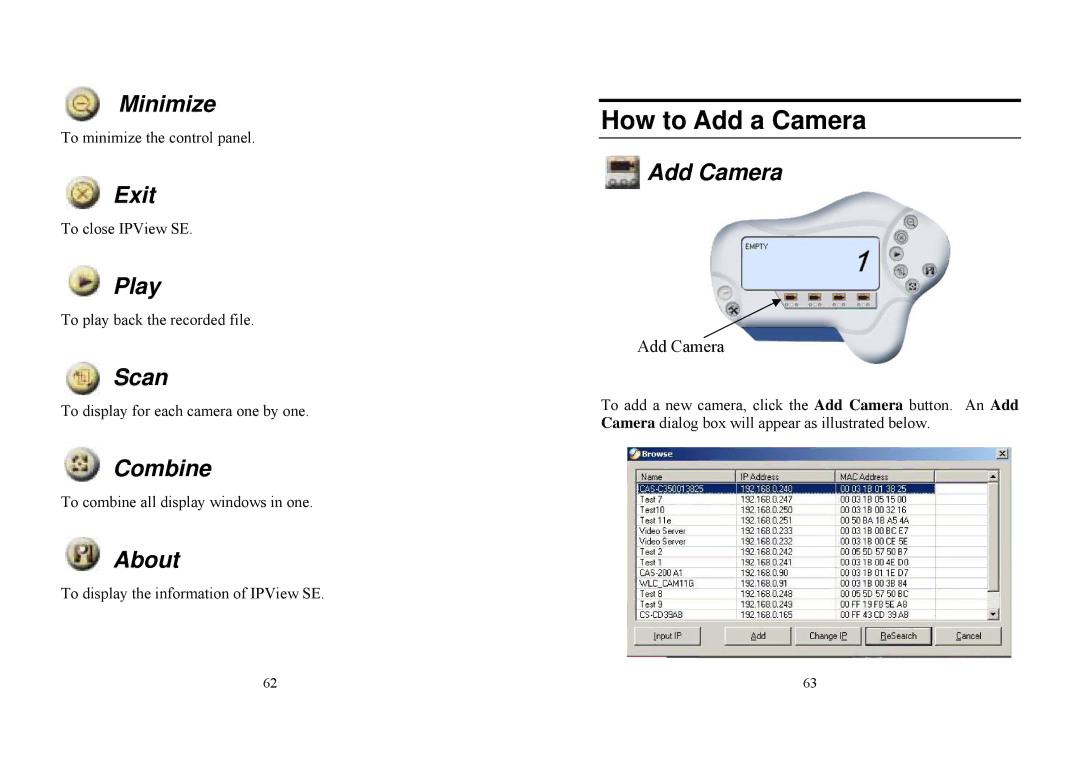
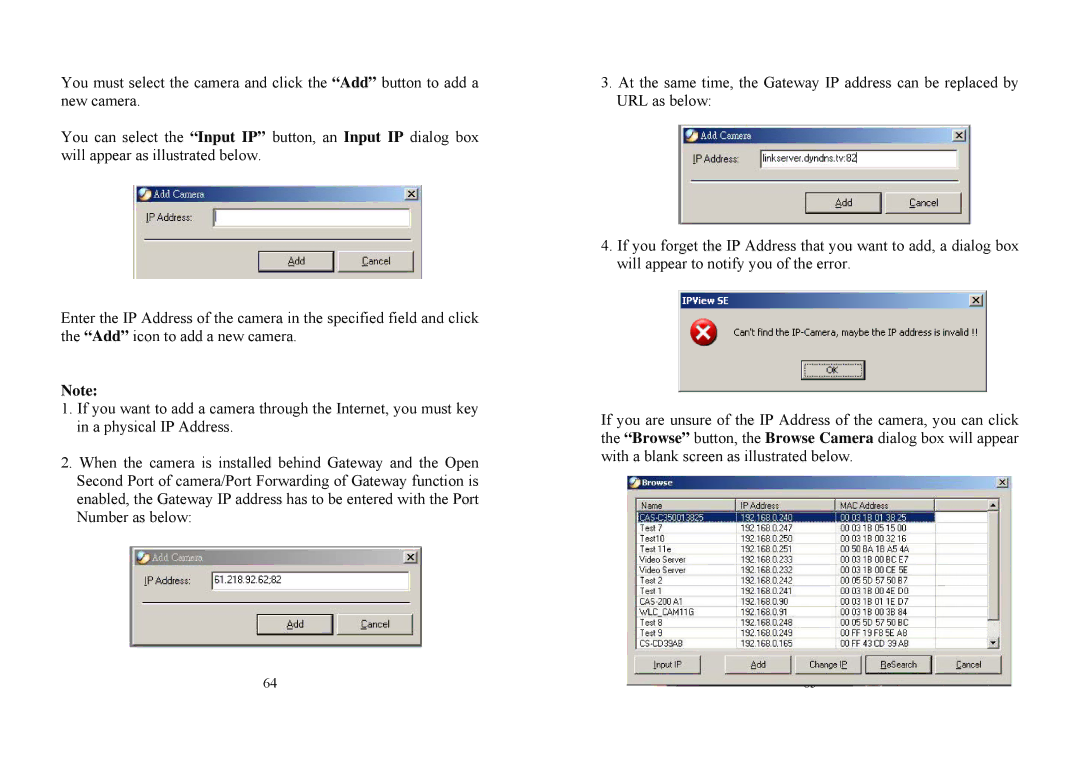
Click “Users” in the system administration menu bar and the Users screen will appear as illustrated below:

Click “Home” to return to Welcome Screen

Add User:

User Name:

Enter the user name in this field.

A maximum of 64 users names are allowed, however each users name must be different. Each user name can be used as a group given the password for example, if the User Name is “Guest” and the User Password is “Guest” anyone can access the Internet Camera with these details used as a group of users under the User Name Guest. The maximum length for the User Name is 12 (Printable ASCII).

User Password:

Enter the user’s password assigned by the administrator. The maximum password length is 8 (Printable ASCII).

35
Image 18
Contents Page Table of Contents About this Guide Motion Record Schedule Record Manual RecordSystem Requirement Recommended PC or Notebook to Access the Internet CameraIntroduction Internet CameraFeatures Benefits Simple To UseIPView SE Application Remote Utility Web ConfigurationSupport Variety of Platforms Broad Range of ApplicationsFront Panel Power LEDPhysical Description Link LEDReset Button Network Cable ConnectorDC Power Connector Rear PanelTop Panel Bottom PanelScrew Hole Connecting the Internet Camera to the Camera Stand Unpacking the Internet CameraHardware Installation Attach the external power supplySoftware Installation SecurityMain Menu Image System Administration System Administration SystemLocation AdminCamera Name IP Assignment Important InformationLED Control DNS IP AddressDynamic DNS Loading ActiveX FromVideo Resolution System Administration ImageSave/Cancel Compression RateSystem Administration Users DateTime System Administration DateTimeDelete User IP AddressProtocol TimeZoneFTP Server Time ScheduleSystem Administration E-mail Manual OperationReset System Administration InformationSystem Administration Tools Factory ResetView Image ActiveX Mode View Image Java Mode Internet Camera Application ApplicationsInternet Camera Application Diagrams Soho Applications Home ApplicationsInstallation ApplicationPage Page Getting Started IPView SEIPView SE control panel How to Add a Camera Page Page How to Change Camera Assign IP of New CameraHow to Connect / Disconnect the Image Connect the ImageHow to Delete a Camera Disconnect the ImageErase Camera System Configure Extra InformationExtra Information Camera Configure Camera SettingMotion Setting Schedule Record Update FirmwareMotion Record Manual RecordFrequently Asked Questions AppendixPing Your IP Address Trouble Shooting Page Time Zone Table Xplug Control Installation InstallationPage Adjust Internet Camera Focus SpecificationEMI HGlossary of Terms NumbersDNS ISP RJ-45 connector is used for Ethernet cable connections TCP/IP