Contents
Introduction
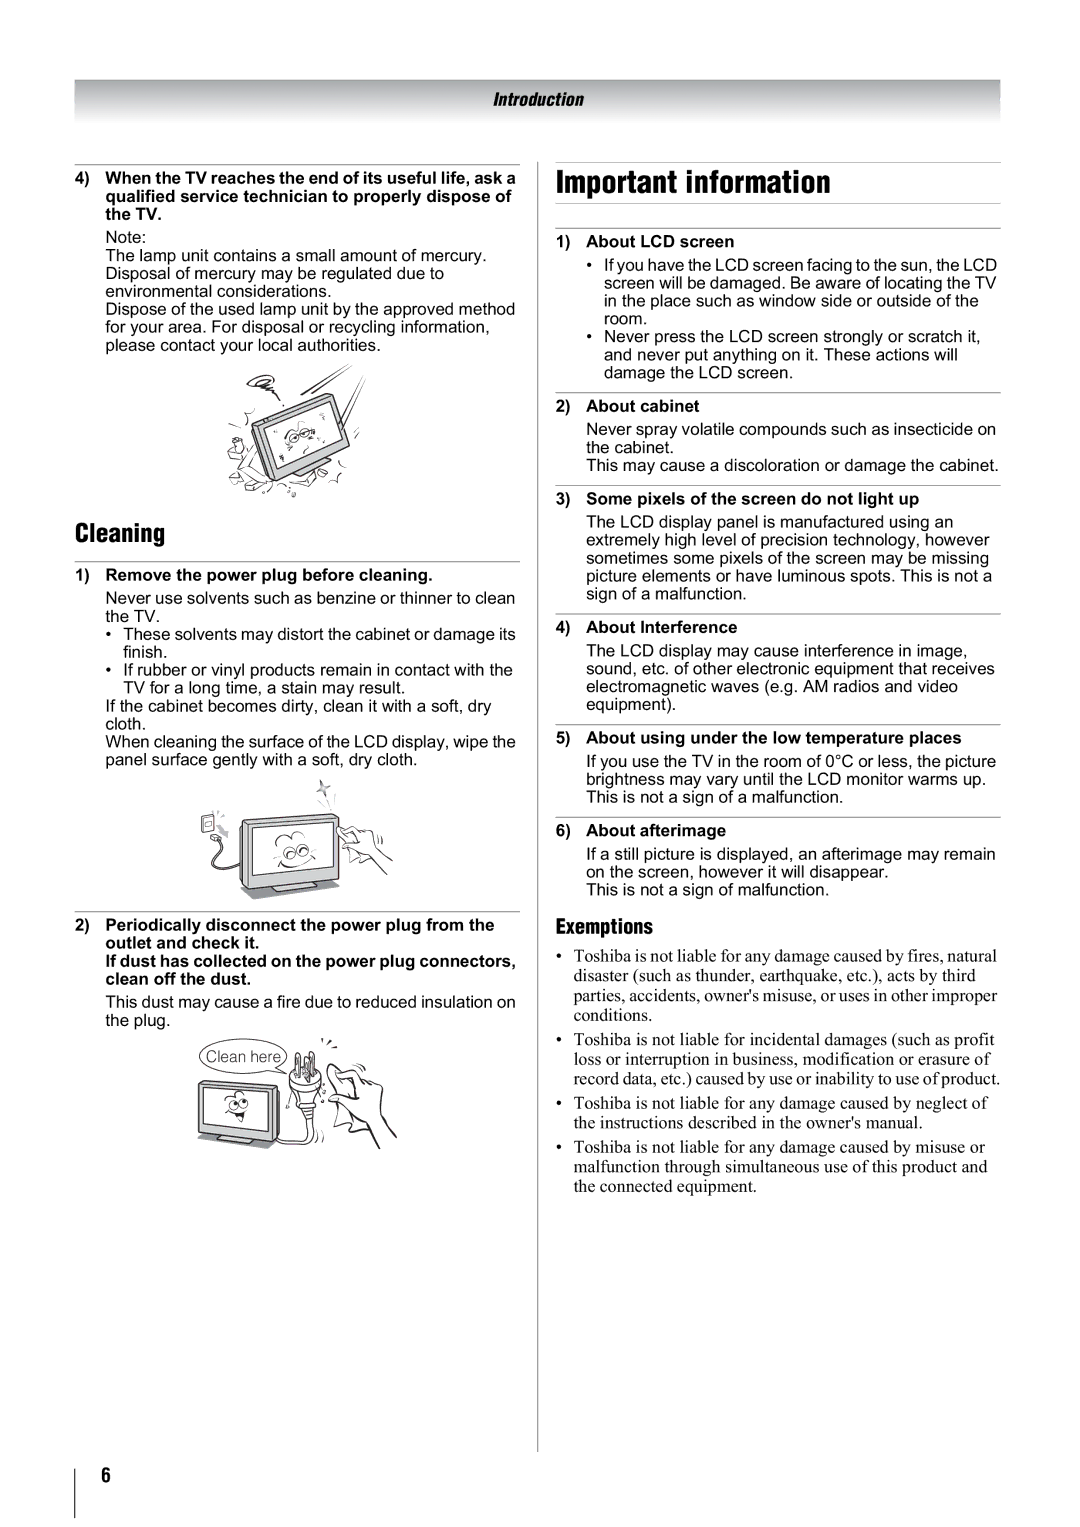
Welcome to Toshiba. . . . . . . . . . . . . . . . . . . . . . . . . . . . . 3 Important Safety Instructions . . . . . . . . . . . . . . . . . . . . . . 3 Installation . . . . . . . . . . . . . . . . . . . . . . . . . . . . . . . . . 3 Use . . . . . . . . . . . . . . . . . . . . . . . . . . . . . . . . . . . . . . . 4 Service . . . . . . . . . . . . . . . . . . . . . . . . . . . . . . . . . . . . 5 Cleaning . . . . . . . . . . . . . . . . . . . . . . . . . . . . . . . . . . . 6 Important information. . . . . . . . . . . . . . . . . . . . . . . . . . . . 6
Getting started
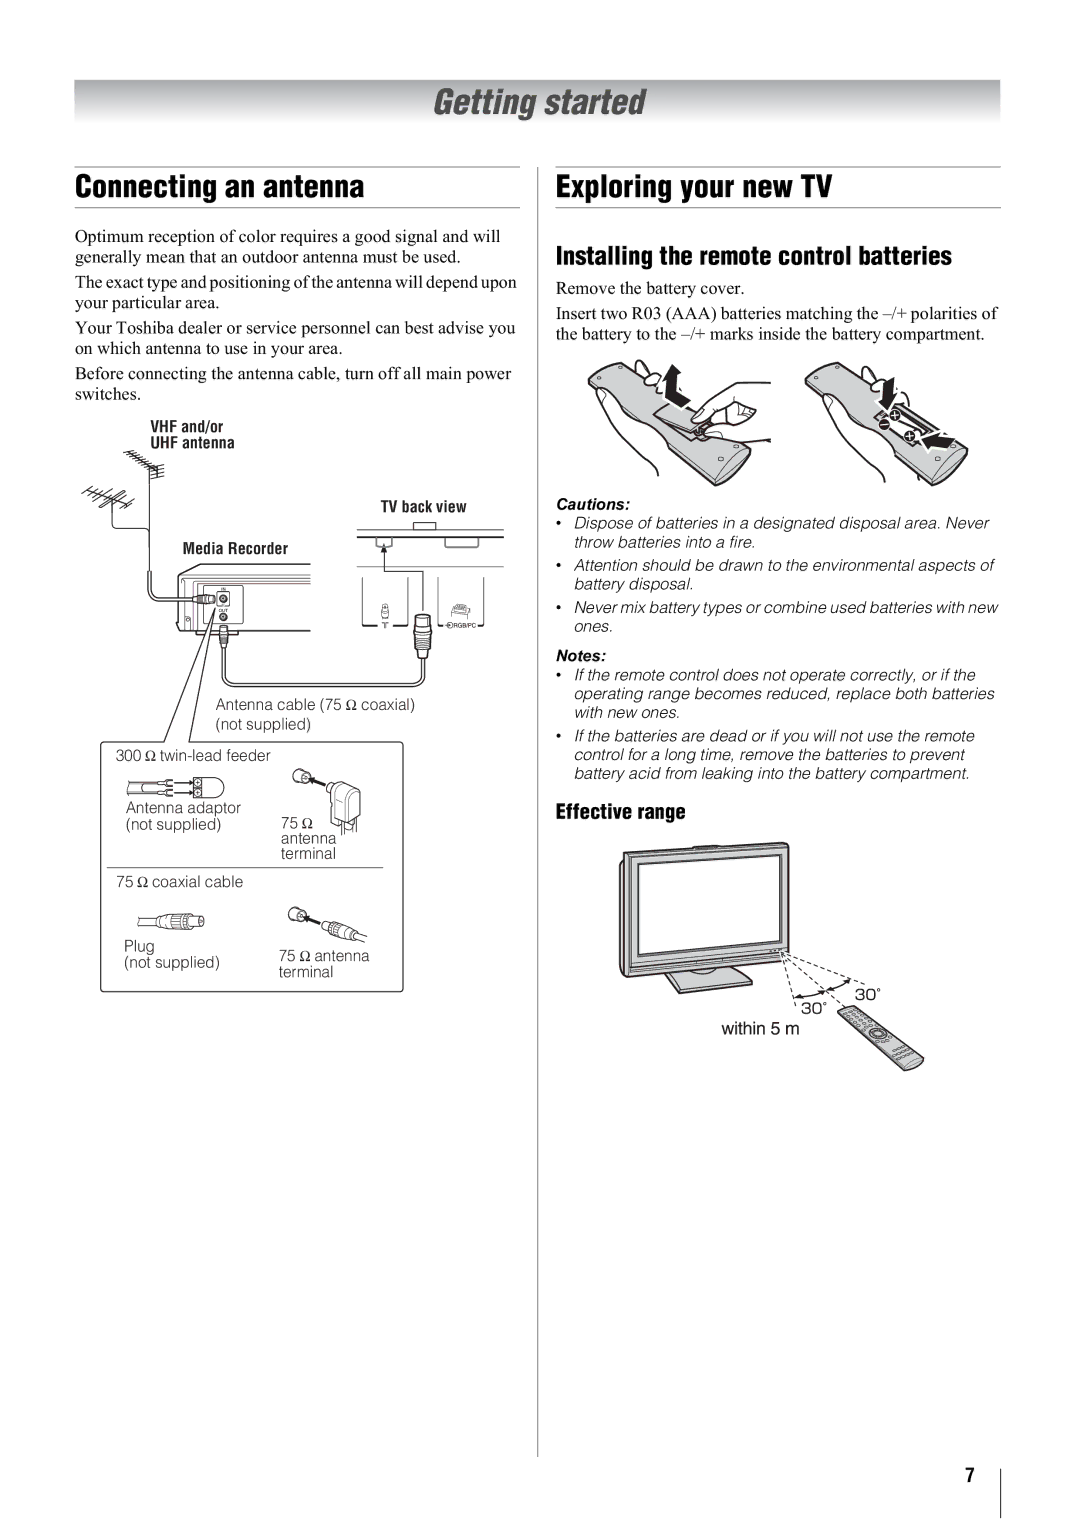
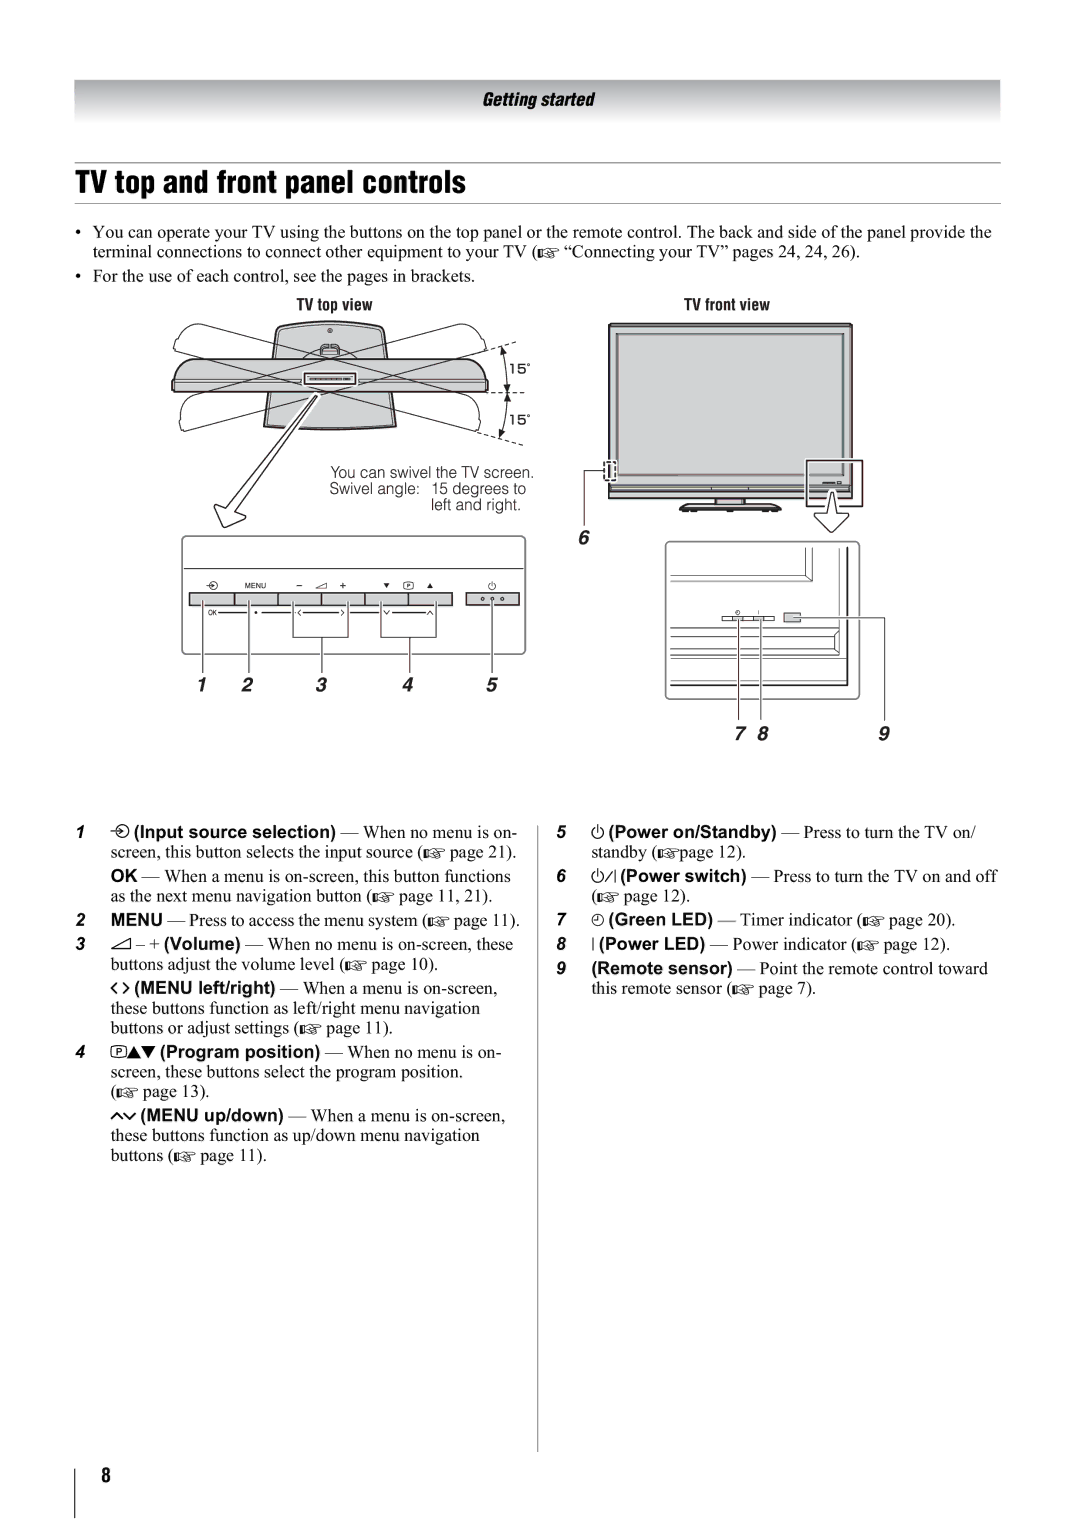
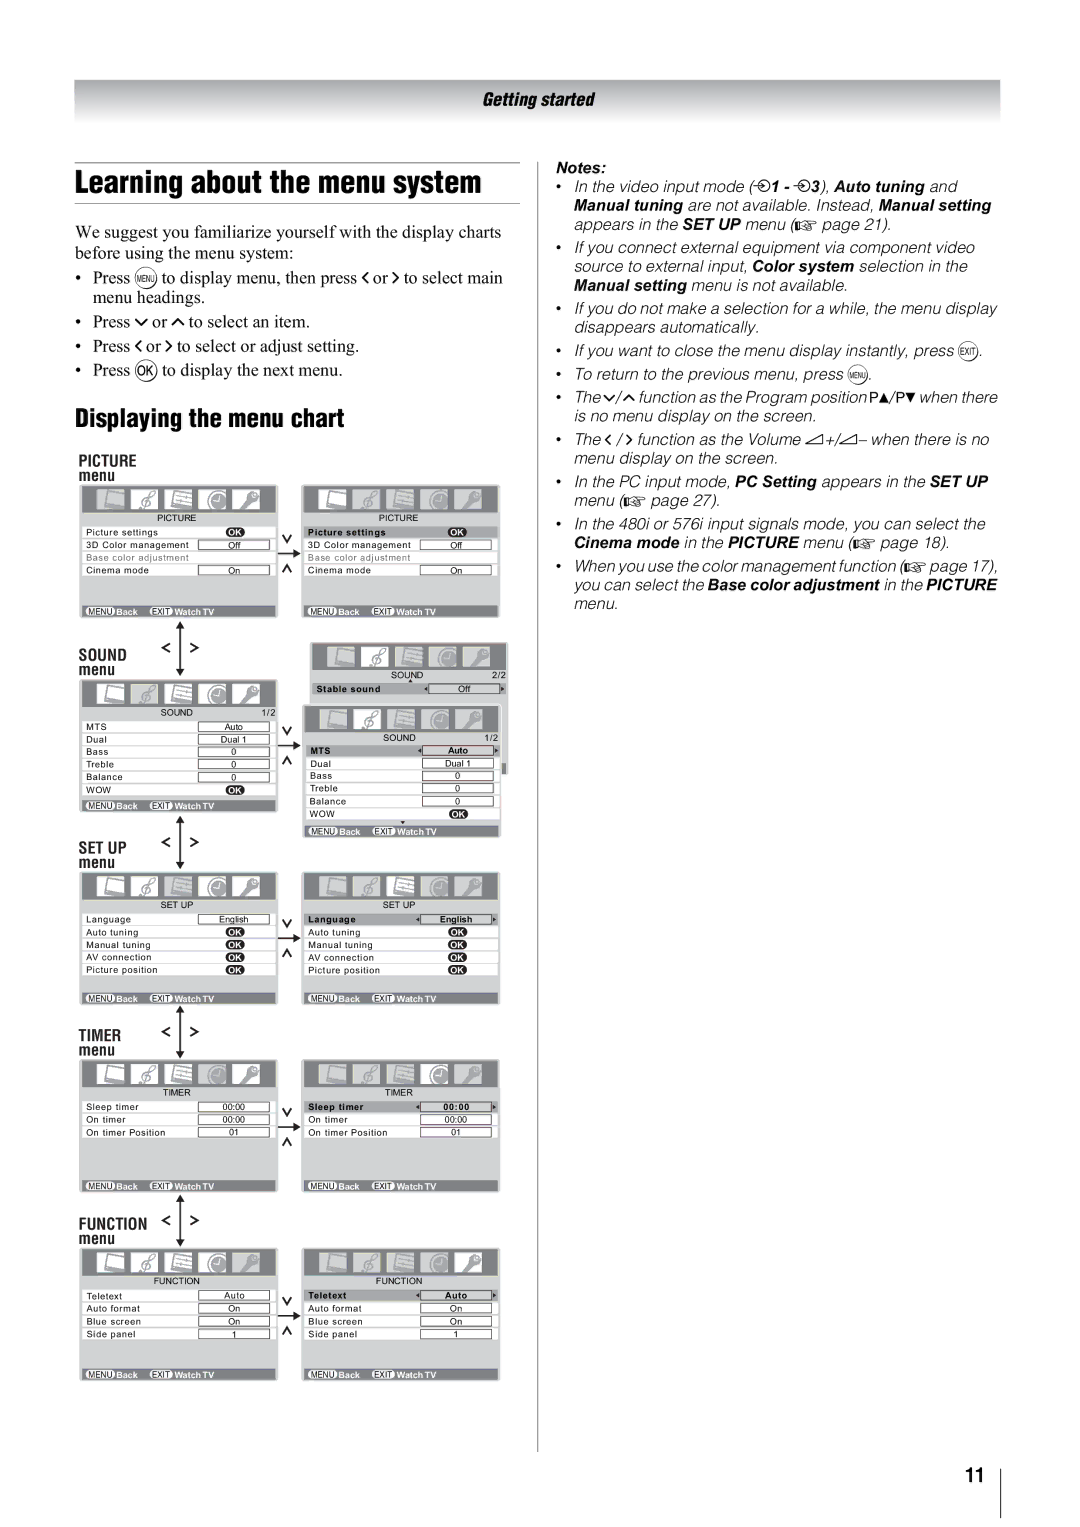
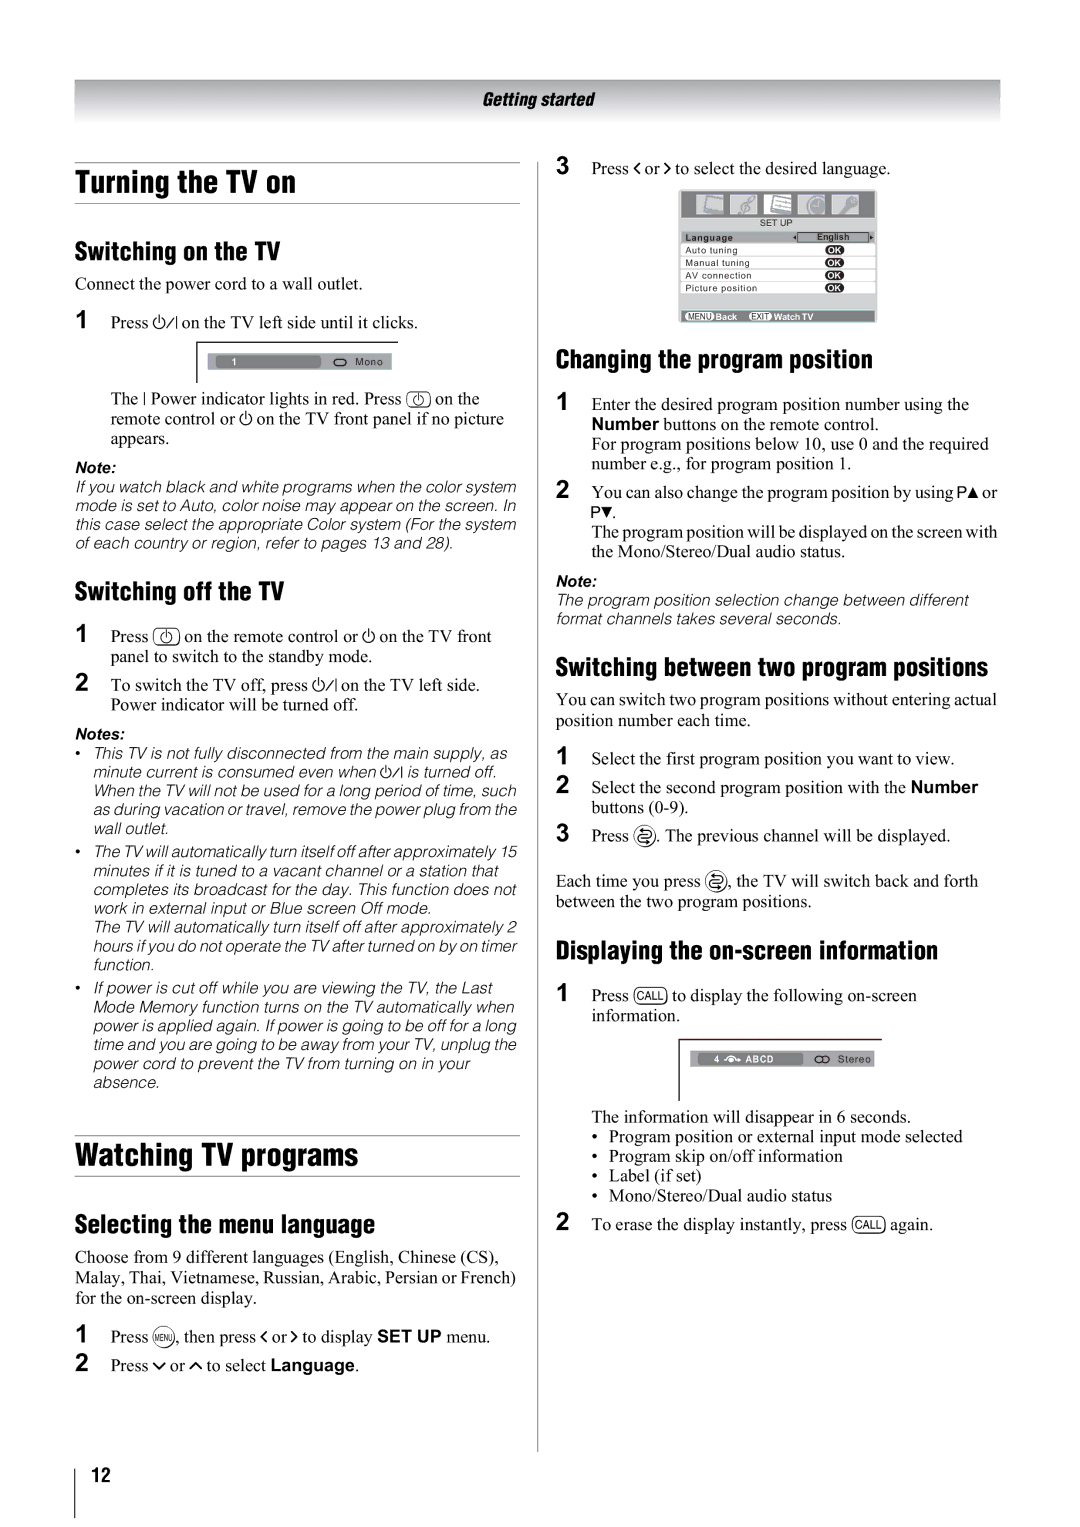
Connecting an antenna . . . . . . . . . . . . . . . . . . . . . . . . . . . 7 Exploring your new TV . . . . . . . . . . . . . . . . . . . . . . . . . . 7 Installing the remote control batteries . . . . . . . . . . . . 7 TV top and front panel controls . . . . . . . . . . . . . . . . . . . . 8 TV side and back panel connections . . . . . . . . . . . . . . . . 9 Learning about the remote control . . . . . . . . . . . . . . . . . 10 Location of controls . . . . . . . . . . . . . . . . . . . . . . . . . 10 Learning about the menu system . . . . . . . . . . . . . . . . . . 11 Displaying the menu chart . . . . . . . . . . . . . . . . . . . . 11 Turning the TV on . . . . . . . . . . . . . . . . . . . . . . . . . . . . . 12 Switching on the TV . . . . . . . . . . . . . . . . . . . . . . . . 12 Switching off the TV . . . . . . . . . . . . . . . . . . . . . . . . 12 Watching TV programs . . . . . . . . . . . . . . . . . . . . . . . . . 12 Selecting the menu language . . . . . . . . . . . . . . . . . . 12 Changing the program position . . . . . . . . . . . . . . . . 12 Switching between two program positions . . . . . . . 12 Displaying the
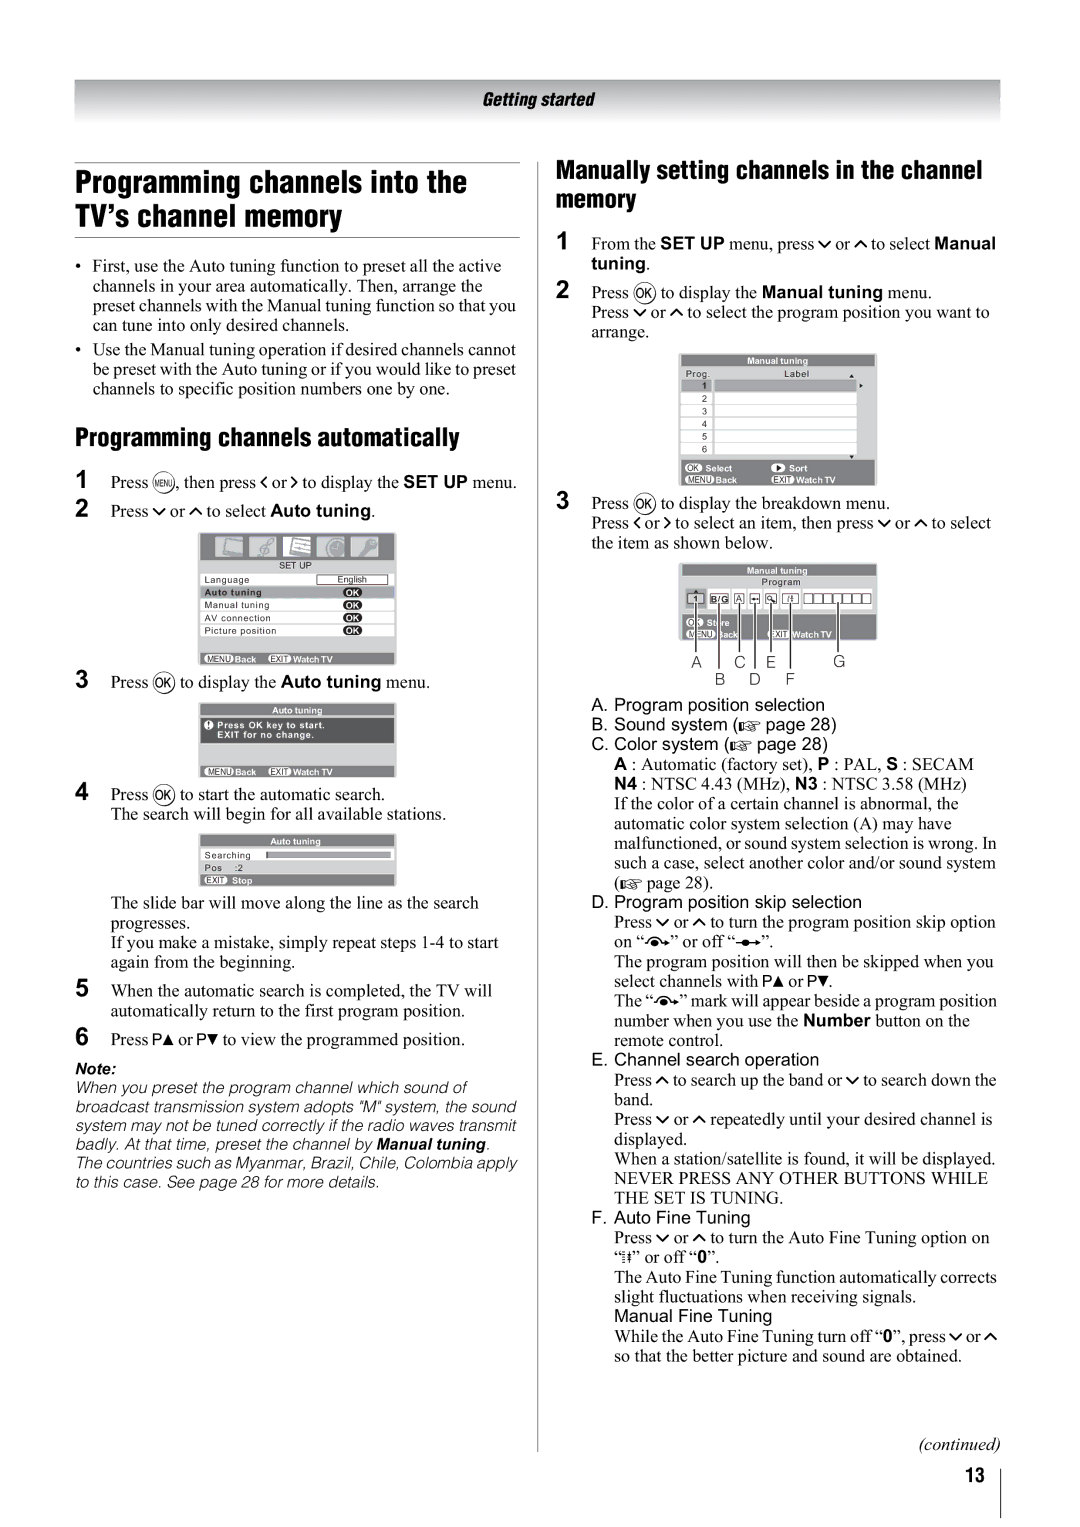
Programming channels into the TV’s channel
memory. . . . . . . . . . . . . . . . . . . . . . . . . . . . . . . . . . . 13 Programming channels automatically . . . . . . . . . . . 13 Manually setting channels in the channel
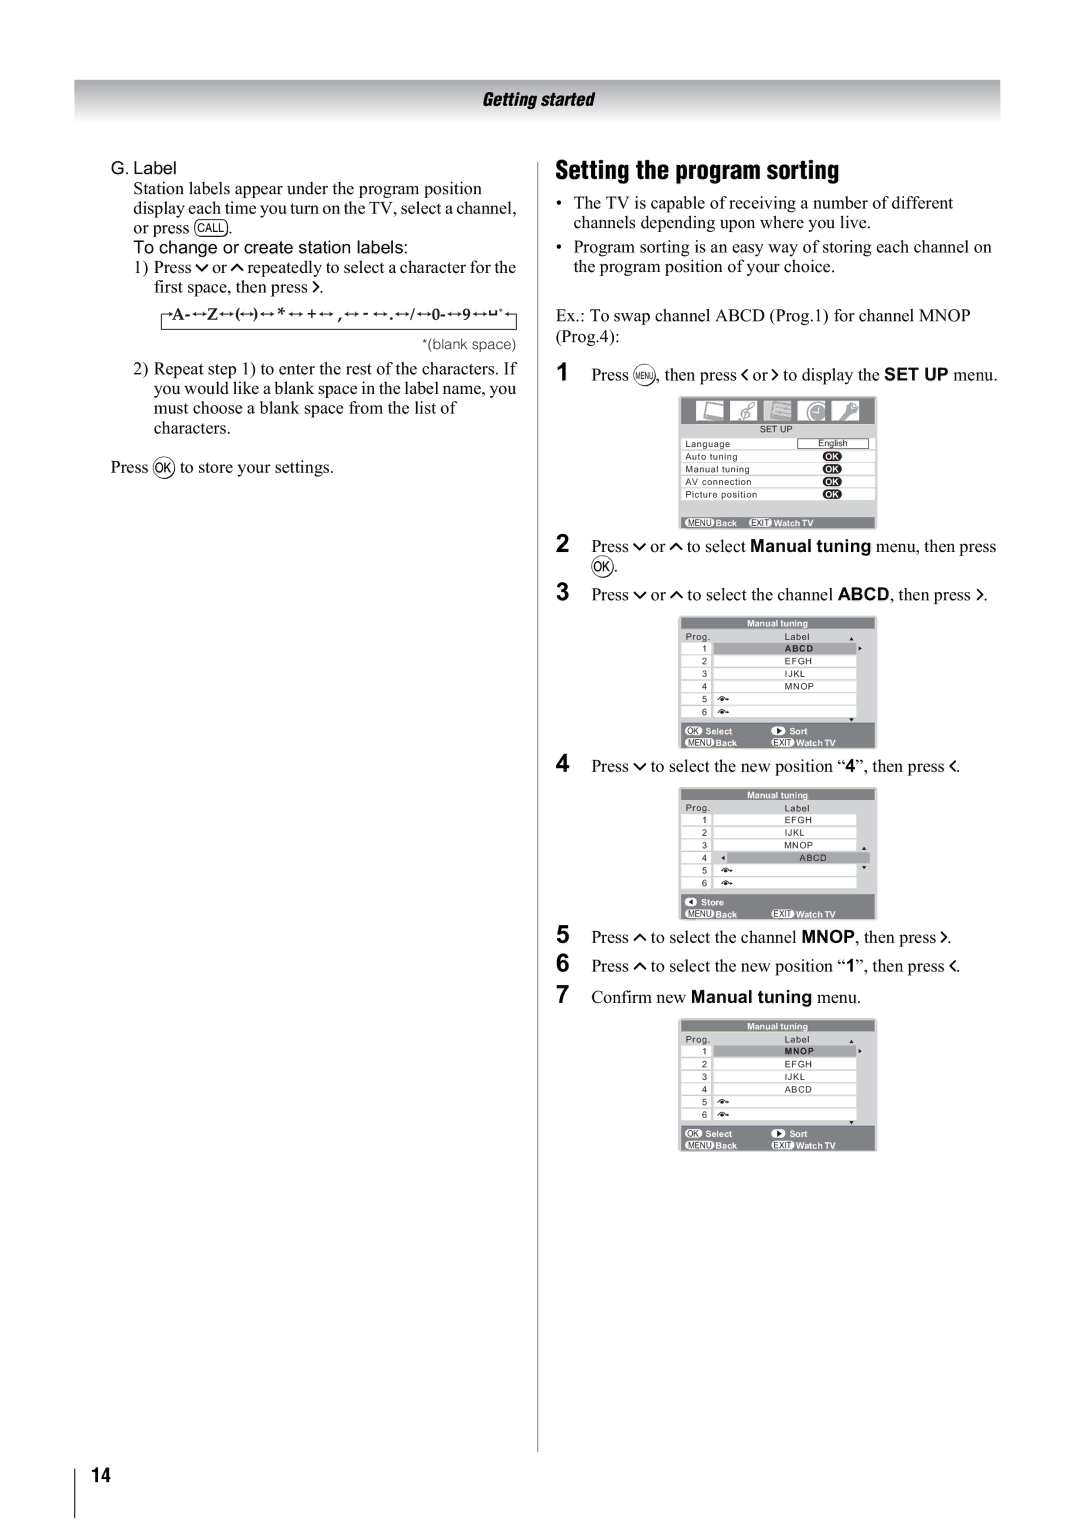
memory . . . . . . . . . . . . . . . . . . . . . . . . . . . . . . . 13 Setting the program sorting . . . . . . . . . . . . . . . . . . . 14
Using the TV’s features
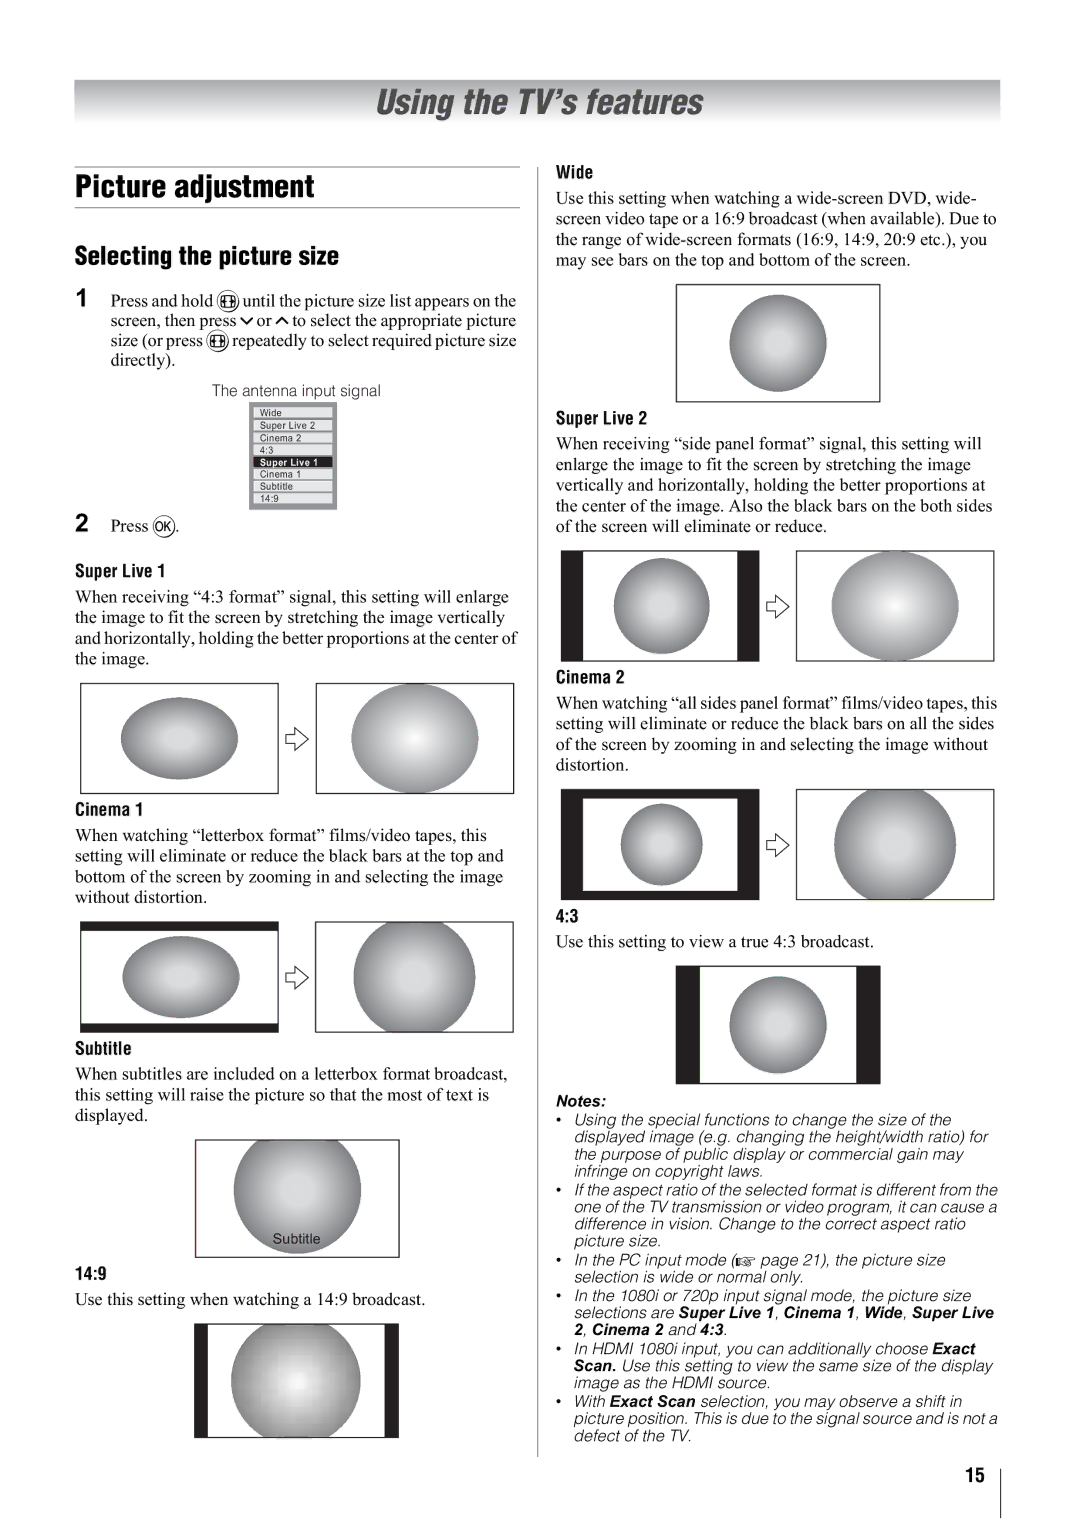
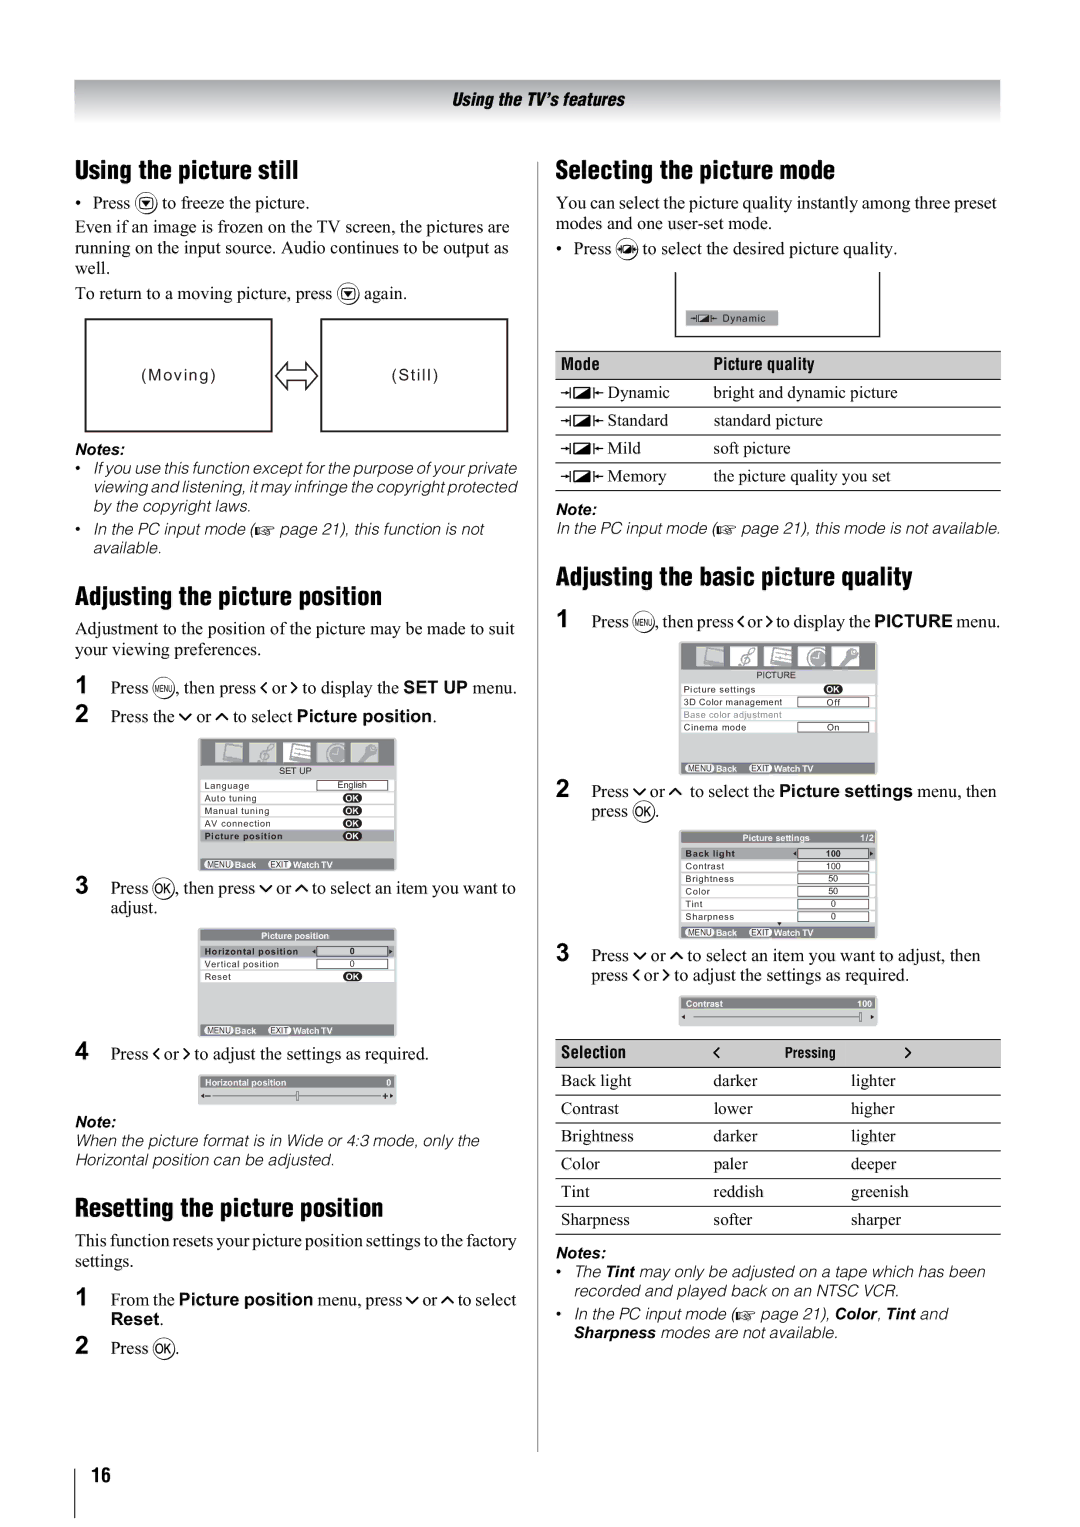
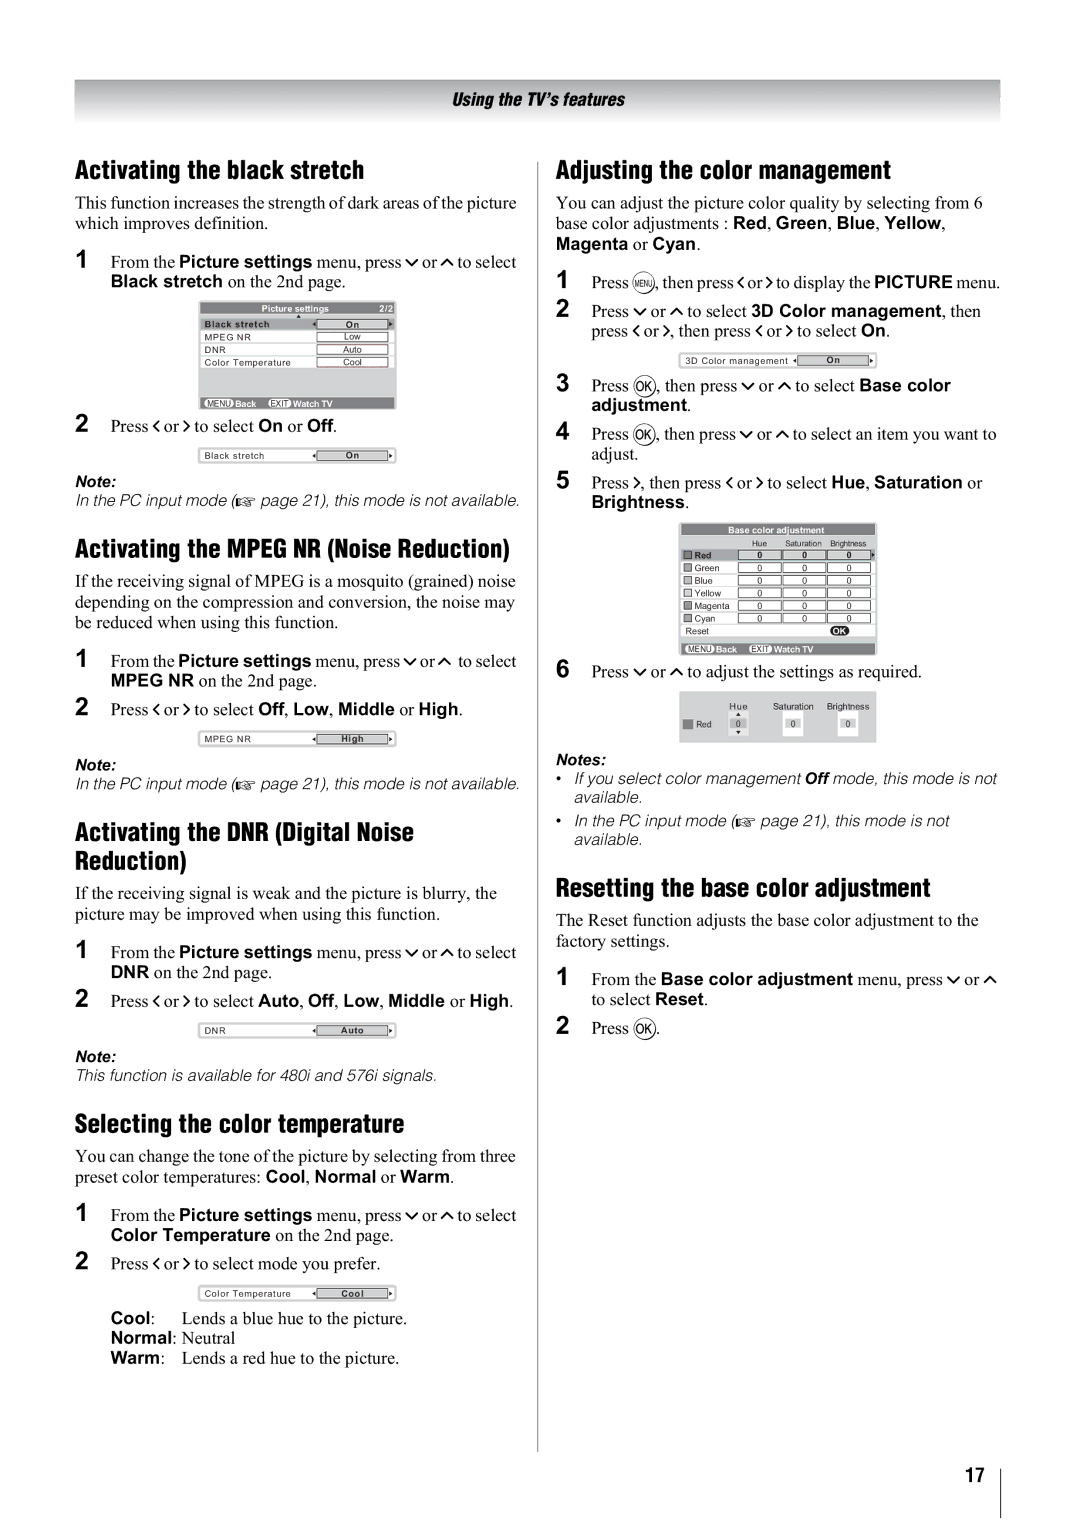
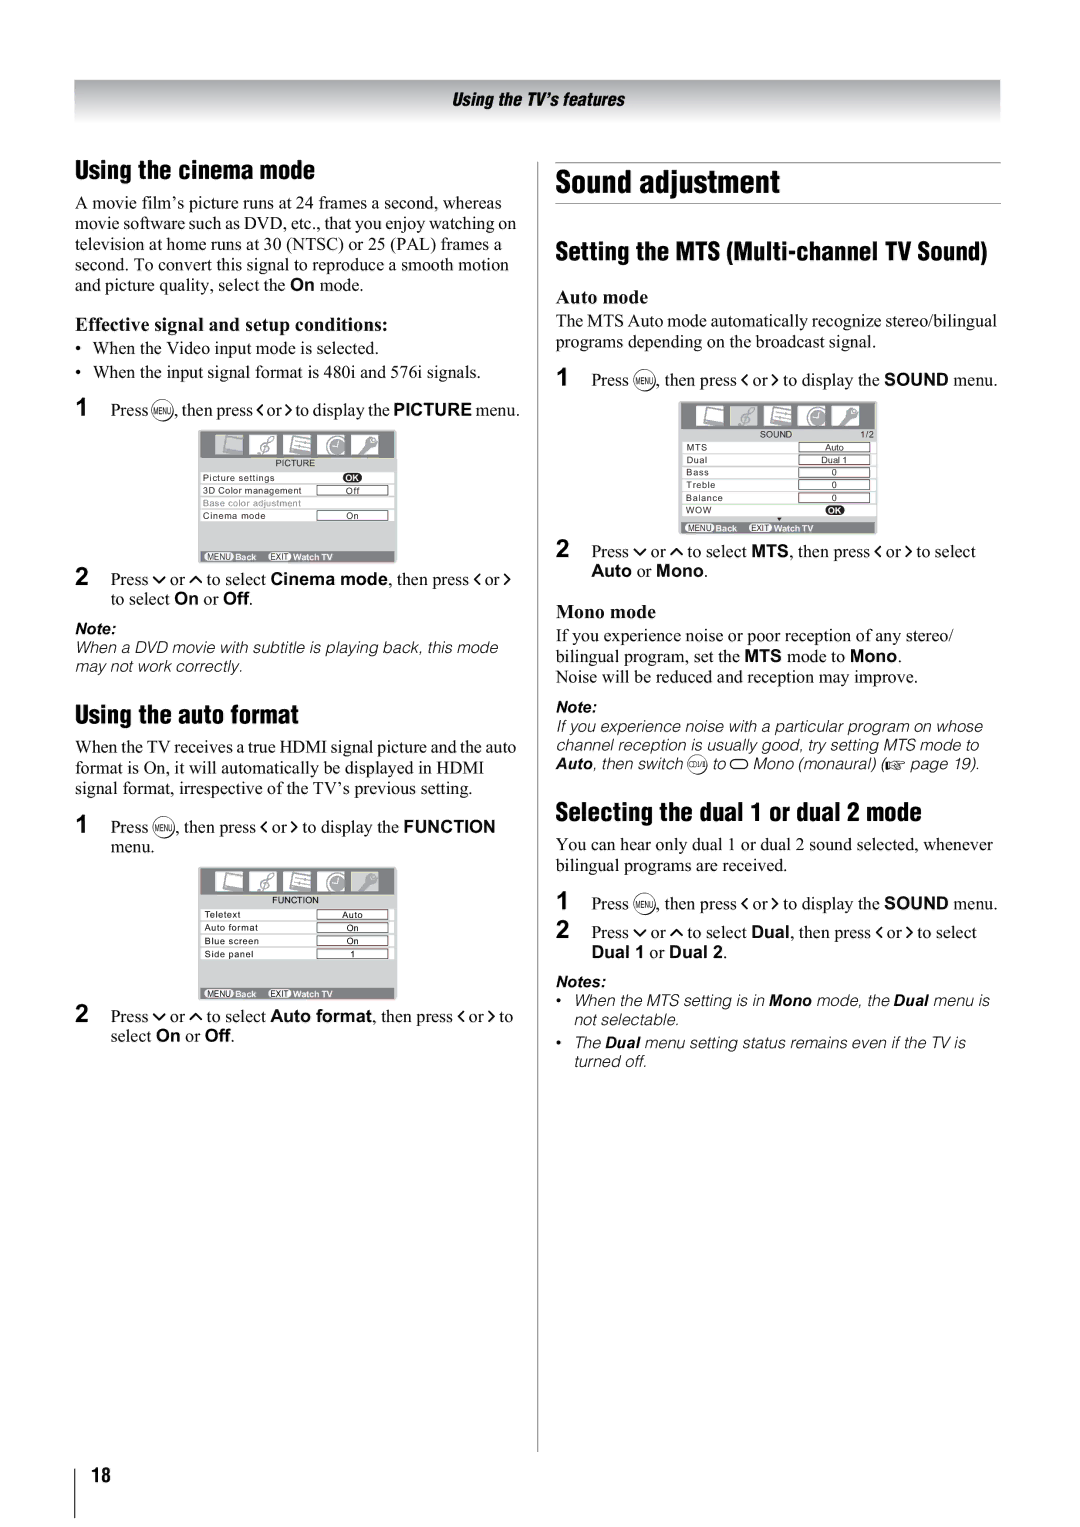
Picture adjustment . . . . . . . . . . . . . . . . . . . . . . . . . . . . . 15 Selecting the picture size . . . . . . . . . . . . . . . . . . . . . 15 Using the picture still . . . . . . . . . . . . . . . . . . . . . . . . 16 Adjusting the picture position . . . . . . . . . . . . . . . . . 16 Resetting the picture position. . . . . . . . . . . . . . . . . . 16 Selecting the picture mode . . . . . . . . . . . . . . . . . . . . 16 Adjusting the basic picture quality. . . . . . . . . . . . . . 16 Activating the black stretch . . . . . . . . . . . . . . . . . . . 17 Activating the MPEG NR (Noise Reduction) . . . . . 17 Activating the DNR (Digital Noise Reduction) . . . . 17 Selecting the color temperature . . . . . . . . . . . . . . . . 17 Adjusting the color management . . . . . . . . . . . . . . . 17 Resetting the base color adjustment . . . . . . . . . . . . . 17 Using the cinema mode . . . . . . . . . . . . . . . . . . . . . . 18 Using the auto format. . . . . . . . . . . . . . . . . . . . . . . . 18
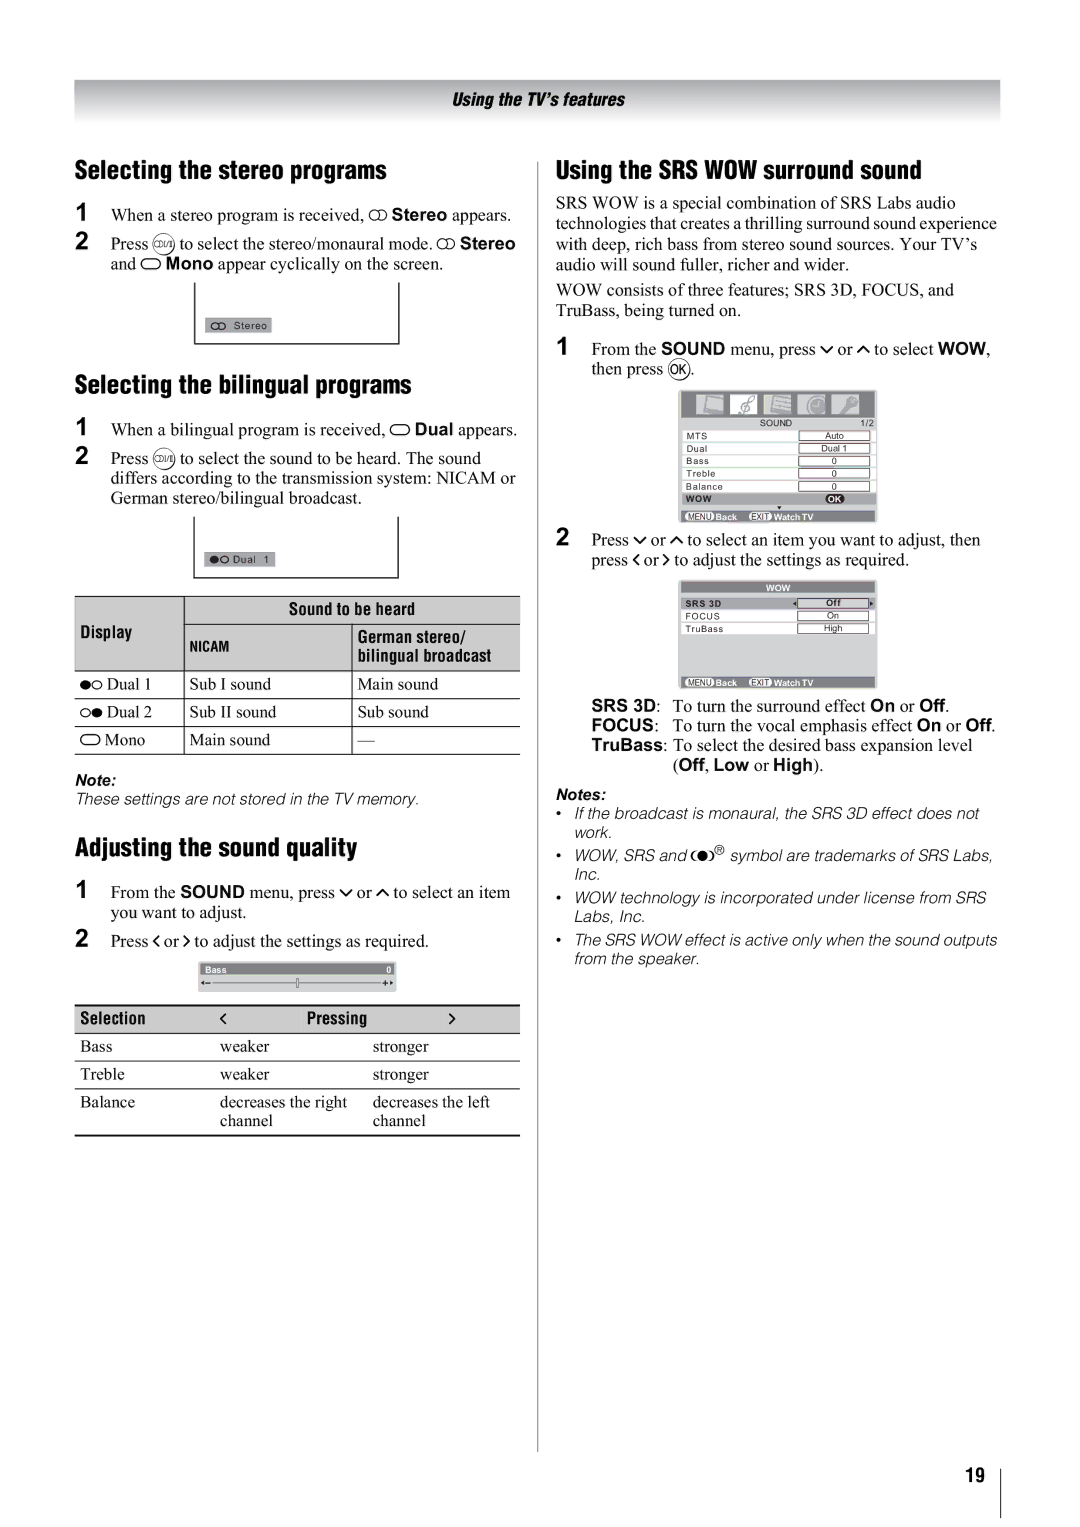
Sound adjustment . . . . . . . . . . . . . . . . . . . . . . . . . . . . . . 18 Setting the MTS
Using the bass boost . . . . . . . . . . . . . . . . . . . . . . . . . . . . 20 Activating blue screen . . . . . . . . . . . . . . . . . . . . . . . . . . 20 Other features settings . . . . . . . . . . . . . . . . . . . . . . . . . . 20 Selecting the timer menu . . . . . . . . . . . . . . . . . . . . . 20 Adjusting the brightness of side panel . . . . . . . . . . . 20
Selecting the video input source to view. . . . . . . . . . . . . 21 Setting the manual setting menu . . . . . . . . . . . . . . . . 21 Teletext . . . . . . . . . . . . . . . . . . . . . . . . . . . . . . . . . . . . . . 22 Setting up the teletext mode . . . . . . . . . . . . . . . . . . . 22 Teletext general information. . . . . . . . . . . . . . . . . . . 22 Using Auto mode . . . . . . . . . . . . . . . . . . . . . . . . . . . 22 Using LIST mode . . . . . . . . . . . . . . . . . . . . . . . . . . . 23 Teletext buttons on the remote control . . . . . . . . . . . 23
Connecting your TV
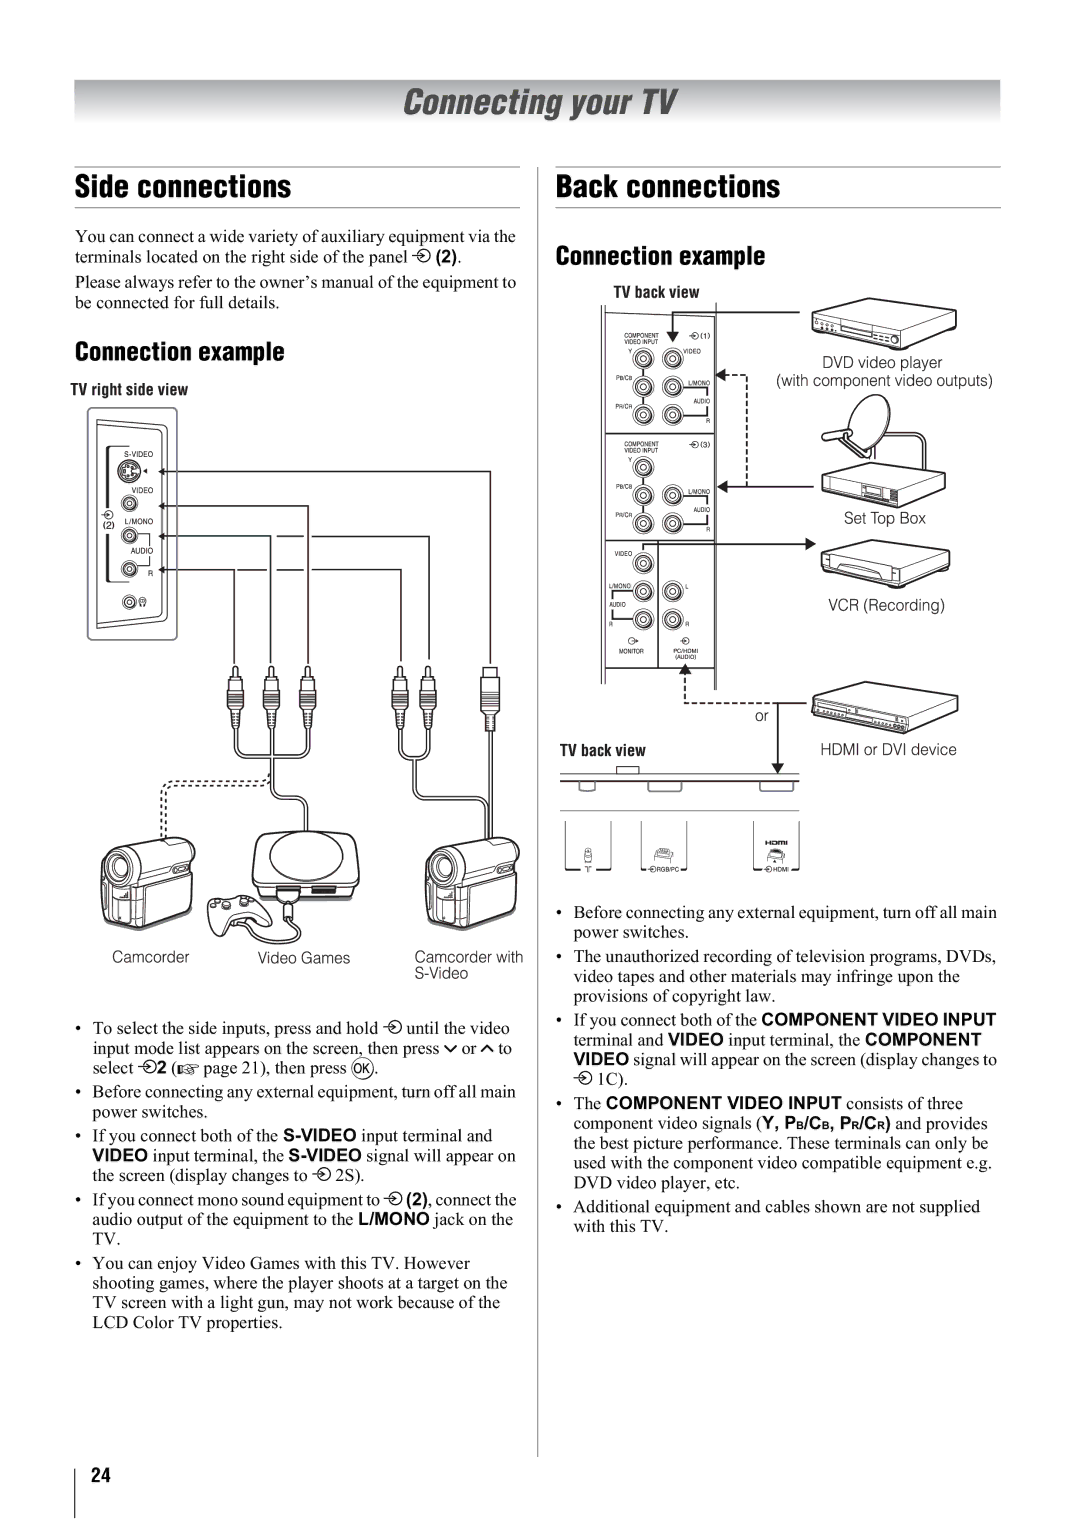
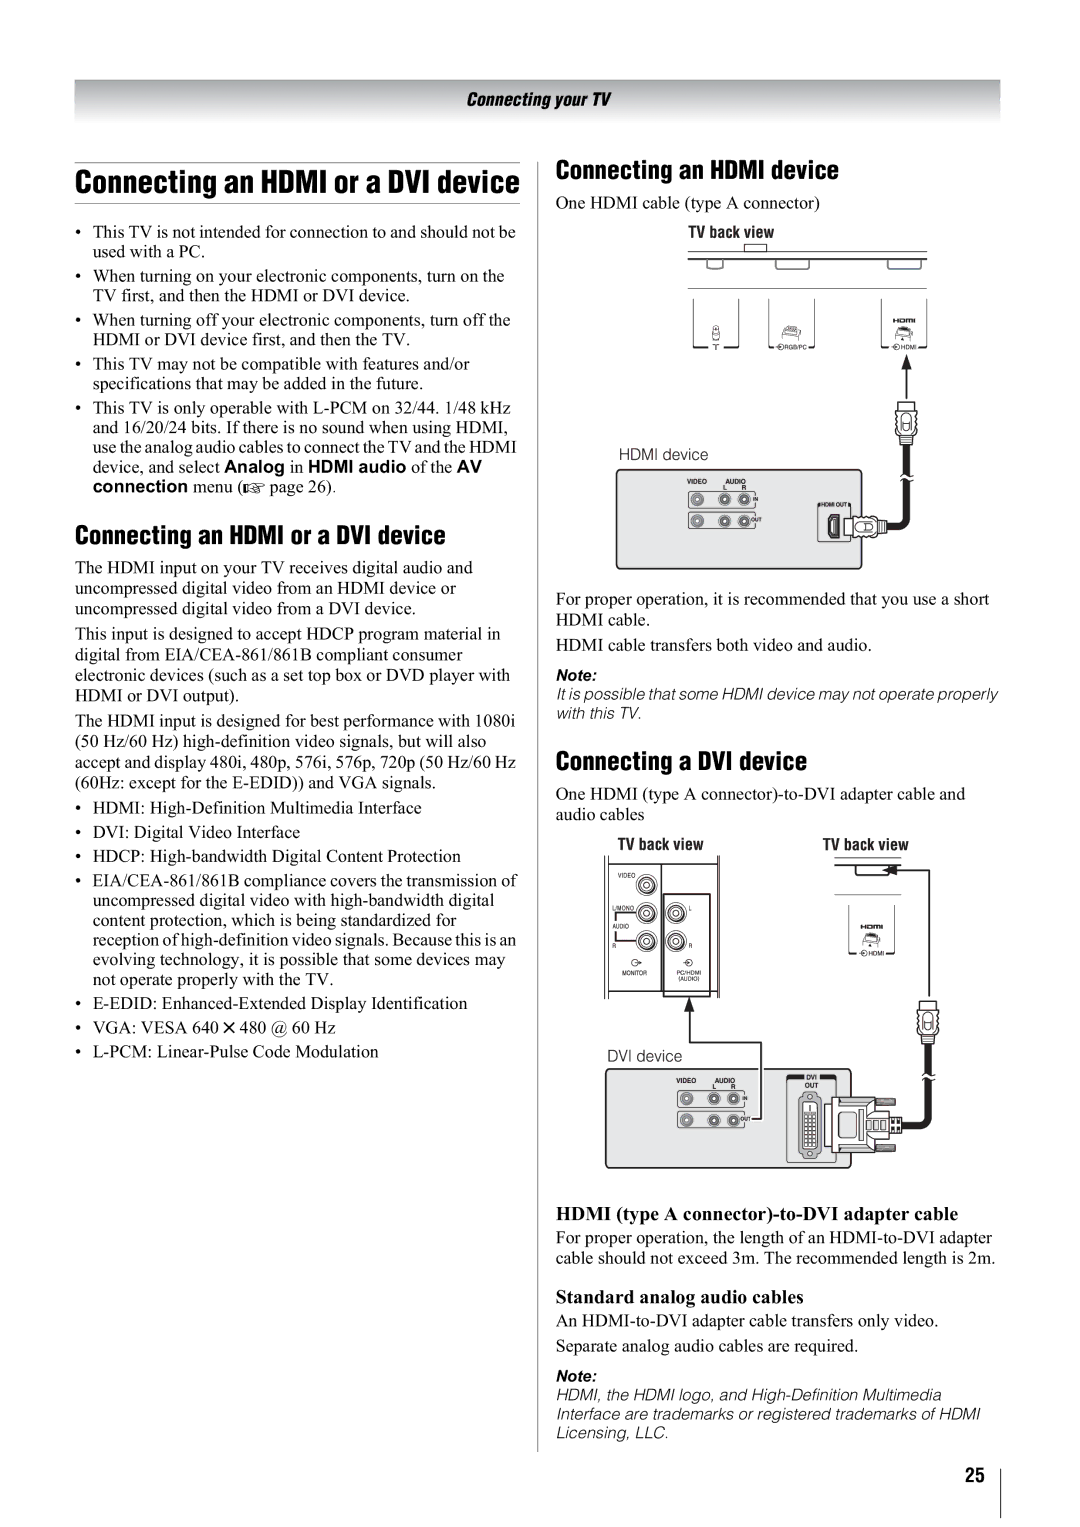
Side connections . . . . . . . . . . . . . . . . . . . . . . . . . . . . . . . 24 Connection example . . . . . . . . . . . . . . . . . . . . . . . . . 24 Back connections. . . . . . . . . . . . . . . . . . . . . . . . . . . . . . . 24 Connection example . . . . . . . . . . . . . . . . . . . . . . . . . 24 Connecting an HDMI or a DVI device . . . . . . . . . . . . . . 25 Connecting an HDMI or a DVI device . . . . . . . . . . . 25 Connecting an HDMI device . . . . . . . . . . . . . . . . . . 25 Connecting a DVI device . . . . . . . . . . . . . . . . . . . . . 25 Selecting the PC/HDMI audio mode. . . . . . . . . . . . . . . . 26 Setting the HDMI audio mode . . . . . . . . . . . . . . . . . . . . 26 Connecting a computer . . . . . . . . . . . . . . . . . . . . . . . . . . 26 Using the PC setting . . . . . . . . . . . . . . . . . . . . . . . . . . . . 27 Adjusting the picture size/position . . . . . . . . . . . . . . 27 Adjusting the clock phase of the picture. . . . . . . . . . 27 Adjusting the sampling clock . . . . . . . . . . . . . . . . . . 27 Resetting the PC setting . . . . . . . . . . . . . . . . . . . . . . 27
Reference section
Troubleshooting. . . . . . . . . . . . . . . . . . . . . . . . . . . . . . . . 28 Symptom and solution . . . . . . . . . . . . . . . . . . . . . . . 28 Broadcast system. . . . . . . . . . . . . . . . . . . . . . . . . . . . . . . 28
Broadcast transmission systems of each country or region . . . . . . . . . . . . . . . . . . . . . . . . . . . . . . . . . 28
Specifications . . . . . . . . . . . . . . . . . . . . . . . . . . . . . . . . . 29 LCD color television. . . . . . . . . . . . . . . . . . . . . . . . . 29
2
