ENGLISH
Preparation
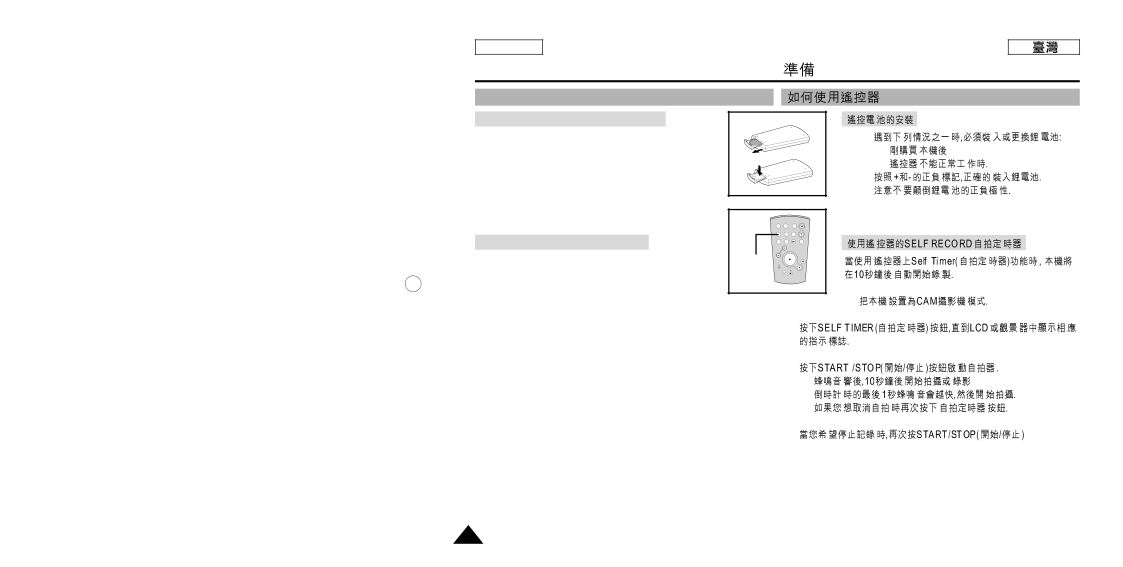
How to use the Remote Control
Battery Installation for the Remote Control
✤You need to insert or replace the lithium battery when :
-You purchase the camcorder.
-The remote control doesn’t work.
✤Ensure that you insert the lithium cell correctly, following the + and - markings.
✤Be careful not to reverse the polarity of the battery.
Self Record using the Remote Control
When you use the Self Timer function on the remote control, the recording begins automatically in 10 seconds.
1. Set the camcorder to CAM mode.
START/ | PHOTO | DISPLAY |
|
STOP |
| ||
SELF | ZERO | DATE/ |
|
TIMER | MEMORY | TIME |
|
PHOTO | A.DUB | SLOW | X2 |
SEARCH |
Self
F.ADV
Timer
✤
-
-
✤
✤
1.
2. | Press the SELF TIMER button until the appropriate indicator is | 2. |
| displayed in the viewfinder. |
|
3. | Press the START/STOP button to start the timer. | 3. |
| - Self Timer starts counting down from 10 with a beep sound. | - |
| - In the last one second of the countdown, the beep sound gets faster, | - |
| then recording starts automatically. | - |
| - If you want to cancel the Self Timer function before recording, |
|
| press the SELF TIMER button. | 4. |
4. Press START/STOP again when you wish to stop recording.
20